What are Custom Events?
A Custom Event is a named user action (or inaction) that you send to OneSignal. You send events from your app, website, or external systems so you can trigger automation, control Journey flow, and personalize user experiences in real time. Examples include:- Completed onboarding
- Made a purchase
- Abandoned a cart
- Canceled a subscription
- Reached a new game level
- Start a Journey
- Continue a Journey with a Wait Until step
- Exit users from a Journey
- Personalize messages using event properties
- Segment users by behavior (Early Access)
When should you use Custom Events?
Use Custom Events when:- Messaging should respond to real-time user behavior
- The data represents something that happened (not permanent state)
- You need event properties for personalization or Journey logic
- You want to store long-term user attributes (use Tags instead)
Custom Event structure
Custom Events include the following fields:The event name. Maximum
128 characters.Optional parameters that describe the event (for example: plan name, product ID, or price). These can be used for personalization and Journey flow control.
The user’s External ID. A user identifier is required when using the Create Custom Events API. Either
external_id or onesignal_id must be provided.The time the event occurred (or will occur), formatted as an ISO 8601 string. See Create Custom Events API.
A unique UUID used to prevent duplicate event processing. See Create Custom Events API.
Send Custom Events to OneSignal
All events are treated the same for billing purposes, regardless of source.
API and SDKs
Create Custom Events API
Send events from your backend.
Mobile/Web SDKs
Track events client-side.
JSON
Integrations
OneSignal connects to 25+ external data sources to import custom events, including data warehouses, databases, and streaming platforms, with no custom code required.Twilio Segment
Route events and audiences between Segment and OneSignal.
Amplitude
Sync cohorts and import custom events from Amplitude.
Mixpanel
Sync cohorts and import custom events from Mixpanel.
Snowflake
Import custom events from your Snowflake warehouse.
Google BigQuery
Import custom events from BigQuery datasets.
Apache Kafka
Stream custom events from Kafka topics.
Browse all custom event sources
See the full list of databases, warehouses, and streaming platforms that import custom events into OneSignal.
Verify events are received
After sending events, confirm they are reaching OneSignal in Data > Custom Events.Event List tab
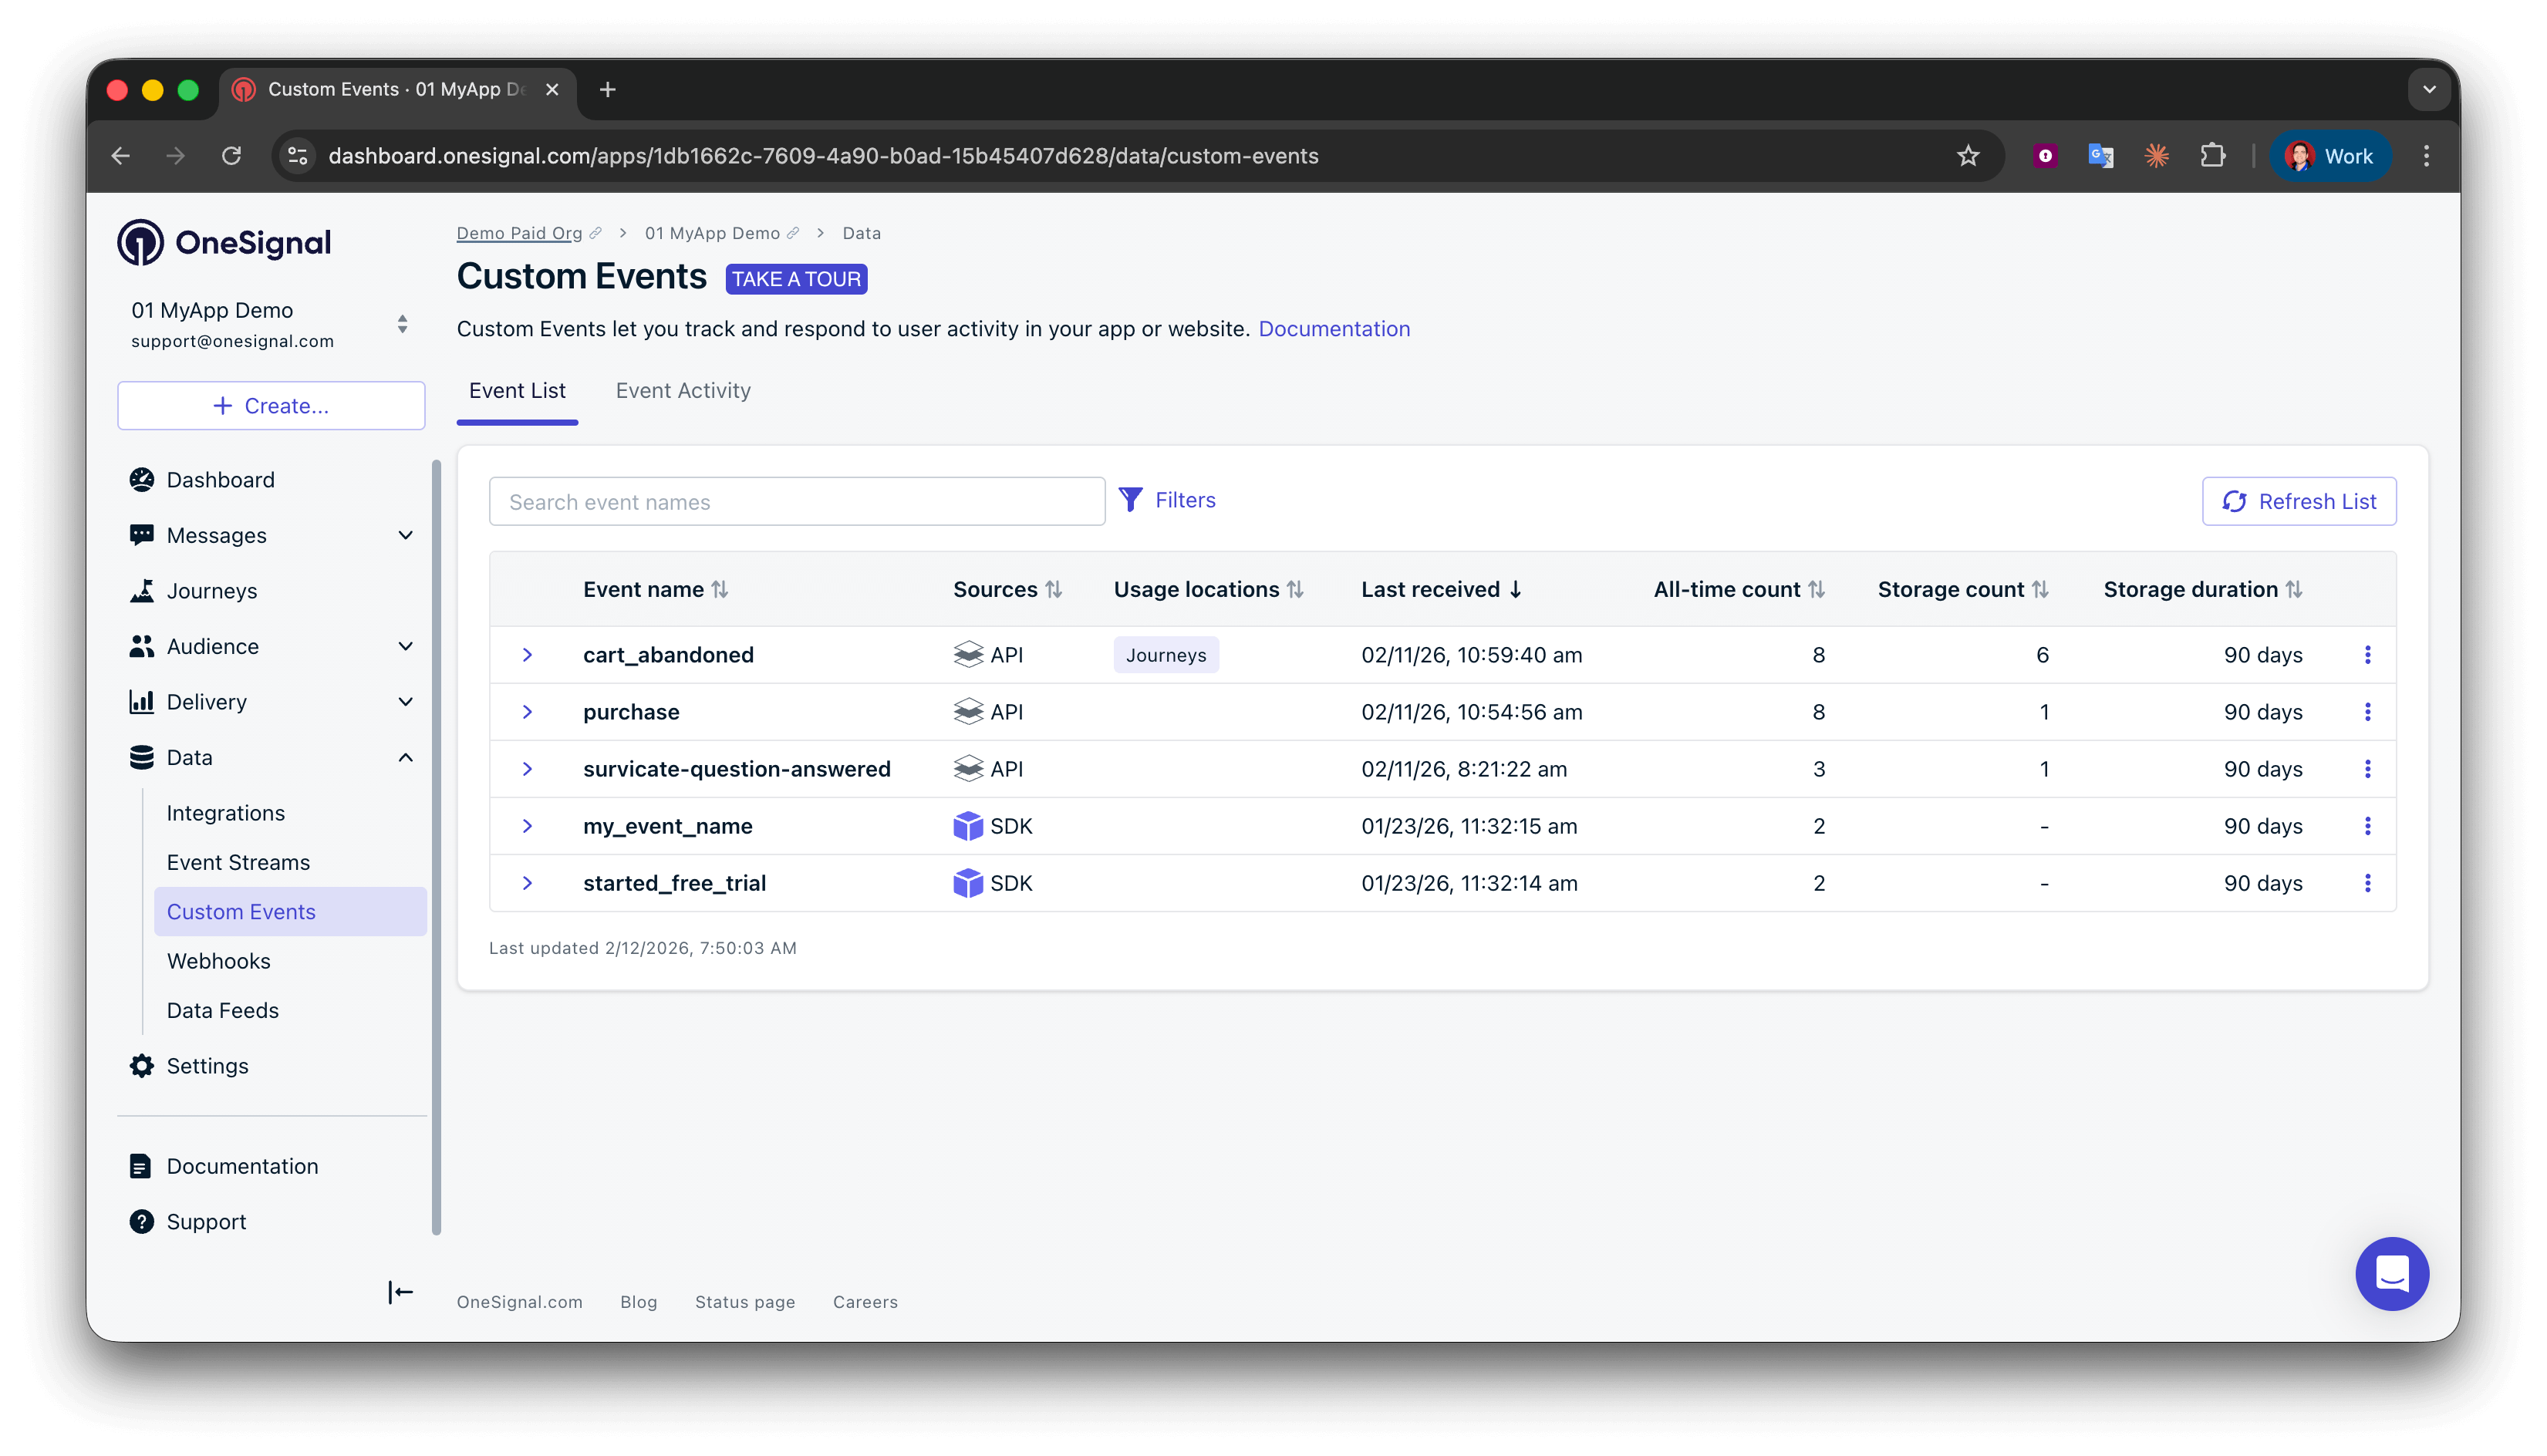
- Total events ingested
- Most recent event (with full JSON payload and properties)
- Event source (SDK, API, or integration)
- Last occurrence timestamp
- Source Breakdown: Number of events ingested by source. Expand to view the latest event schema and the timestamp of the most recent event.
- Activities: The 10 most recent events, including source and timestamp. Expand any entry to inspect the full JSON payload.
- Usage: Where the event is currently used (Journeys or segments). Click directly into the associated Journey or segment to modify its settings.
Event Activity tab
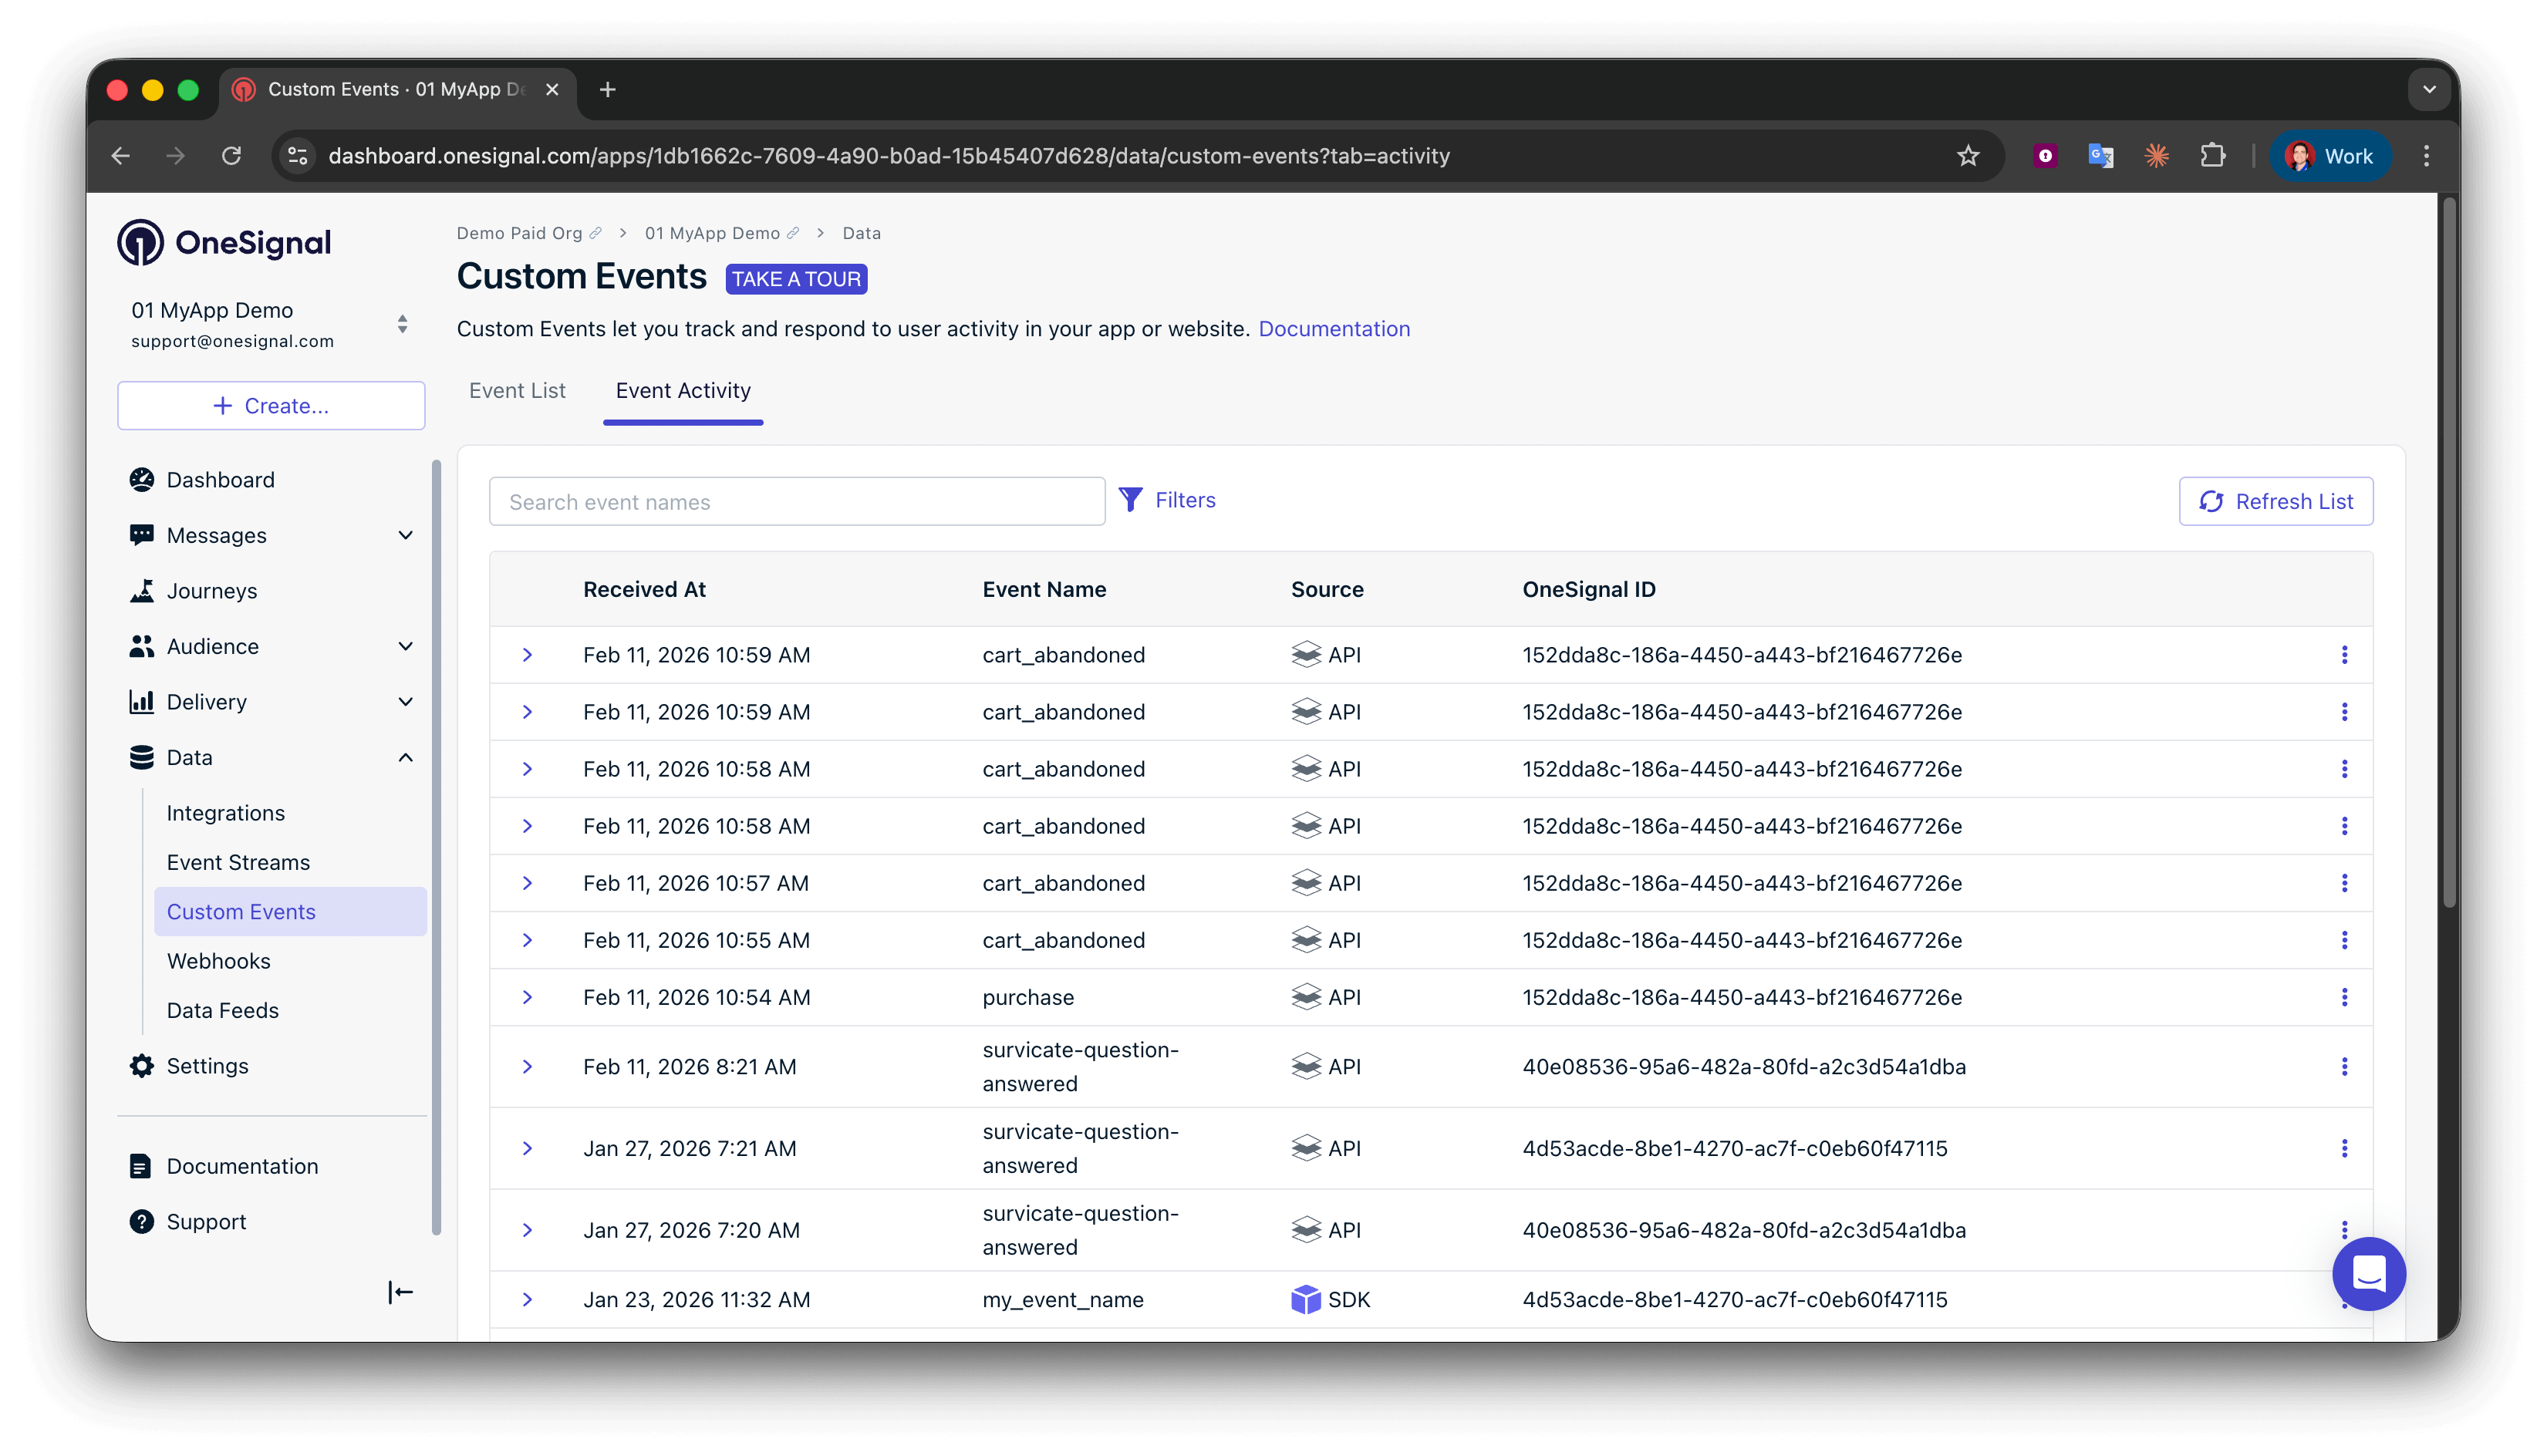
- Filter by event name, source, or external ID
- Inspect full JSON payloads
- Debug integration issues
Custom events appear on the Custom Events page instantly. However, it can take up to 5 minutes for events to appear in a user’s profile under Activity Timeline > Custom Events. This is because the Custom Events page reflects recent ingestion, while the user profile is powered by long-term storage.
Use Custom Events in OneSignal
After events are flowing into OneSignal, you can use them in the following ways:Trigger Journey entry and exit rules
Set a Custom Event as a Journey entry or exit rule to immediately add or remove users when the event occurs. Example:signup_completed→ Start onboarding or remove from a trial-encouragement Journeypurchase→ Send confirmation and cross-sell or remove from abandoned cart Journey
Journey settings
Enter users into Journeys with Custom Events.
Control Journey flow (Wait Until)
Use a Wait Until step to hold users until a Custom Event occurs. Example:- Wait until
purchaseafteradded_to_cart
You can define an expiration window. If the user does not trigger the event in time, you can send a fallback message or exit the Journey.
Journey Wait Until step
Hold users until a Custom Event occurs.
Personalize Journeys with event properties
Reference event properties using Liquid in your Journey templates. Example:Liquid
Custom Event personalization
Complete guide to using event properties to personalize Journeys.
Segment users with Custom Events
Create a segment based on the occurrence of a Custom Event.Custom Event segmentation is in Early Access.To request access, email
support@onesignal.com with:- Your company name
- Your OneSignal App ID(s)
Segmentation
Complete guide to segmentation.
Plan availability and retention costs
Custom Events are available on all paid plans.Billing FAQ
Learn about event retention and pricing.
Tags vs Custom Events
Tags and Custom Events are both ways to add data to your users. However, there are some key differences:| Feature | Tags | Custom Events |
|---|---|---|
| Data usage | Segmentation and personalization | Trigger Journeys without a Segment, Wait Until steps, personalization directly within Journeys |
| Data retention | Lifetime | 30+ days (lifetime storage is available) |
| Data format | Key-value strings or numbers | JSON |
| Data source | OneSignal SDK, API, or CSV import | OneSignal SDK, API, or integrations |
| Data access | Segmentation and message personalization | Journeys and Journey-message-template personalization, Segmentation (Coming soon) |
- Tags for user properties that are static and don’t change often
- Custom Events for real-time scenarios, complex segmentation, and more sophisticated journey workflows