Use Custom Event properties to personalize Journey messages with Liquid syntax. Learn how events are stored, accessed, and rendered in push, email, and SMS templates.
Custom Events let you personalize Journey messages using event properties (product names, prices, URLs, arrays, etc.).Event properties become available in templates only if the event:
Triggers Journey entry, or
Matches a Wait Until condition inside the Journey
Stored event properties can be accessed using Liquid syntax.
You can also access nested properties using dot and bracket notation:
Liquid
{{ journey.first_event.properties.details.first.manufacturer }} = Company A{{ journey.first_event.properties.details.last.manufacturer }} = Company B{{ journey.first_event.properties.details[0].manufacturer }} = Company A{{ journey.first_event.properties.details[1].manufacturer }} = Company B
Invalid Liquid or missing properties render as empty strings. Messages still send. Use default filters to set a fallback.
3
Create a Journey
Setup the Journey to use the Custom Event as the entry rule and/or Wait Until condition.
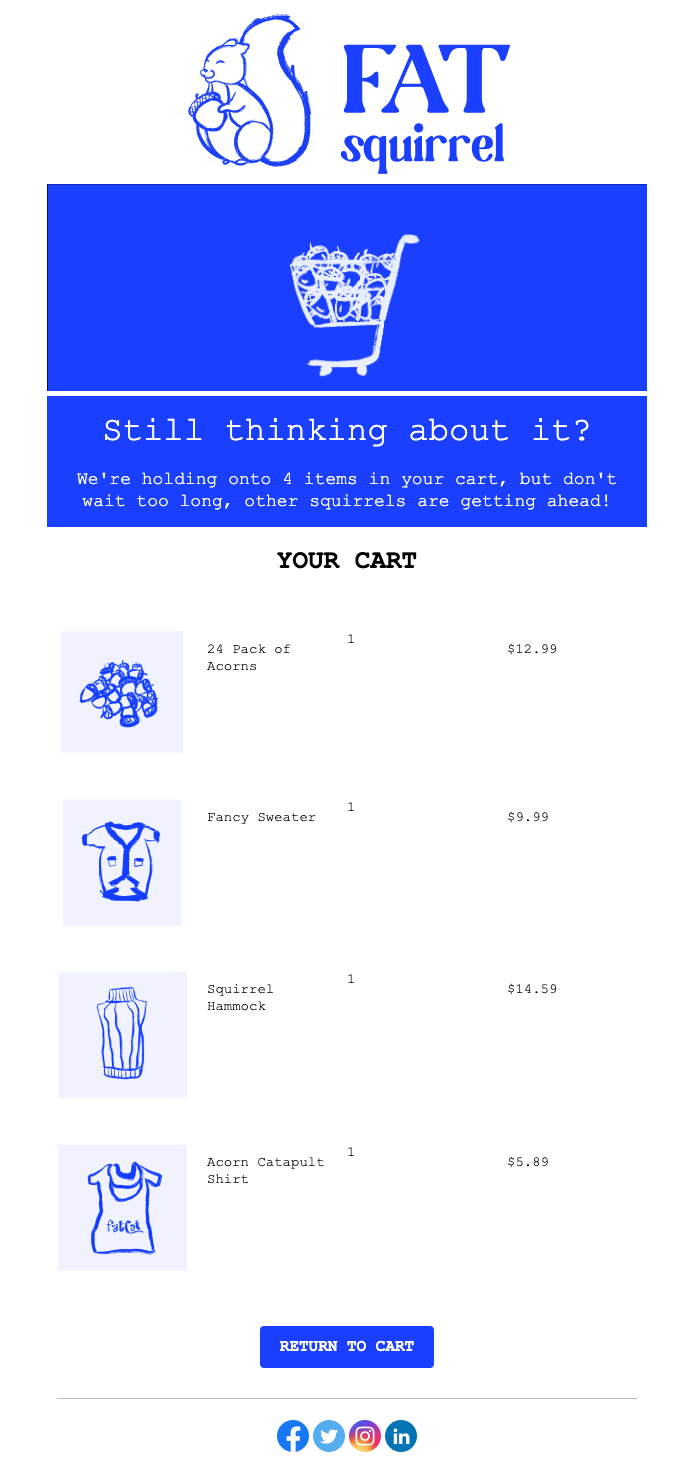
This example shows how to build an email template that displays:
The cart item count
Each product with image, name, quantity, and price using a for-loop
A button that links to the customer’s unique cart URL
Example Abandoned Cart Email Template
1
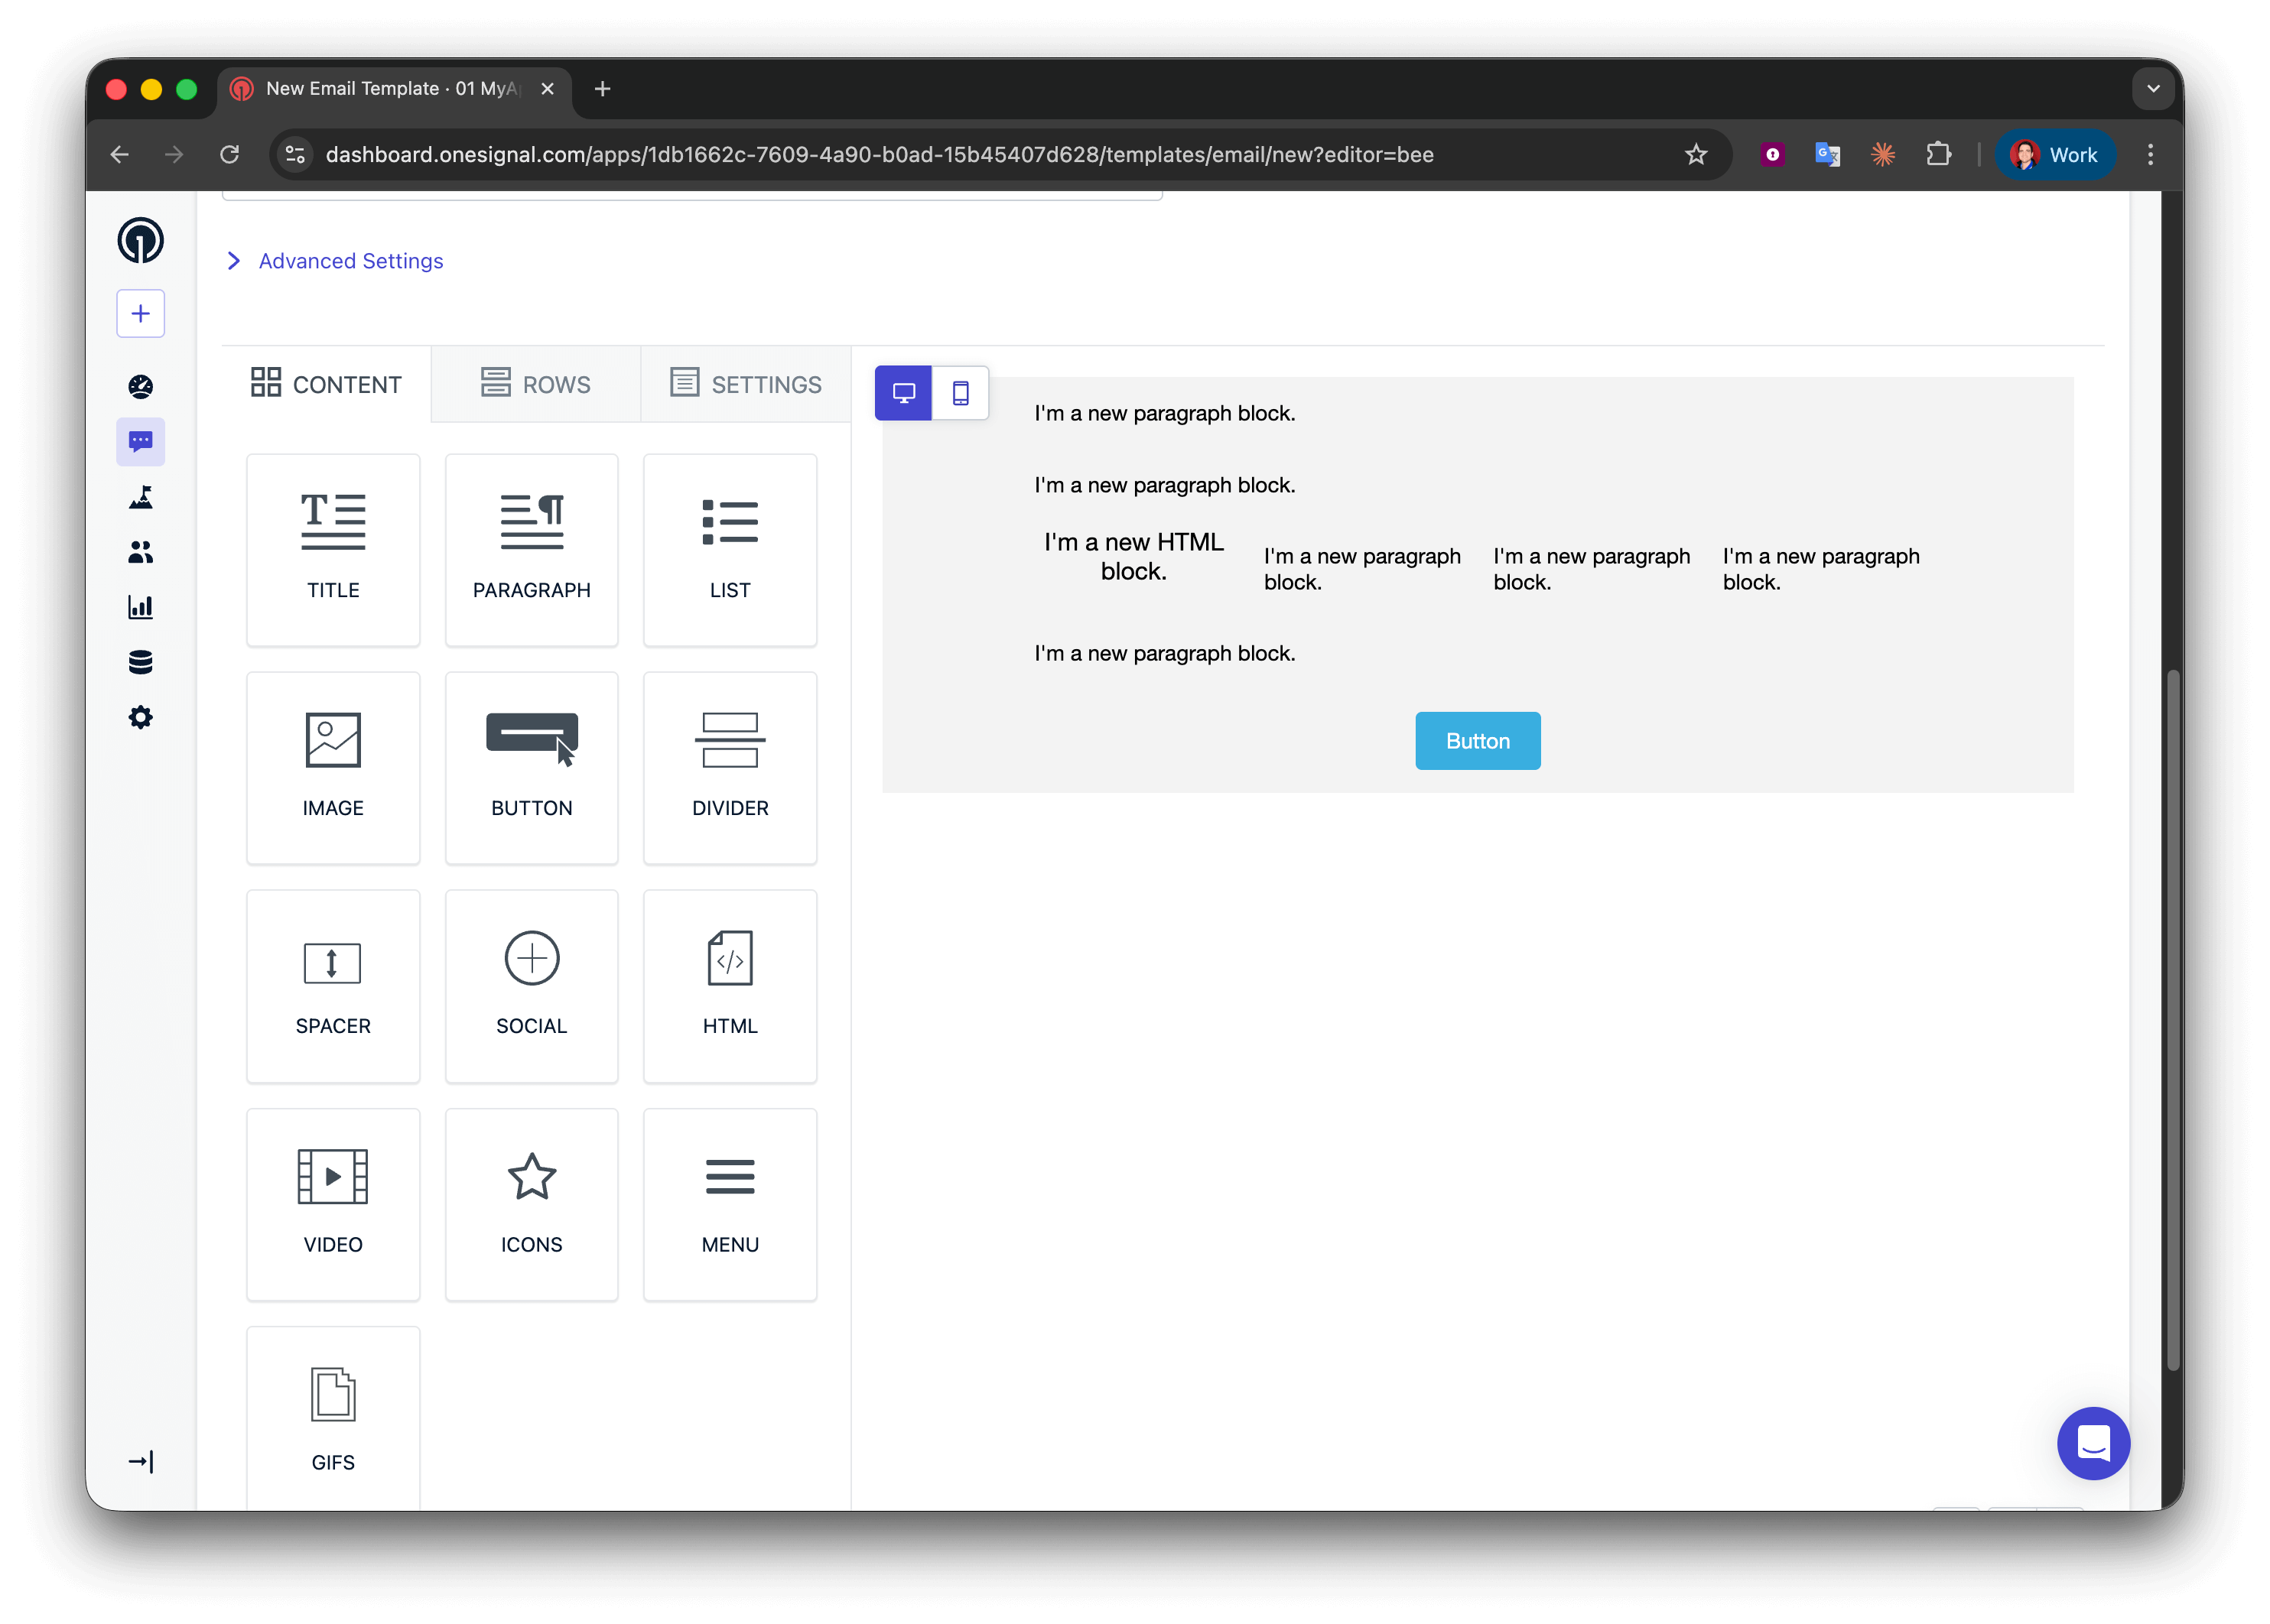
Create the email template
Navigate to Messages > Templates > New Email Template and open the Drag & Drop Editor.
2
Add the layout structure
Create five rows:
Rows 1, 2, and 4: one column with a Paragraph block
Row 3: four columns with HTML | Paragraph | Paragraph | Paragraph
Row 5: one column with a Button block
Starter email template for abandoned cart
3
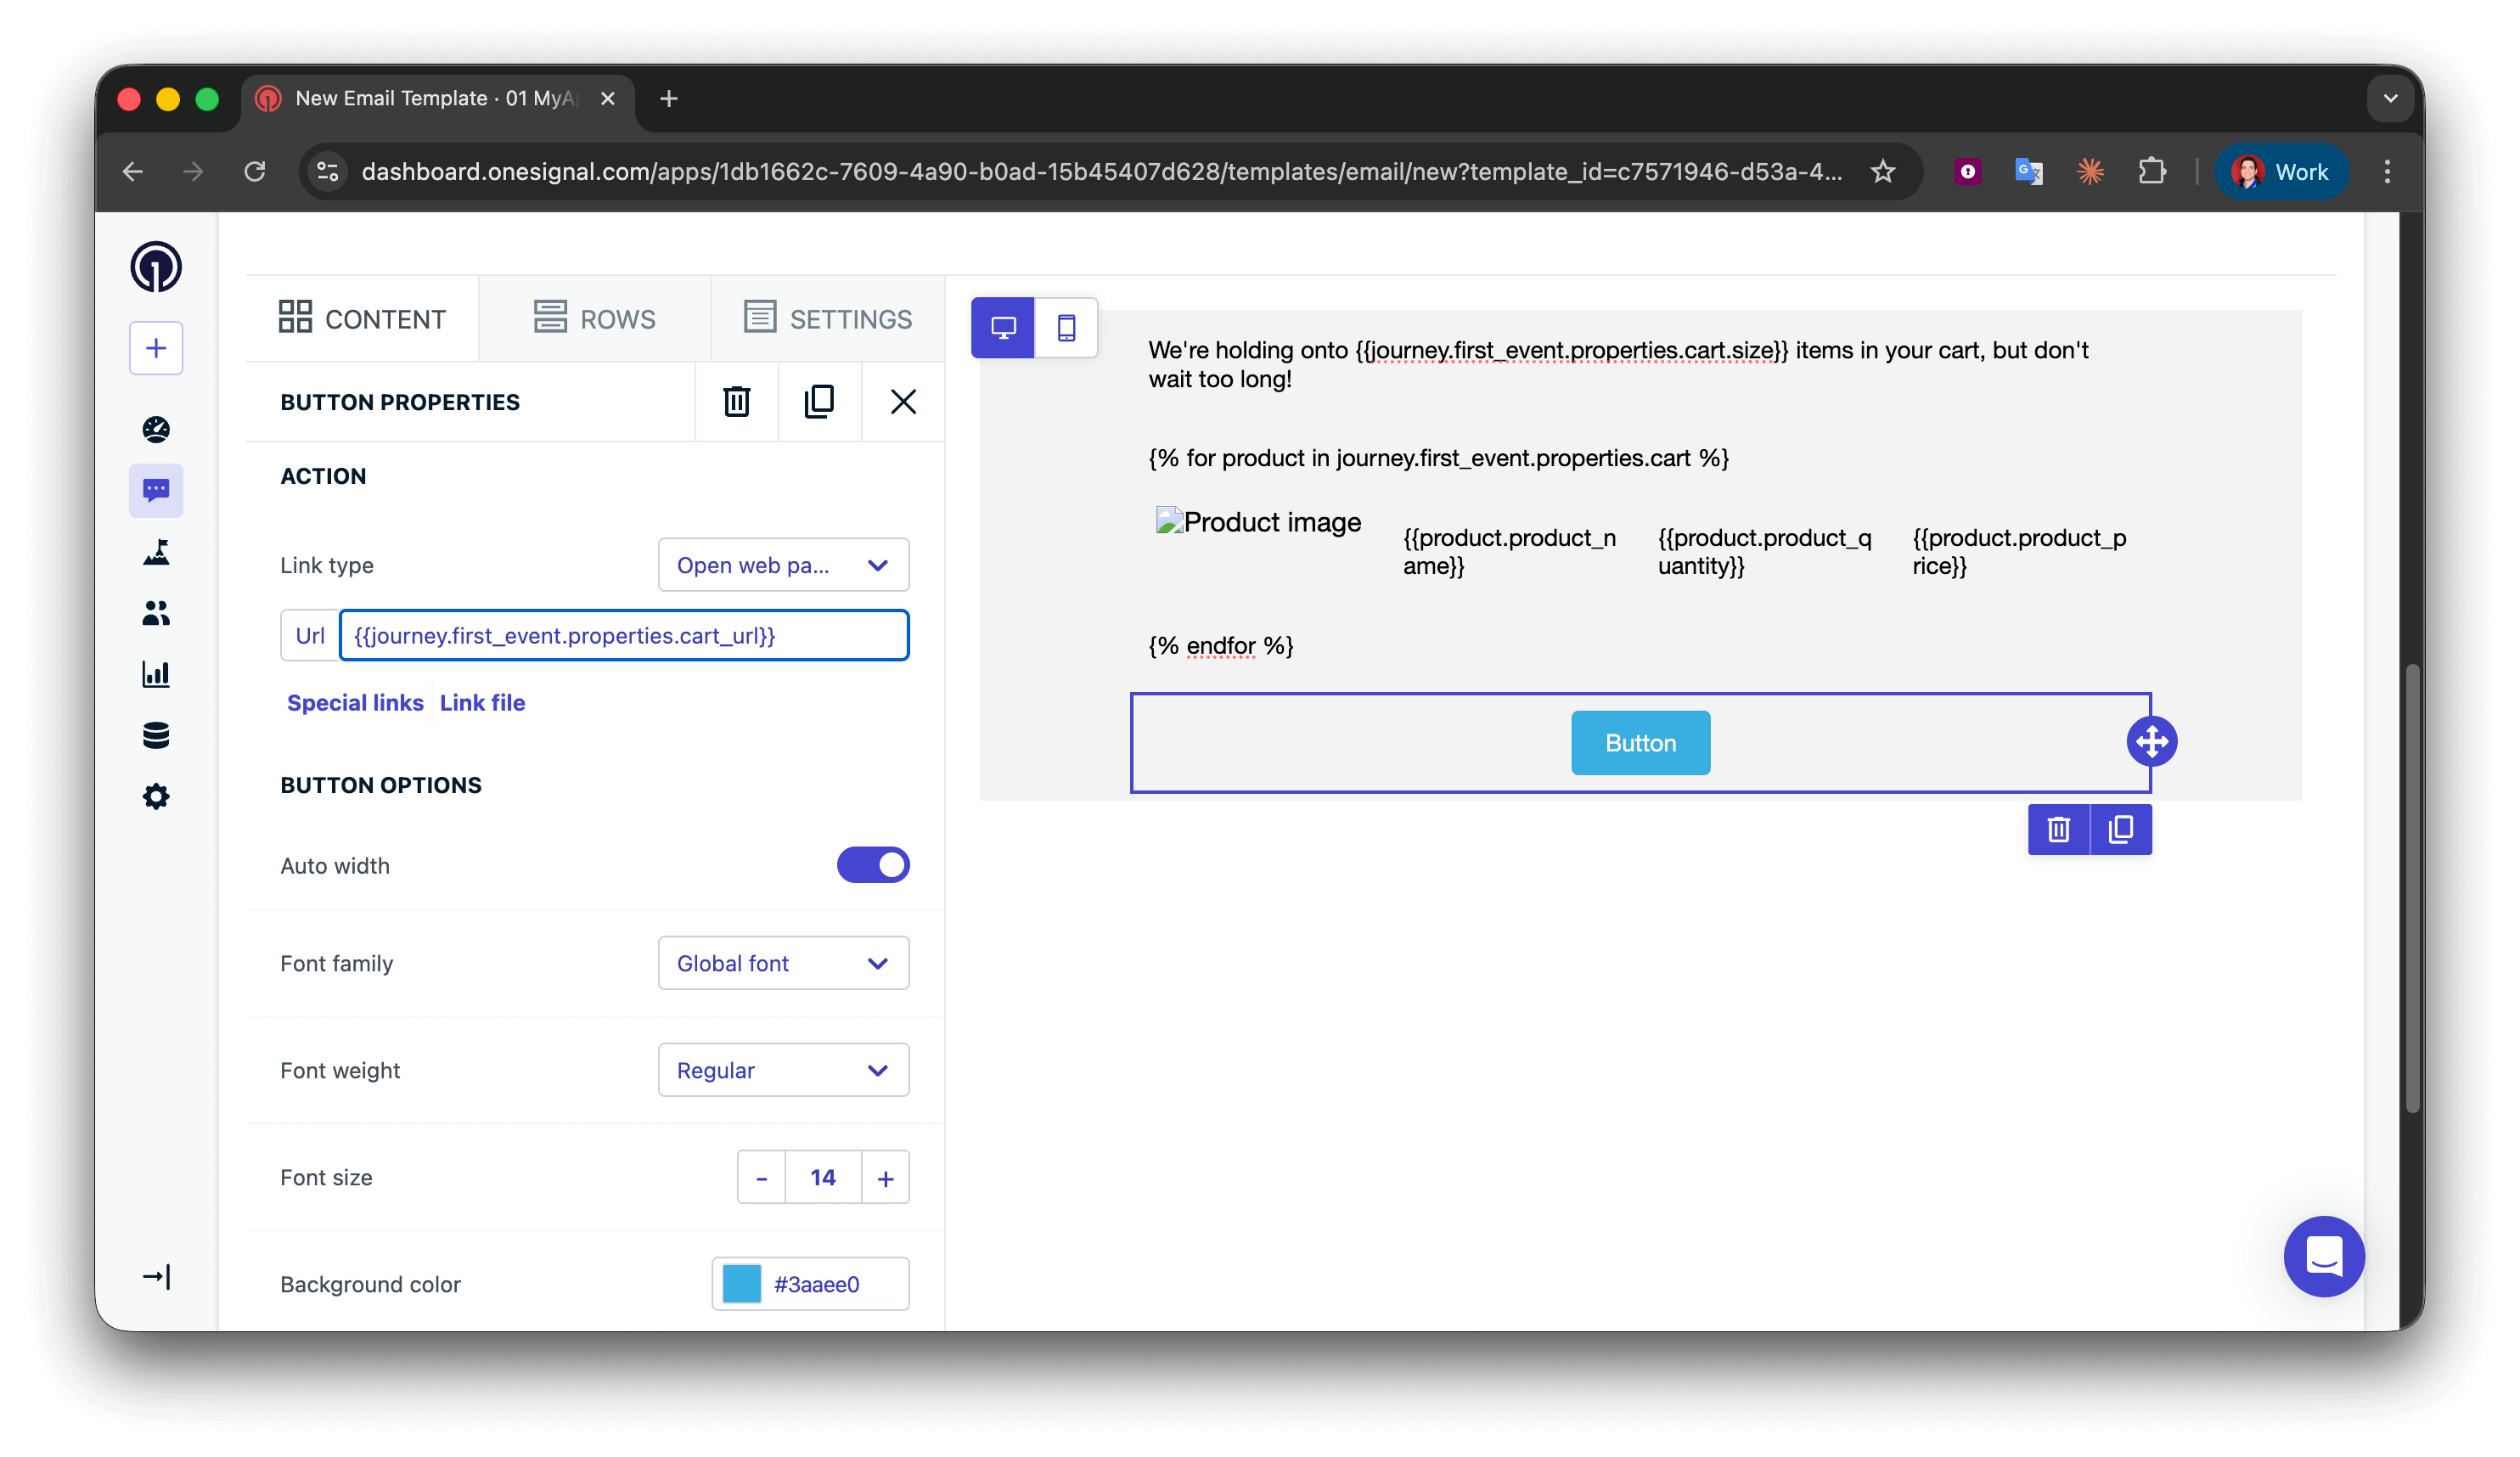
Display the item count
In row 1, add:
Liquid
We're holding onto {{journey.first_event.properties.cart.size}} items in your cart, but don't wait too long!
For better grammar, you could use a conditional to say “1 item” vs “2 items”, but for abandoned cart emails, plural is usually acceptable.
Liquid
{% assign cart = message.custom_data.cart %}{% assign item_count = cart.size | plus: 0 %}{% if item_count == 1 %}We're holding onto {{item_count}} item in your cart, but don't wait too long, other squirrels are getting ahead!{% endif %}{% if item_count > 1 %}We're holding onto {{item_count}} items in your cart, but don't wait too long, other squirrels are getting ahead!{% endif %}
4
Start the for-loop
Use a for-loop to repeat the product display row for each cart item.In row 2 (loop start), add:
Liquid
{% for product in journey.first_event.properties.cart %}
What this does:
Begins a loop that iterates over each object in the cart array
Creates a temporary variable product representing the current item
Everything between {% for %} and {% endfor %} repeats once per cart item
You can name product anything (e.g., item, cartItem)—just stay consistent
For-loop placement: Make sure the {% for %} syntax is in its own Text block row. Don’t put it inside a multi-column row with other content, as this can break email rendering in some clients.
5
Display product details
This 4-column row shows image, name, quantity, and price. Because it’s inside the loop, it repeats for every cart item.In row 3 (product details), configure:Column 1 - HTML block (product image):
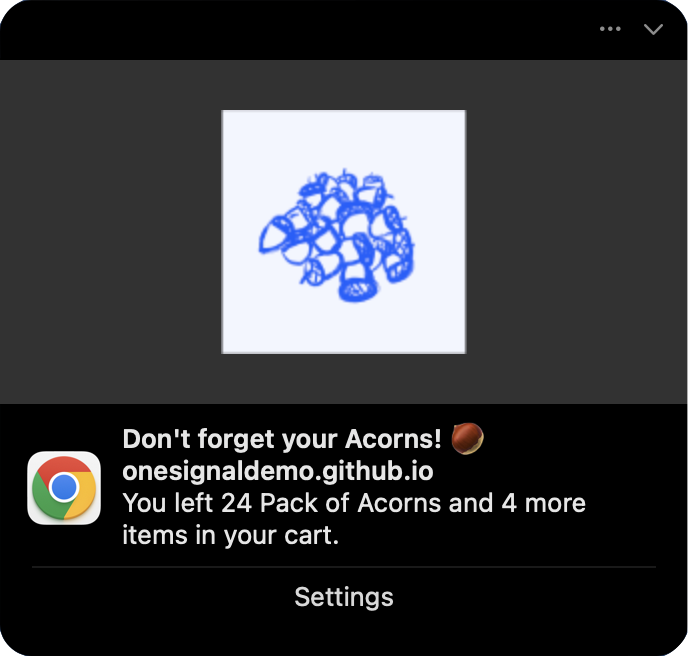
Push notifications have limited space, so display one item and mention the total count.Message field:Display item and count with correct grammar using conditional statements.
Liquid
{% assign cart = journey.first_event.properties.cart %}{% assign item_count = cart.size | plus: 0 %}{% if item_count == 1 %}You left {{cart.first.product_name}} in your cart.{% endif %}{% if item_count == 2 %}You left {{cart.first.product_name}} and {{item_count | minus: 1}} more item in your cart.{% endif %}{% if item_count > 2 %}You left {{cart.first.product_name}} and {{item_count | minus: 1}} more items in your cart.{% endif %}
Send yourself a test push notification by adding it to the test Journey and entering yourself into it via another Custom Event API call. You should see a notification similar to this appear: