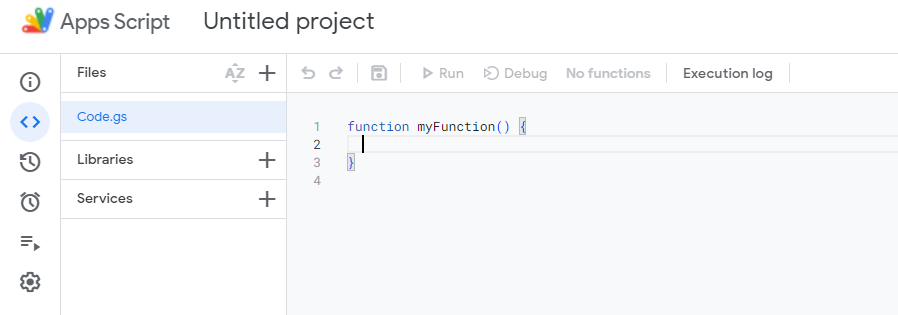
function doPost(e) {
    // Log the full request for debugging purposes
  Logger.log("Request received: " + JSON.stringify(e));

  const sheet = SpreadsheetApp.getActiveSpreadsheet().getActiveSheet();
  let jsonData;

  try {
    // Log the postData.contents before parsing
    Logger.log("Post Data Contents: " + e.postData.contents);

    // Attempt to parse the JSON data
    jsonData = JSON.parse(e.postData.contents);
  } catch (error) {
    // Log the error and return an error response
    Logger.log("Failed to parse JSON: " + error);
    return ContentService.createTextOutput(
      JSON.stringify({ status: "error", message: "Invalid JSON" }),
    ).setMimeType(ContentService.MimeType.JSON);
  }

  // Check if the sheet is empty and set headers if necessary
  if (sheet.getLastRow() === 0) {
    sheet.appendRow([
      "User ID",
      "Event ID",
      "Event",
      "Message ID",
      "Message Name",
      "Message Title",
      "Message Contents",
      "Template ID",
      "Subscription ID",
      "Subscription Device Type",
      "Source",
      "Original Timestamp",
    ]);
  }

  // Prepare the row data from the JSON object
  const row = [
    jsonData.user_id || "",
    jsonData.event_id || "",
    jsonData.event || "",
    jsonData.properties ? jsonData.properties.message_id || "" : "",
    jsonData.properties ? jsonData.properties.message_name || "" : "",
    jsonData.properties ? jsonData.properties.message_title || "" : "",
    jsonData.properties ? jsonData.properties.message_contents || "" : "",
    jsonData.properties ? jsonData.properties.template_id || "" : "",
    jsonData.properties ? jsonData.properties.subscription_id || "" : "",
    jsonData.properties
      ? jsonData.properties.subscription_device_type || ""
      : "",
    jsonData.properties ? jsonData.properties.source || "" : "",
    jsonData.originalTimestamp || "",
  ];

  try {
    // Append the new row to the sheet
    sheet.appendRow(row);
  } catch (error) {
    // Log the error if appending the row fails
    Logger.log("Failed to append row: " + error);
    return ContentService.createTextOutput(
      JSON.stringify({ status: "error", message: "Failed to append row" }),
    ).setMimeType(ContentService.MimeType.JSON);
  }

  // Return a success response
  return ContentService.createTextOutput(
    JSON.stringify({ status: "success" }),
  ).setMimeType(ContentService.MimeType.JSON);
}