푸시 알림의 캐러셀을 보여주는 이미지
1. 알림 콘텐츠 확장 추가
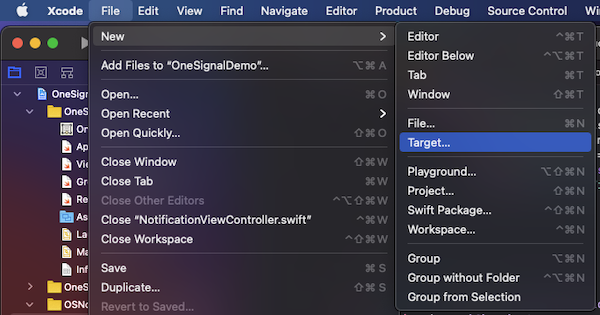
Xcode에서 File > New > Target…를 선택합니다.
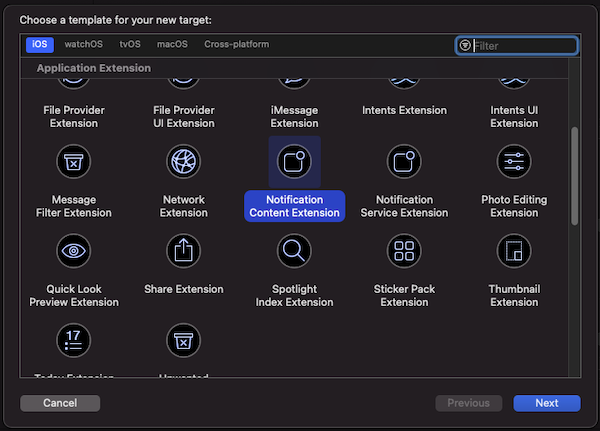
“Notification Content Extension”을 선택합니다.

팝업 창에서 선택을 확인합니다.
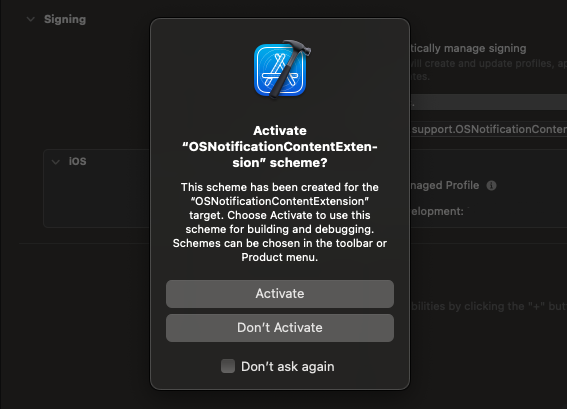
디버그하려면 activate를 선택합니다.
2. 앱에 코드 추가
Github에서 OSNotificationContentExtension을 다운로드하고 Xcode 프로젝트의OSNotificationContentExtension을 Github의 동일한 파일로 교체합니다.
다음 파일이 추가된 것을 볼 수 있습니다:
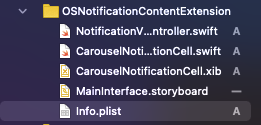
Content Extension 아래 파일들
3. 알림 카테고리 설정
이 예제는 AppDelegate.swiftdidFinishLaunchingWithOptions 내에서 실행 가능한 알림 유형을 선언합니다.
4. 푸시 알림 보내기
푸시 메시지 보내기를 할 때 iOS 카테고리와 커스텀 데이터를 설정할 수 있습니다.iOS 카테고리
iOS 카테고리로OSNotificationCarousel을 사용합니다:
- Dashboard
- API
“Platform Settings” > Send to Apple iOS > “Category”에서 설정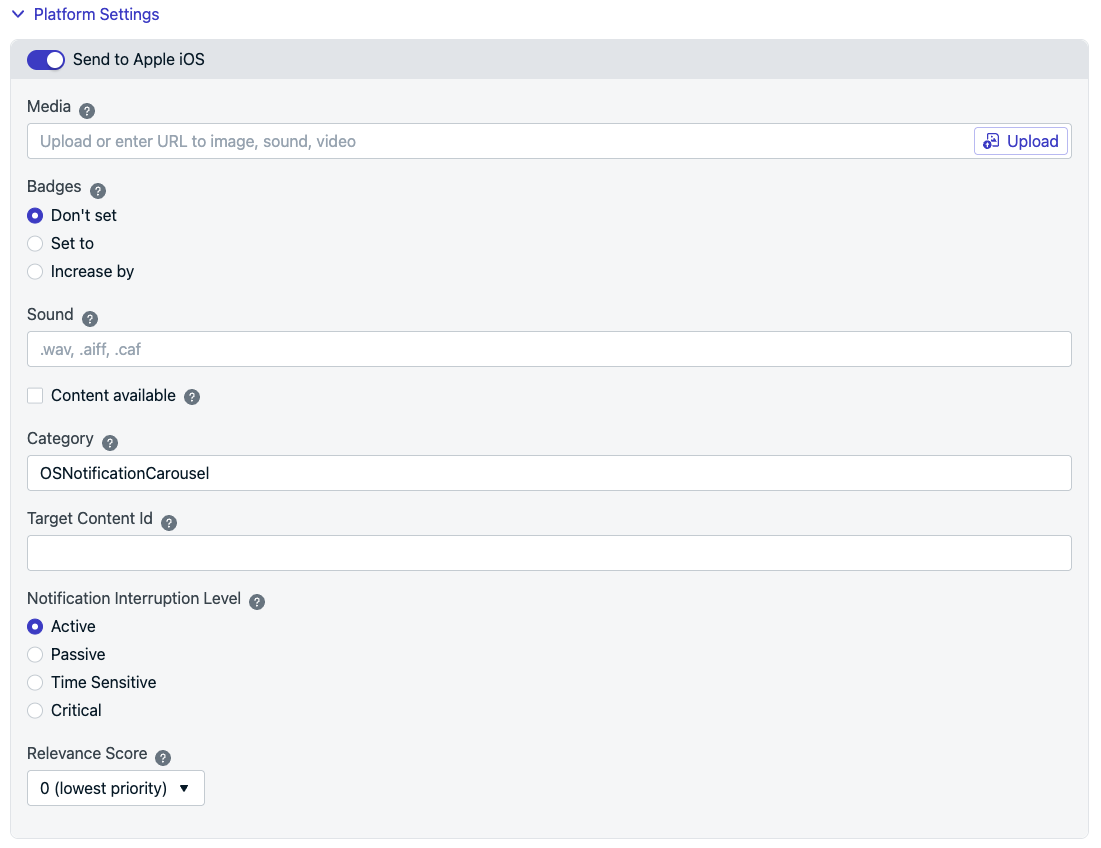
OneSignal 대시보드의 iOS 플랫폼 옵션
커스텀 데이터
OneSignal에는 알림당 여러 이미지를 업로드하는 옵션이 없습니다. 대신 쉼표,로 구분된 이미지 URL 목록을 작성해야 합니다.
- Dashboard
- API
“Advanced Settings” > “Additional Data”에서 설정“Key”에는 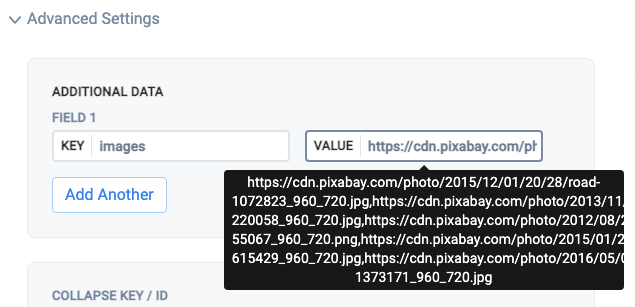
images를, “Value”에는 따옴표 없이 쉼표로 구분된 URL 목록을 설정합니다.