Requirements
Before creating your in-app message:- Add location tracking permissions to your app (for both Android and iOS).
- Refer to our Mobile SDK location reference for platform-specific setup instructions.
- Enable location sharing with OneSignal in your app code.
Create your message
Audience
- If all users should see the prompt, select Show to all users.
- Otherwise, target a specific Segment.
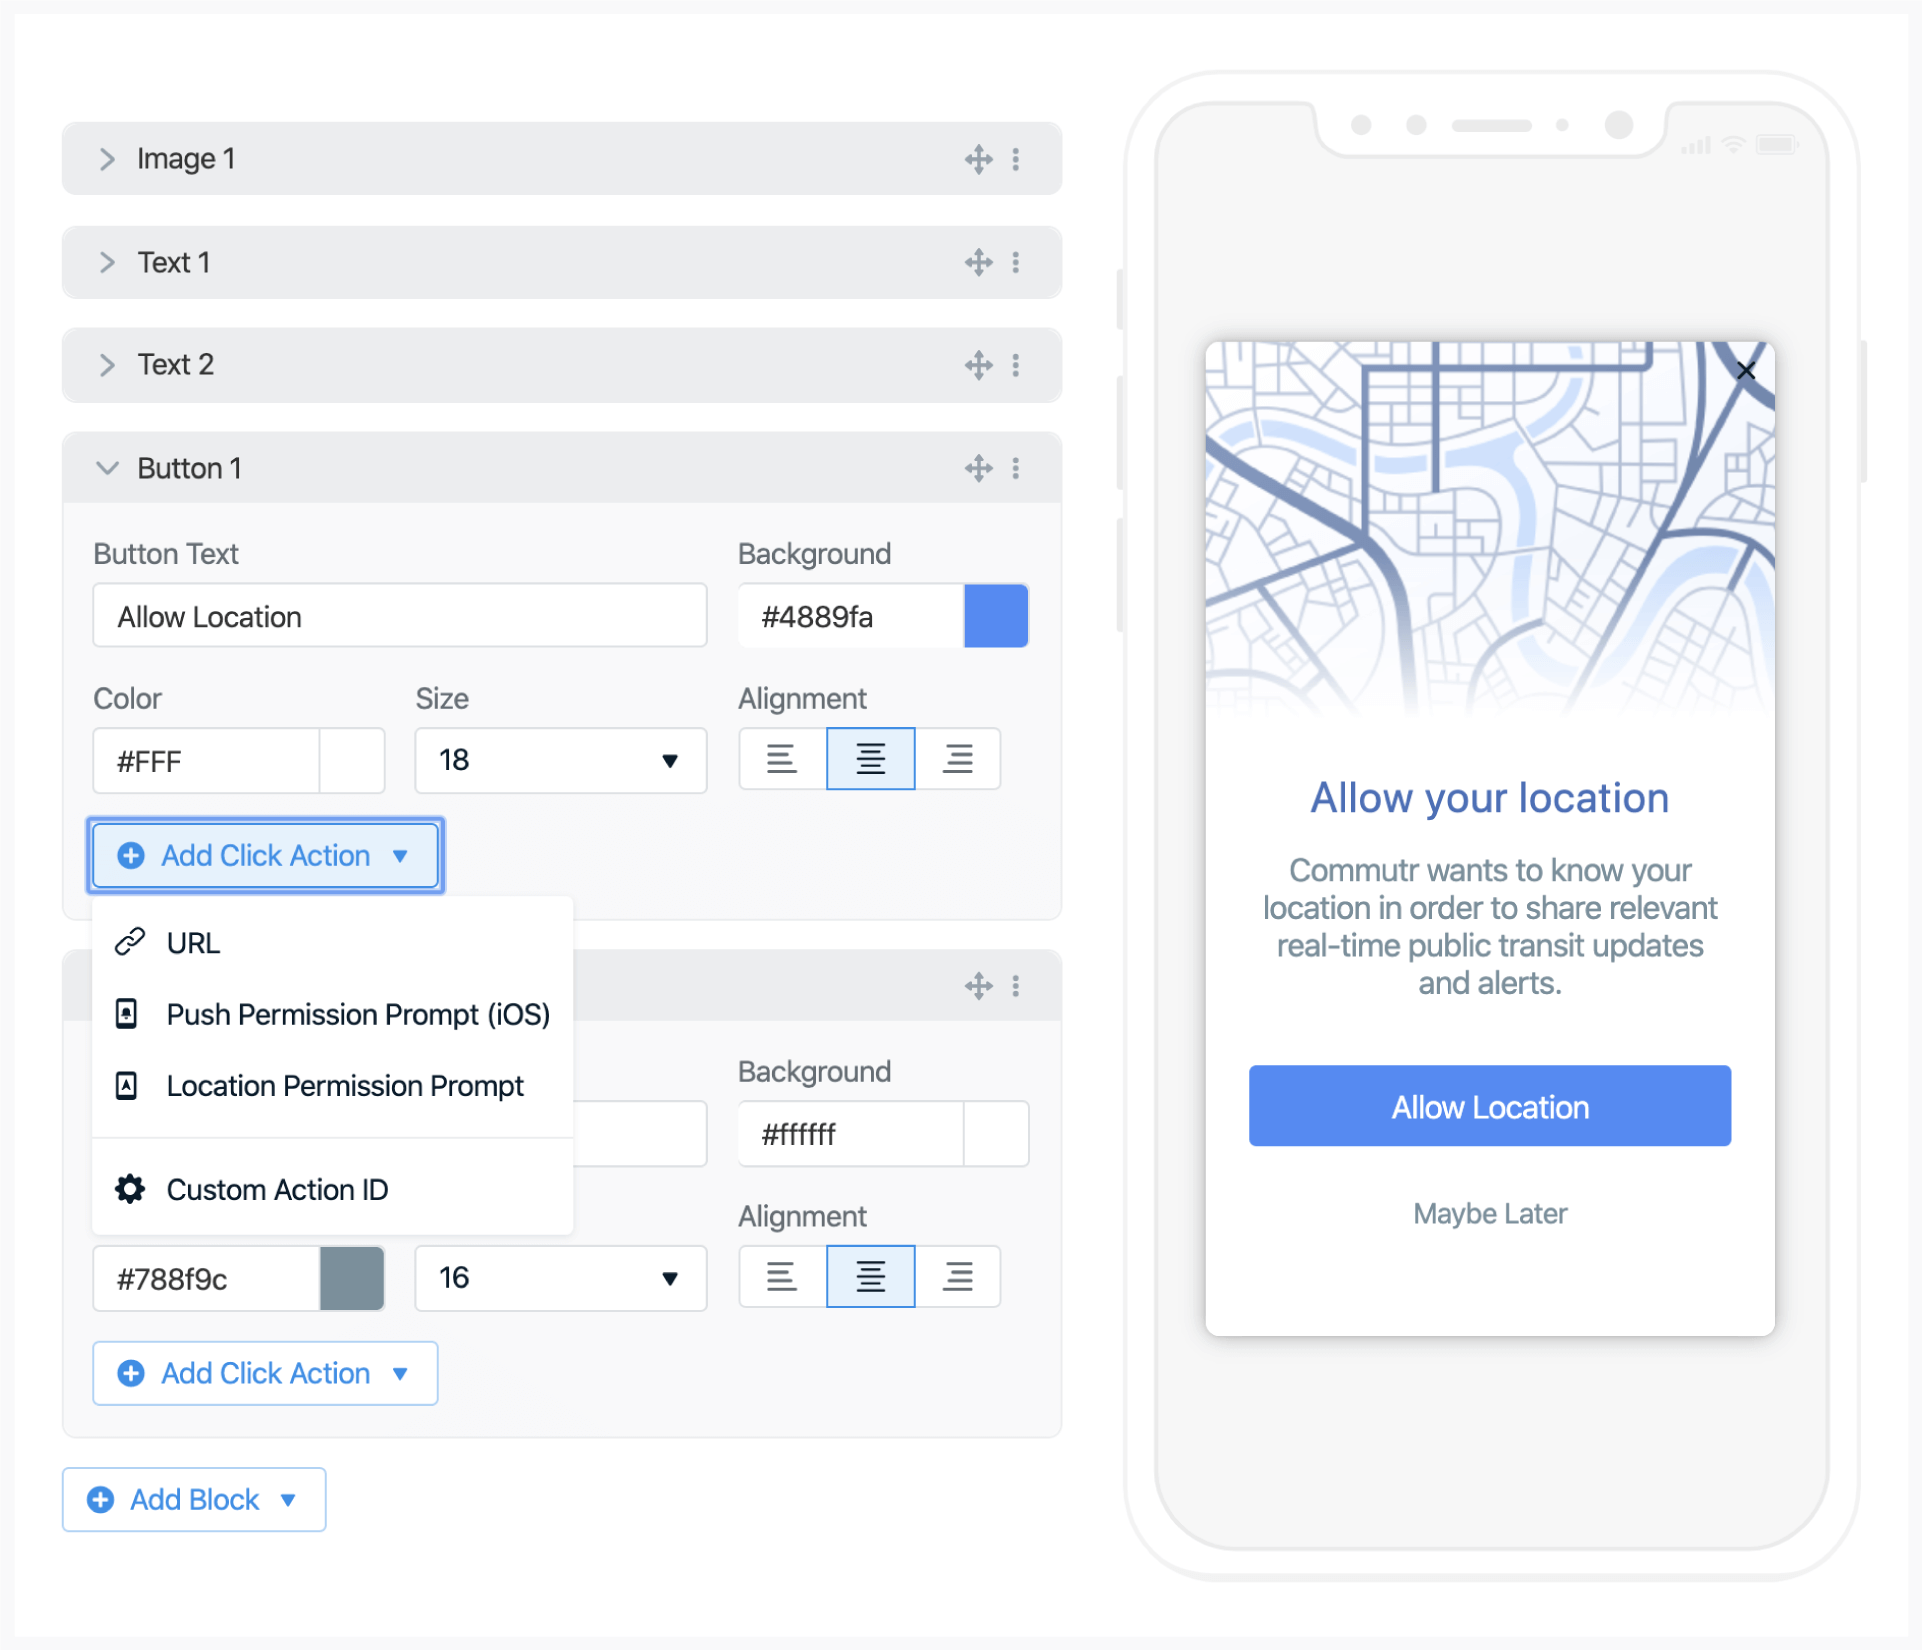
Add the Location Permission Prompt Click Action
Add a click action
In the options: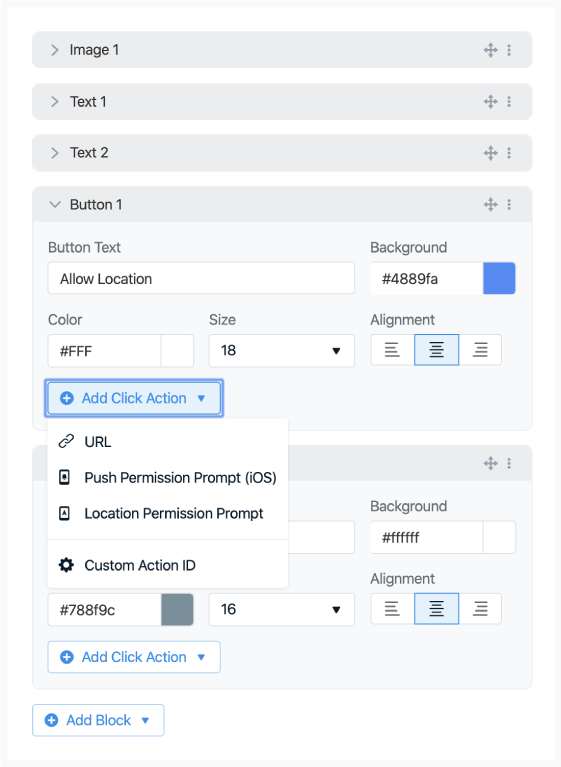
- Click Add Click Action
- Select Location Permission Prompt
Both Android and iOS limit how frequently system-level prompts can appear. Using this soft pre-prompt helps avoid those limitations and allows for repeat attempts if needed.
Trigger the in-app message
You can control when and how the prompt is shown.Option 1: Time-based triggers
Show the message after a user has been in the app for a set amount of time (e.g., after 30 seconds).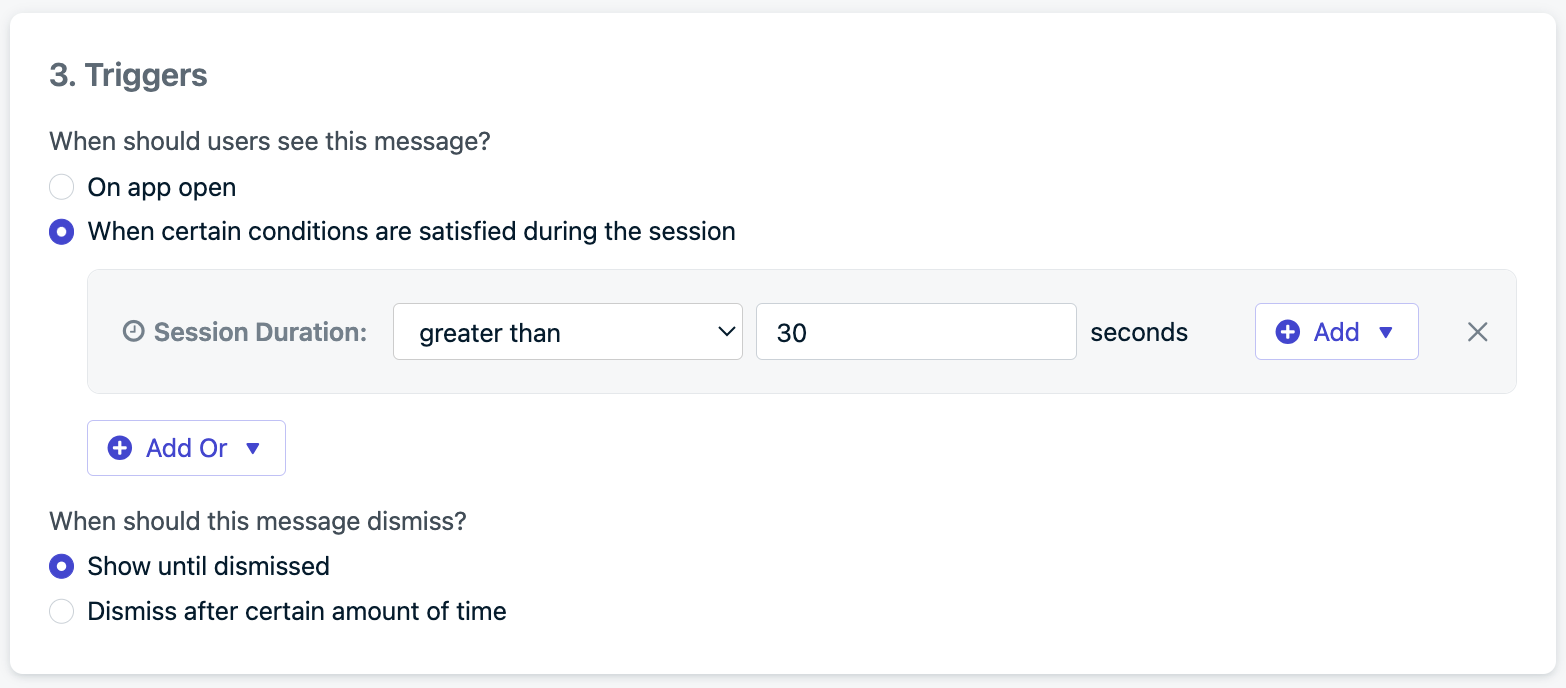
Option 2: Programmatic triggers
Control exactly when the prompt appears via the SDK:Add the trigger code to the app.
Use our SDK’s
addTrigger method to set a key like location_prompt and value like true. Then call this whenever you want inside your app.
Set the message frequency
To avoid spamming users:- Choose Multiple times
- Set a number of times to show the message
- Set a gap between each attempt

Best Practices
- Always explain the benefit of location access to users.
- Use segmentation or triggers to avoid asking at a bad time.
- Pre-prompts increase opt-in rates and avoid operating system limits.
- Ensure location permissions are correctly configured in your app before triggering the in-app message.
You will start to see location points being tracked in your Users and Subscriptions pages.Create Location-triggered messages.