Requirements
- A server to generate and send the OTP or confirmation code.
Sending custom_data through the API
Our Create message API has the custom_data property which you can use to pass data from your server into the message.
Depending on how you generate the confirmation code, magic link, or custom URL, once you do, you can pass it into the custom_data object when sending a message to your users. For example:
Verification Email Template
This email template example will demonstrate how to display the user’s name, a one-time passcode, and a button with a link to confirm their email address.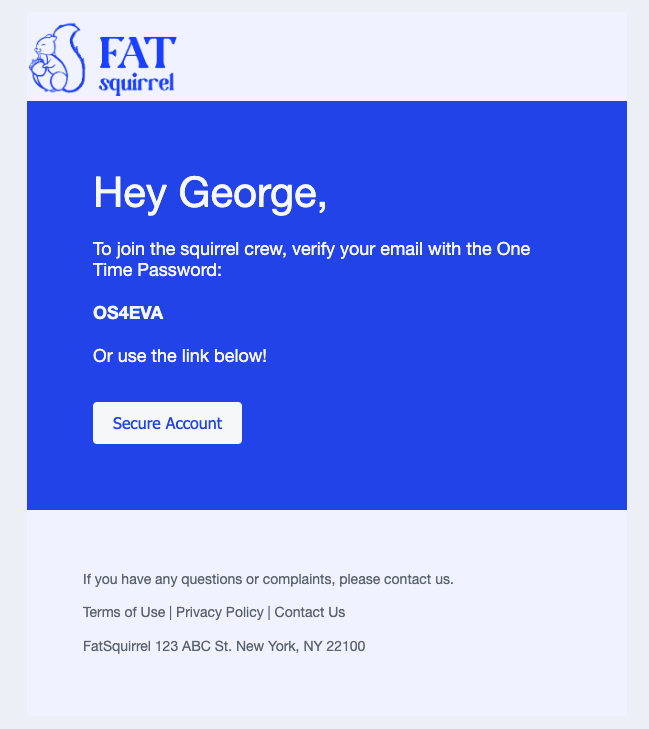
Email Template Setup
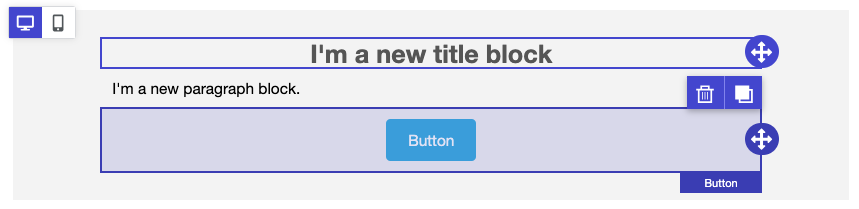
Navigate to Messages > Templates > New Email Template and use the Drag & Drop Editor. Create 1 row and drag in the following blocks:- Title block
- Paragraph block
- Button block
Display user’s name in email
This is optional, but you can make the message more personalized by adding the user’s name. If you may not have the name, you can omit it or set a default. Within our template Title block, set your copy as desired. Example:Display one-time password in email
This example shows both the option to send a one-time password and a button with confirmation URL. Depending on how you want to setup, set your copy within the Paragraph block as desired. Example: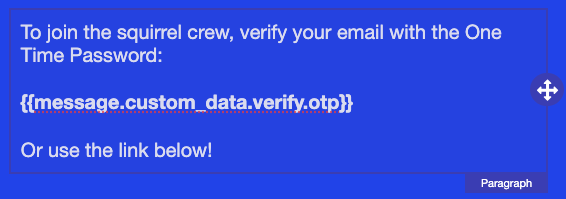
Add a custom URL in email
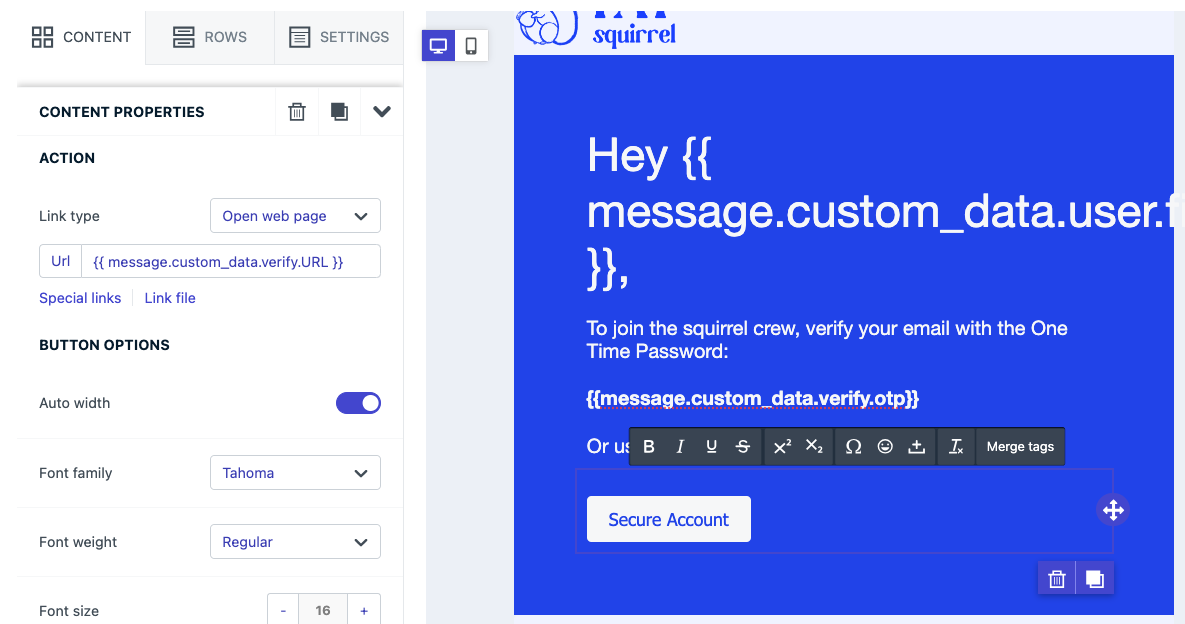
There are several ways to setup the verification URL. In this example we pass in the full URL with confirmation code tocustom_data.
In the Button block > Content Properties > Action > Url, set:
{{message.custom_data.verify.URL}}
Update the email template and send the message
See Design Emails with Drag and Drop for more details on customizing the template. Example API request JSON:When ready, you can use the
template_id within your Create notification API requests with custom_data property.Verification SMS Template
This SMS template example will demonstrate how to display a one-time passcode.SMS Template Setup
SMS should only be sent with a limited amount of data to reduce charges. Navigate to Messages > Templates > New SMS Template. Name the template something memorable likeOTP Template.
Display OTP in SMS template
In the template Message field, add the following copy:{{message.custom_data.verify.otp}} is your OneSignal verification code.
Update the SMS template and send the message
Once you have the template created, you can generate your one time passwords and pass them to OneSignal using the following example API request JSON:When ready, you can use the
template_id within your Create notification API requests with custom_data property.Setting Up Email Double Opt-In
Double opt-in is a process that requires users to confirm their email subscriptions to enhance email list quality and comply with regulations.1. Adding Email Addresses to OneSignal
When adding email addresses to OneSignal, they are automatically subscribed by default. However, for double opt-in, refrain from adding users via our Create user API until they click the verification link sent via email.2. Sending Verification Emails
OneSignal allows you to send verification emails to recipients using our Create notification API. The endpoint will send the email and add the address to OneSignal as an email subscription if it doesnt already exist in the app.API Endpoint: Sending a Verification Email
- Utilize the Create notification endpoint to create and send a verification email to the recipient.
3. Handling Verification Responses
Depending on the recipient’s response to the verification link, follow these steps: For Non-Subscribers- Target the email recipient with a custom data notification via our Create notification API.
- If the user clicks the verification link, use the API’s “Create user” endpoint to add them as a subscription.
- Target existing subscribers separately with a verification email.
- Monitor the recipients’ responses to the verification link over a predefined period.
- Update the subscription to unsubscribe or delete it altogether via the API.
- Do nothing - they are already subscribed to OneSignal.
In summary, setting up double opt-in with OneSignal involves the following steps:
For Email Addresses Not Currently in Your Audience
- Send a verification email to the recipient via the API.
- If the recipient clicks the verification link, use the “create user” API endpoint to create the subscription.
For Email Addresses Already in OneSignal
- Send a verification email to existing subscribers via the API.
- Monitor their response to the verification link.
- If they don’t respond within a specified period, update their subscription to unsubscribe or delete it.
- If they’ve clicked the verification link, take no action as they are already subscribed.