Learn how to implement Live Activities in OneSignal’s Wrapper SDKs like React Native, Flutter, Unity, Cordova, and more, with support for Push To Start and Default Live Activity Type.
Live Activities are a relatively new iOS feature and require native implementation, which can pose challenges when using cross-platform frameworks like React Native, Flutter, Unity, Cordova, etc. To simplify the process, OneSignal’s SDK includes functionality that minimizes native code requirements, enabling streamlined Live Activity integration across supported platforms.
In order to tell the OneSignal SDK to manage the LiveActivity lifecycle for the DefaultLiveActivityAttributes type, you can call the setupDefault method. This method allows you to use both the Start Live Activity and Update Live Activity APIs to start/update/end the Default Live Activity.
import { OneSignal } from 'react-native-onesignal'//Push To StartOneSignal.LiveActivities.setupDefault()//Launching the Live Activity from within the app (not needed for push to start)const activityId = "my_activity_id"const attributes = { title: "Sample Title" } ;const content = { message: { en: "message" } };OneSignal.LiveActivities.startDefault(activityId, attributes, content);
using OneSignalSDK;//Push To StartOneSignal.LiveActivities.SetupDefault();//Launching the Live Activity from within the app (not needed for push to start)string activityId = "my_activity_id";OneSignal.LiveActivities.StartDefault( activityId, new Dictionary<string, object>() { { "title", "Welcome!" } }, new Dictionary<string, object>() { { "message", new Dictionary<string, object>() { { "en", "Hello World!"} }}, });
/*Cordova*///Push To Startwindow.plugins.OneSignal.LiveActivities.setupDefault();//Launching the Live Activity from within the app (not needed for push to start)const activityId = "my_activity_id";const attributes = { title: "Sample Title" };const content = { message: { en: "message" } };window.plugins.OneSignal.LiveActivities.startDefault( activityId, attributes, content);/*Ionic/Capacitor*/import OneSignal from "onesignal-cordova-plugin";//Push To StartOneSignal.LiveActivities.setupDefault();//Launching the Live Activity from within the app (not needed for push to start)const activityId = "my_activity_id";const attributes = { title: "Sample Title" };const content = { message: { en: "message" } };OneSignal.LiveActivities.startDefault(activityId, attributes, content);
using OneSignalSDK;//Push To StartOneSignal.LiveActivities.SetupDefault();//Launching the Live Activity from within the app (not needed for push to start)string activityId = "my_activity_id";OneSignal.LiveActivities.StartDefault( activityId, new Dictionary<string, object>() { { "title", "Welcome!" } }, new Dictionary<string, object>() { { "message", new Dictionary<string, object>() { { "en", "Hello World!"} }}, });
import 'package:onesignal_flutter/onesignal_flutter.dart';OneSignal.LiveActivities.setupDefault()//Launching the Live Activity from within the app (not needed for push to start)const String activityId = "my_activity_id";OneSignal.LiveActivities.startDefault(activityId!, { "title": "Welcome!" }, { "message": {"en": "Hello World!"},});
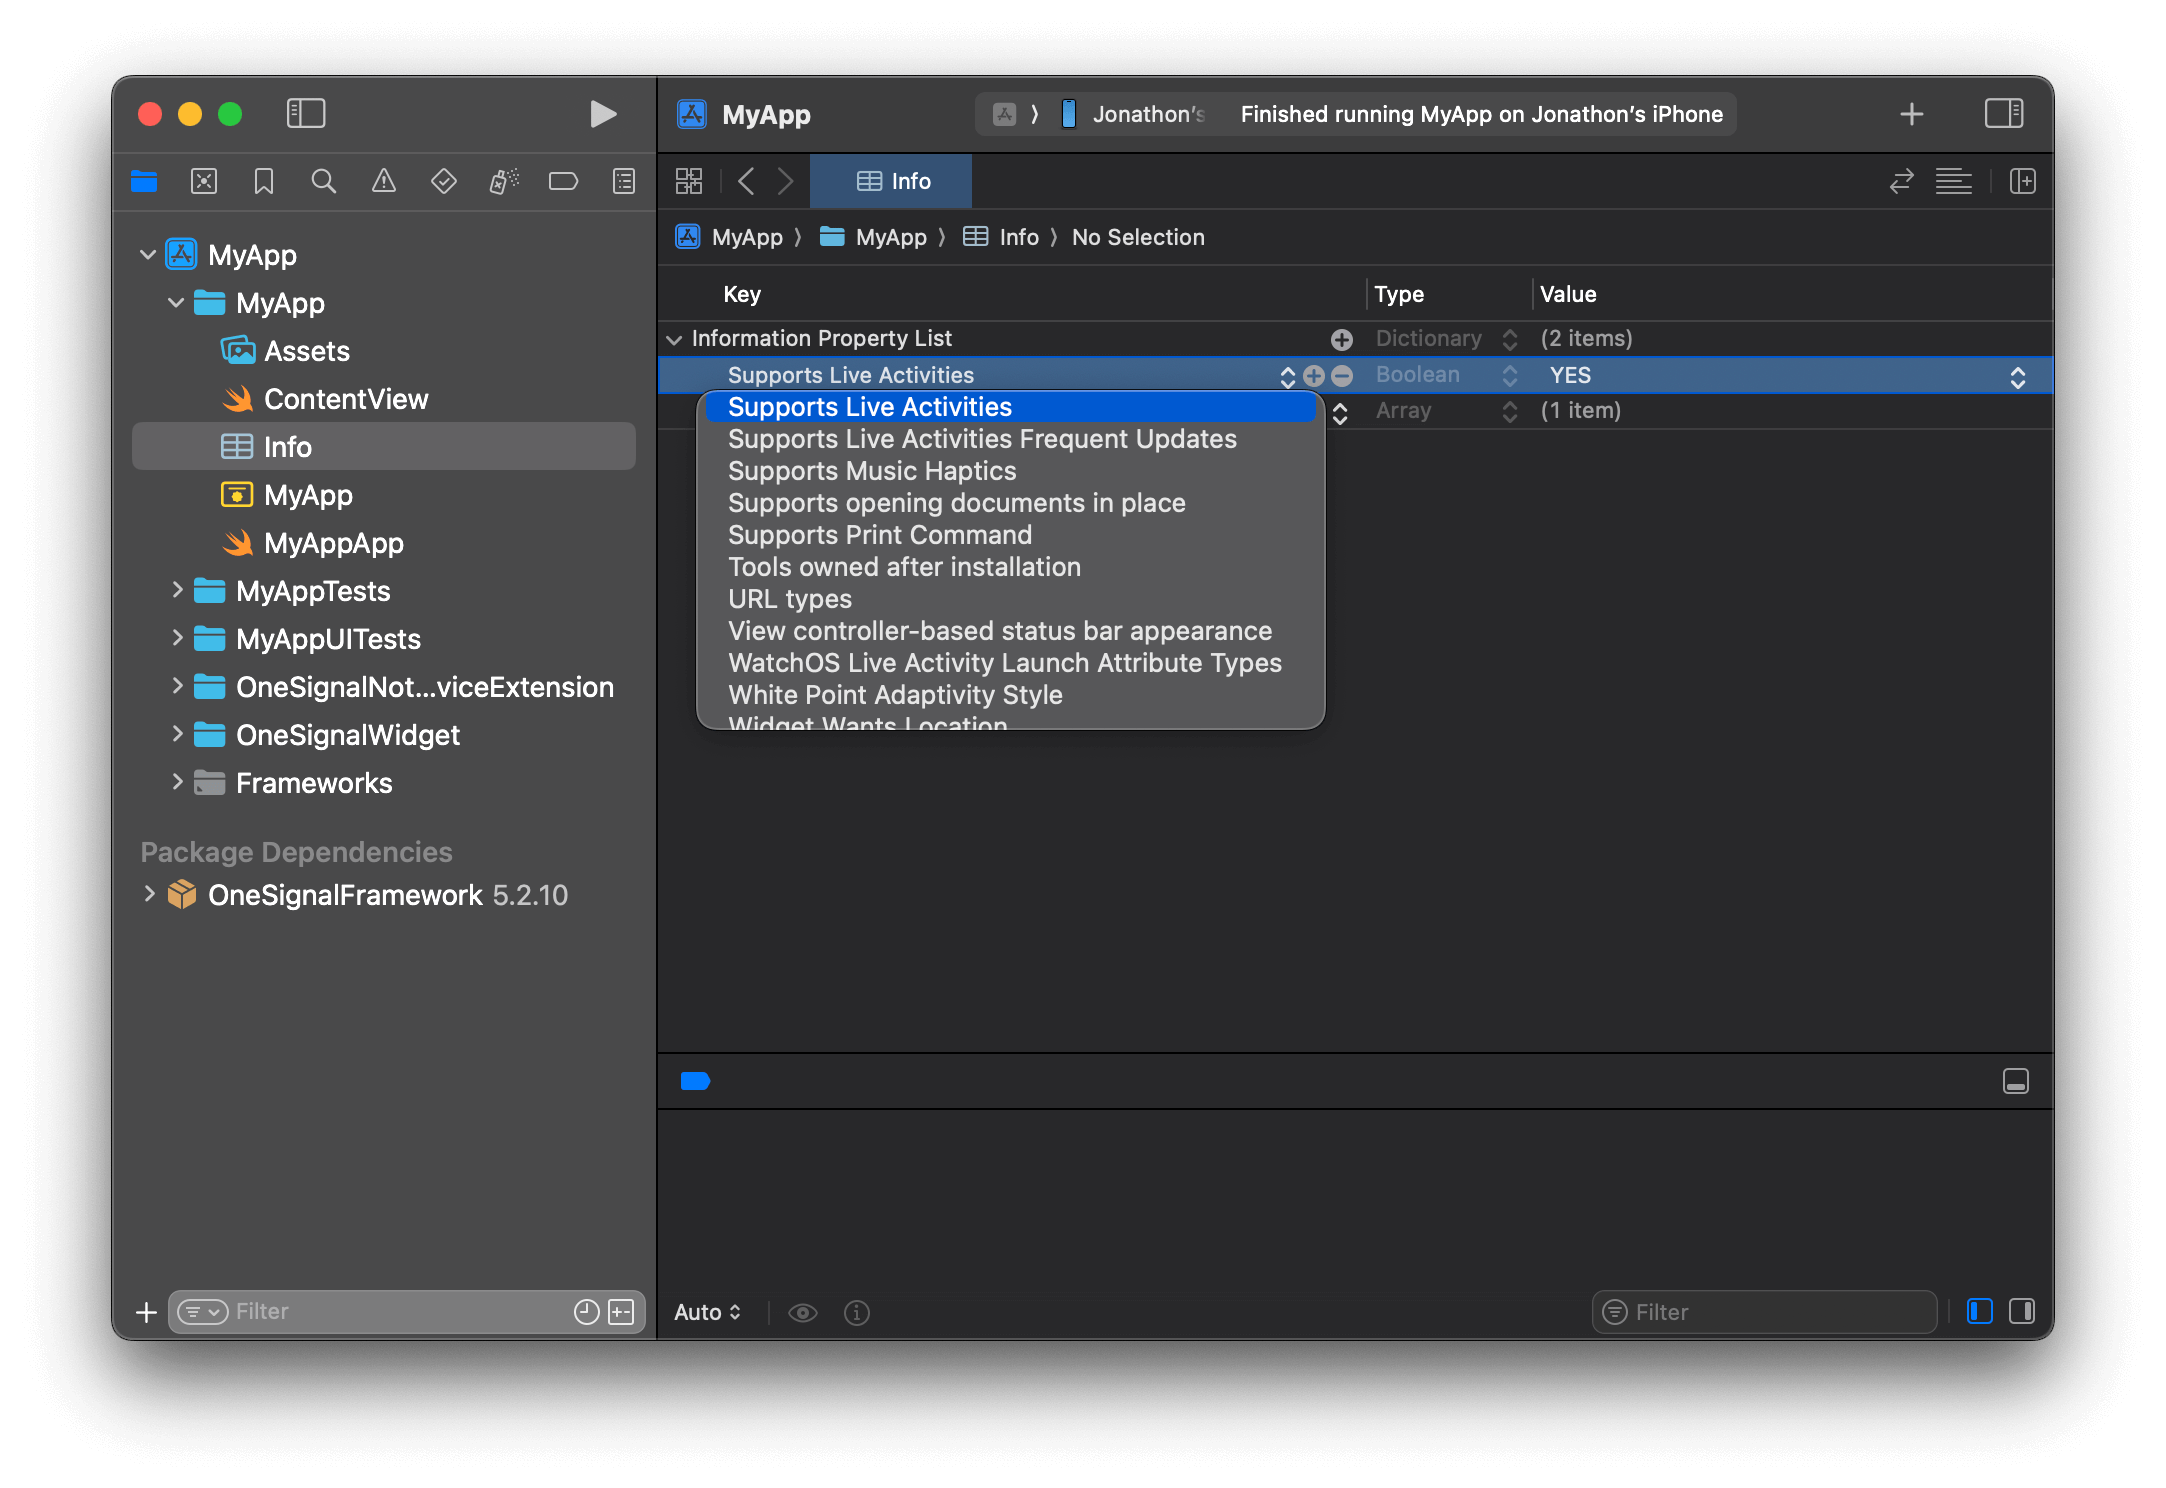
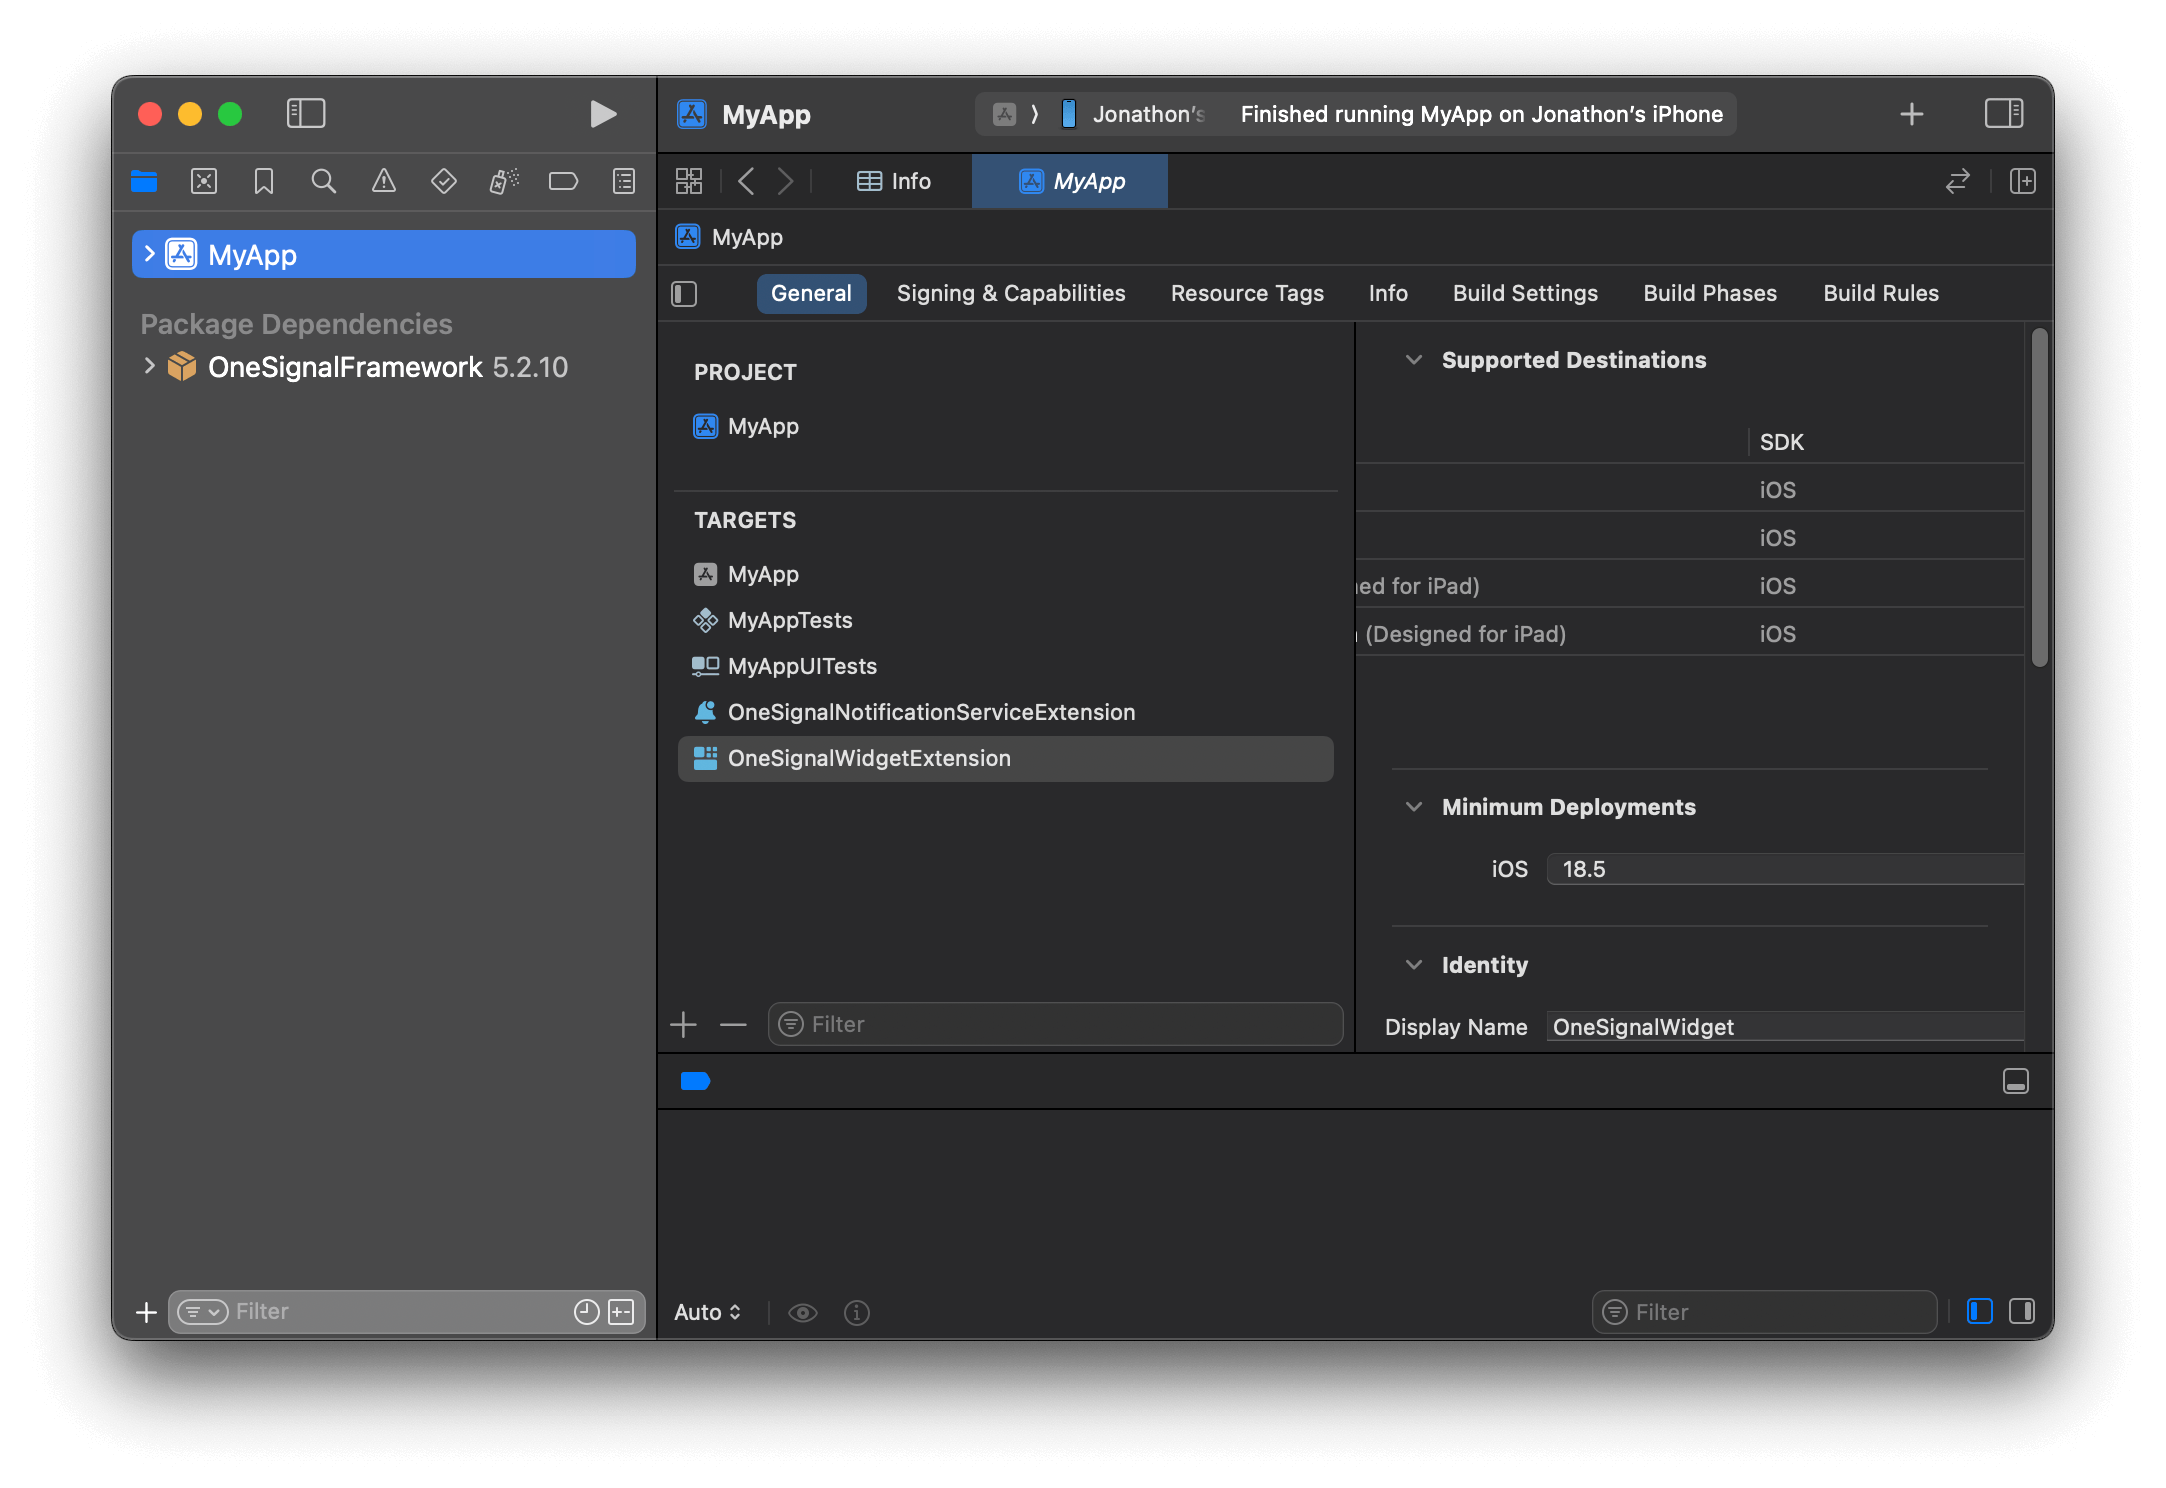
In Xcode, open your main target’s Info.plist, add the key Supports Live Activities as Boolean, and set it to YES.
Add Supports Live Activities key to Info and set its value to Boolean YES
When updating Live Activities, you have the option to set a “priority” which Apple uses to determine how urgent the update is. Apple has internal thresholds in which they will throttle requests that use the high priority flag too frequently.If your use cases for Live Activities relies on more frequent high priority updates, you can add the key NSSupportsLiveActivitiesFrequentUpdates to your Info.plist as a Boolean type set to YES as directed in Apple’s Developer Docs. Users will be presented with a dialog when the Live Activity exceeds its push budget, and if they allow the Live Activity to continue, the budget will automatically be increased for a seamless user experience.
2
Create a Widget Extension
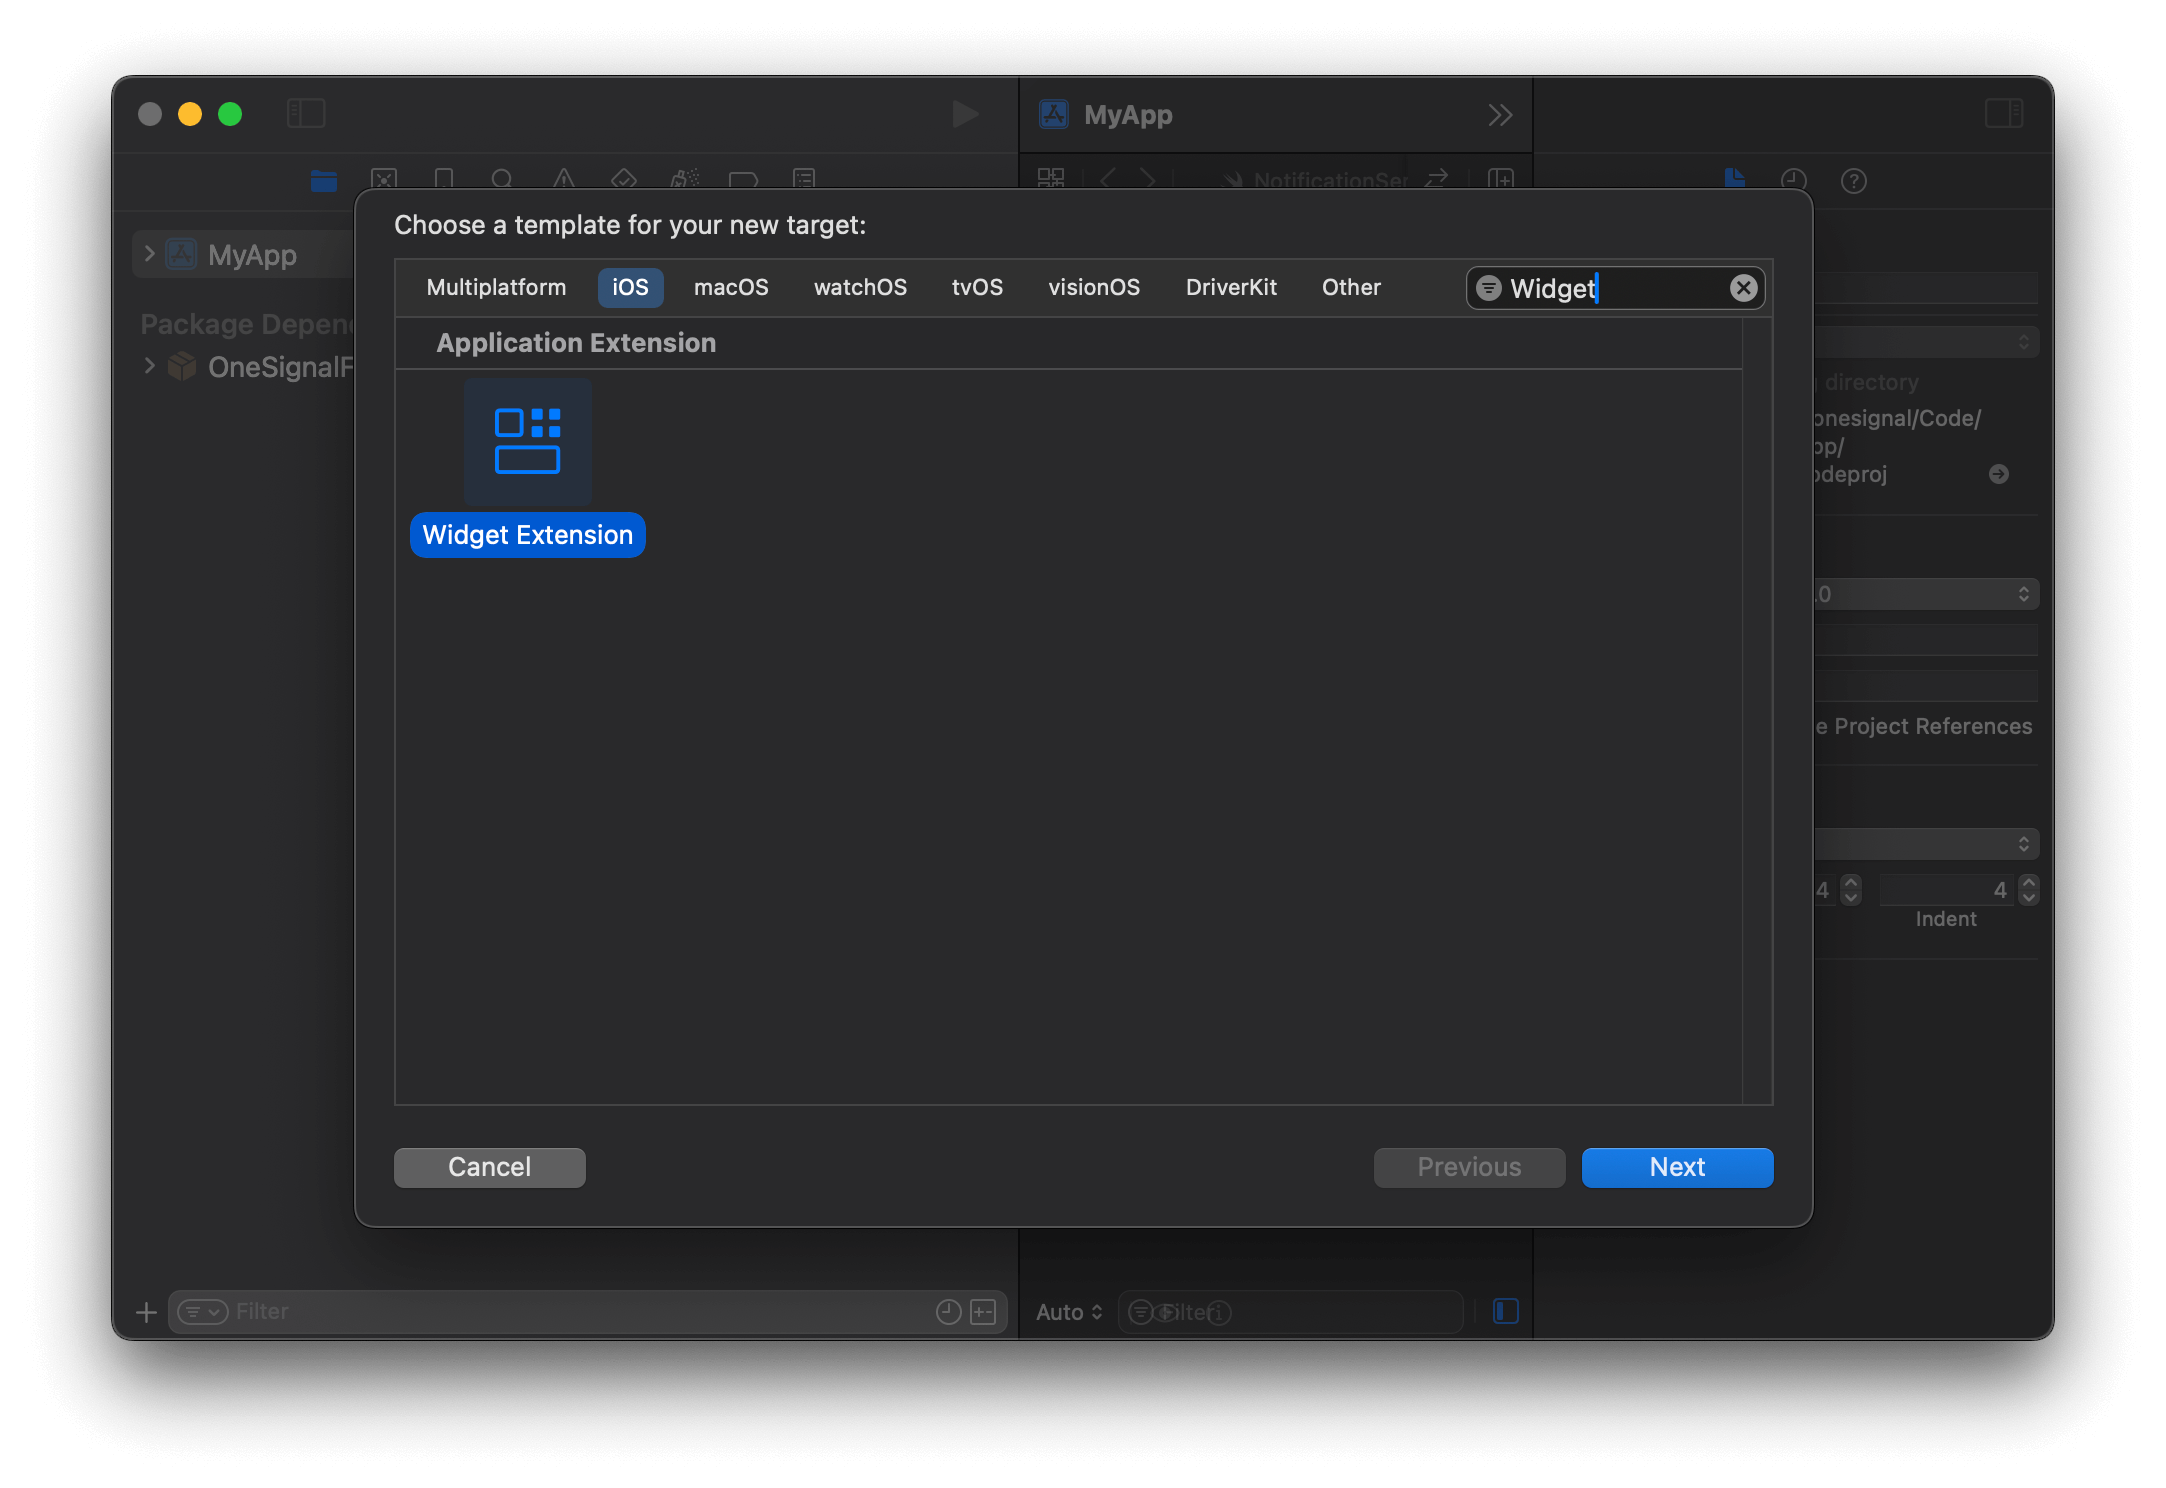
In Xcode, go to File > New > Target… > Widget Extension.
Add a new Widget Extension target for your app in Xcode.
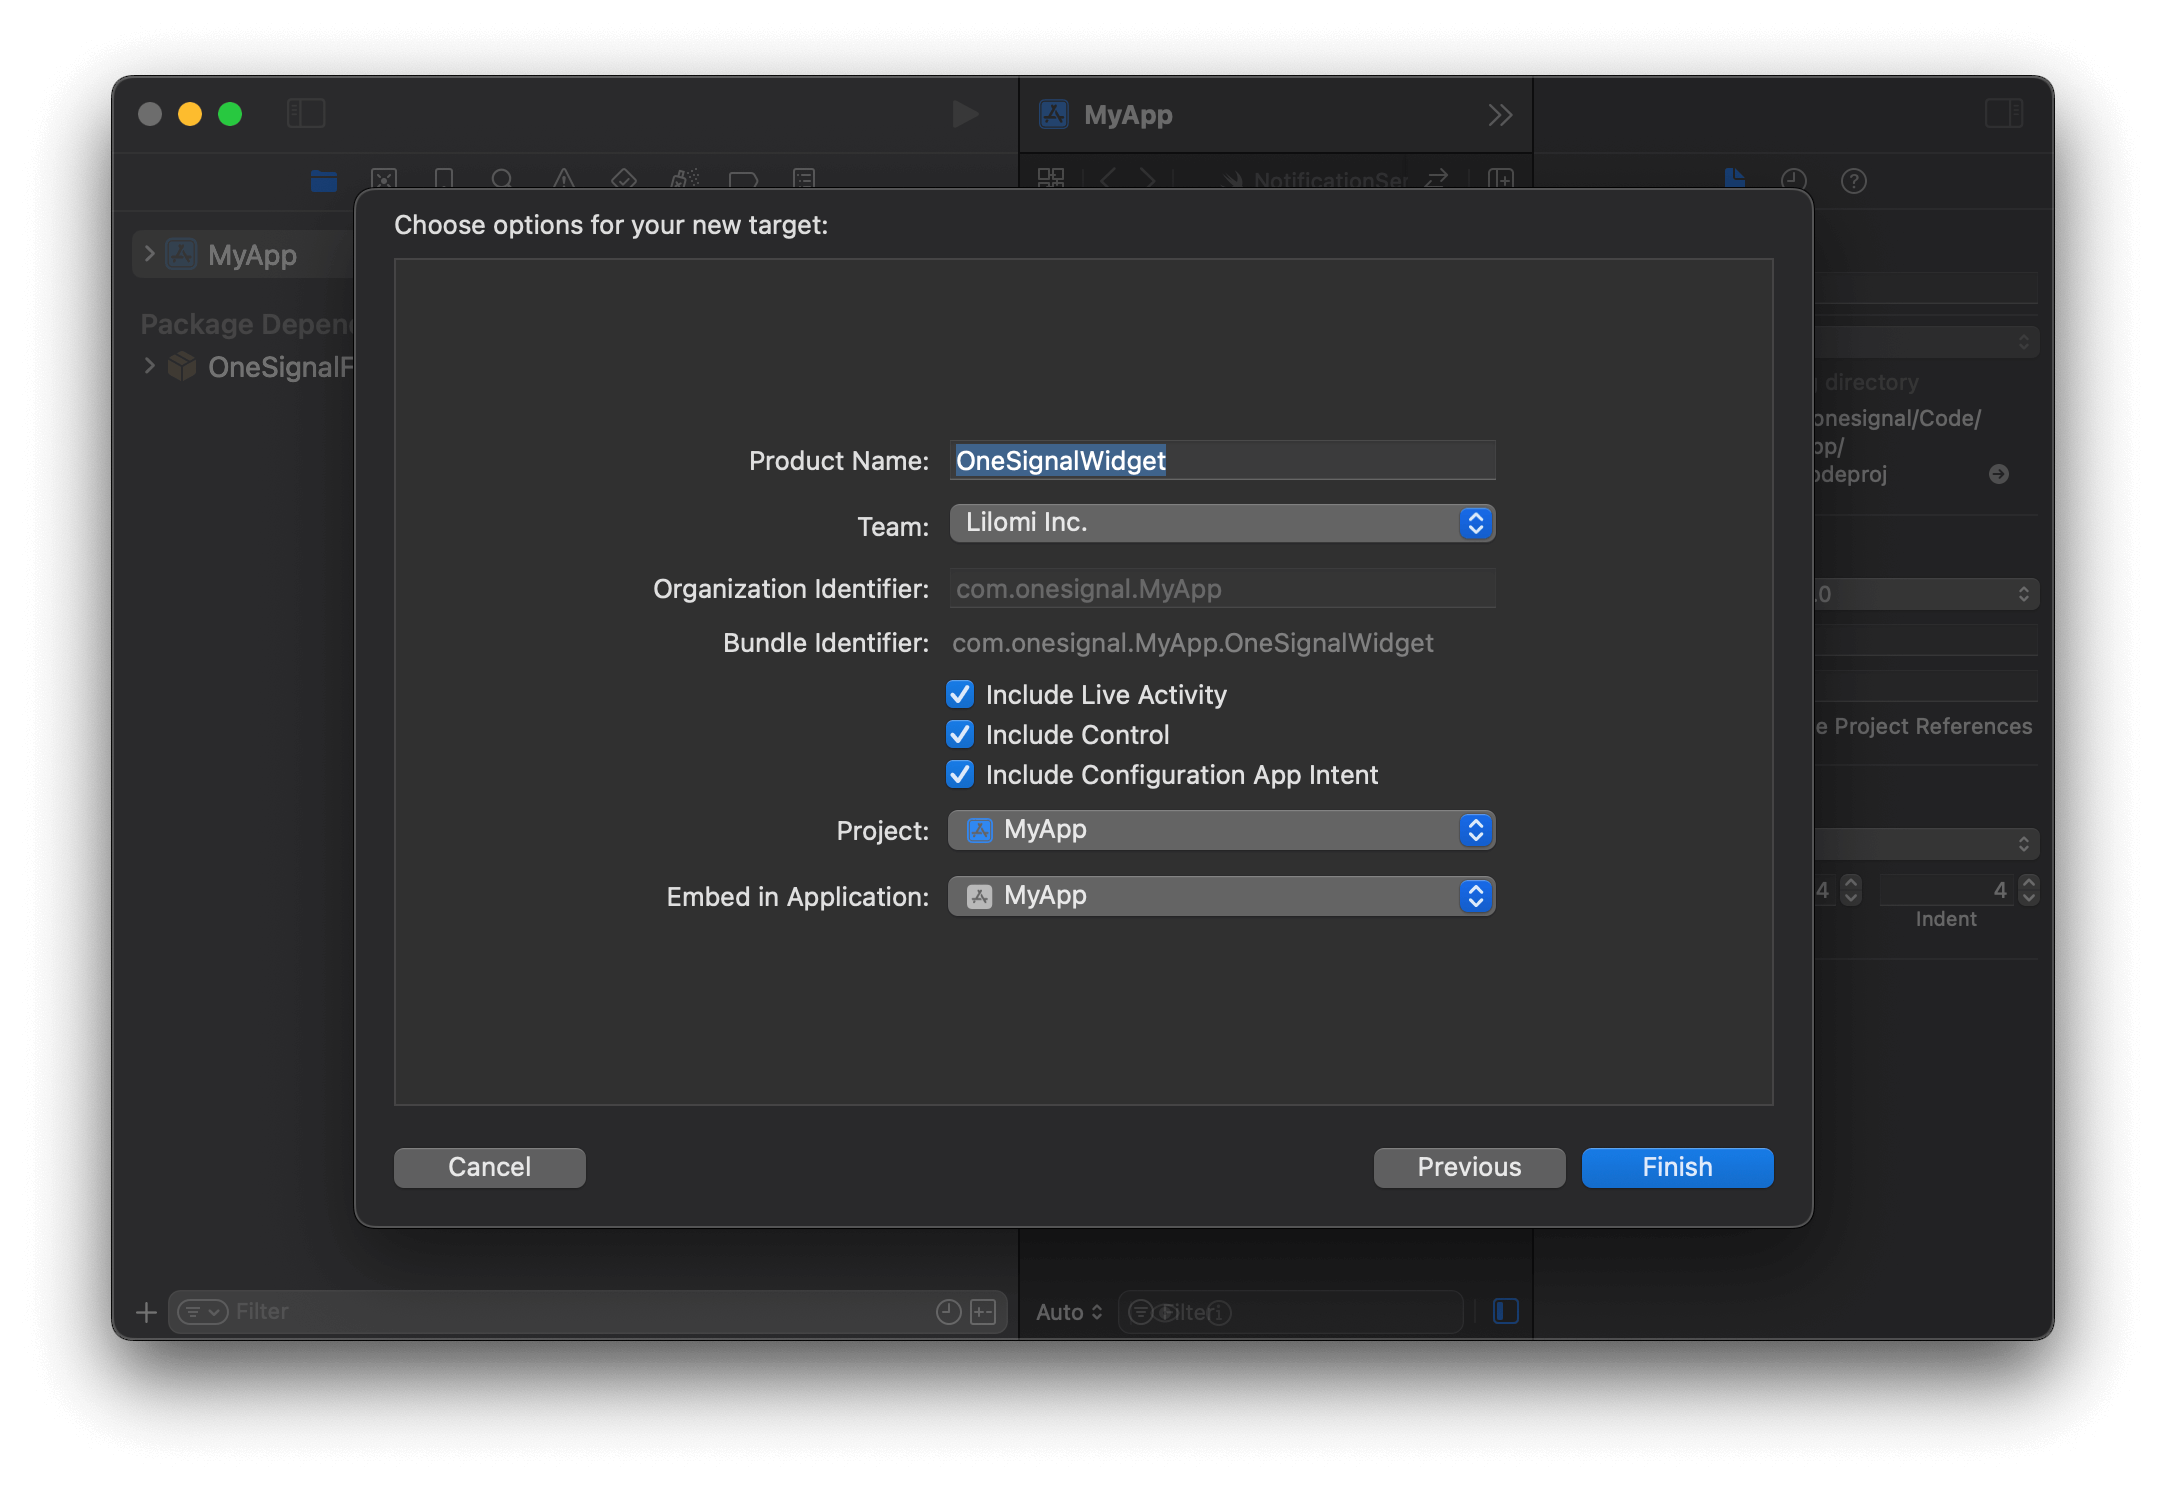
Select and press Next.Configure the Widget Extension by providing a name (example: OneSignalWidget) and ensure Include Live Activity is selected. Then click Finish.
Widget Extension options for a Live Activity.
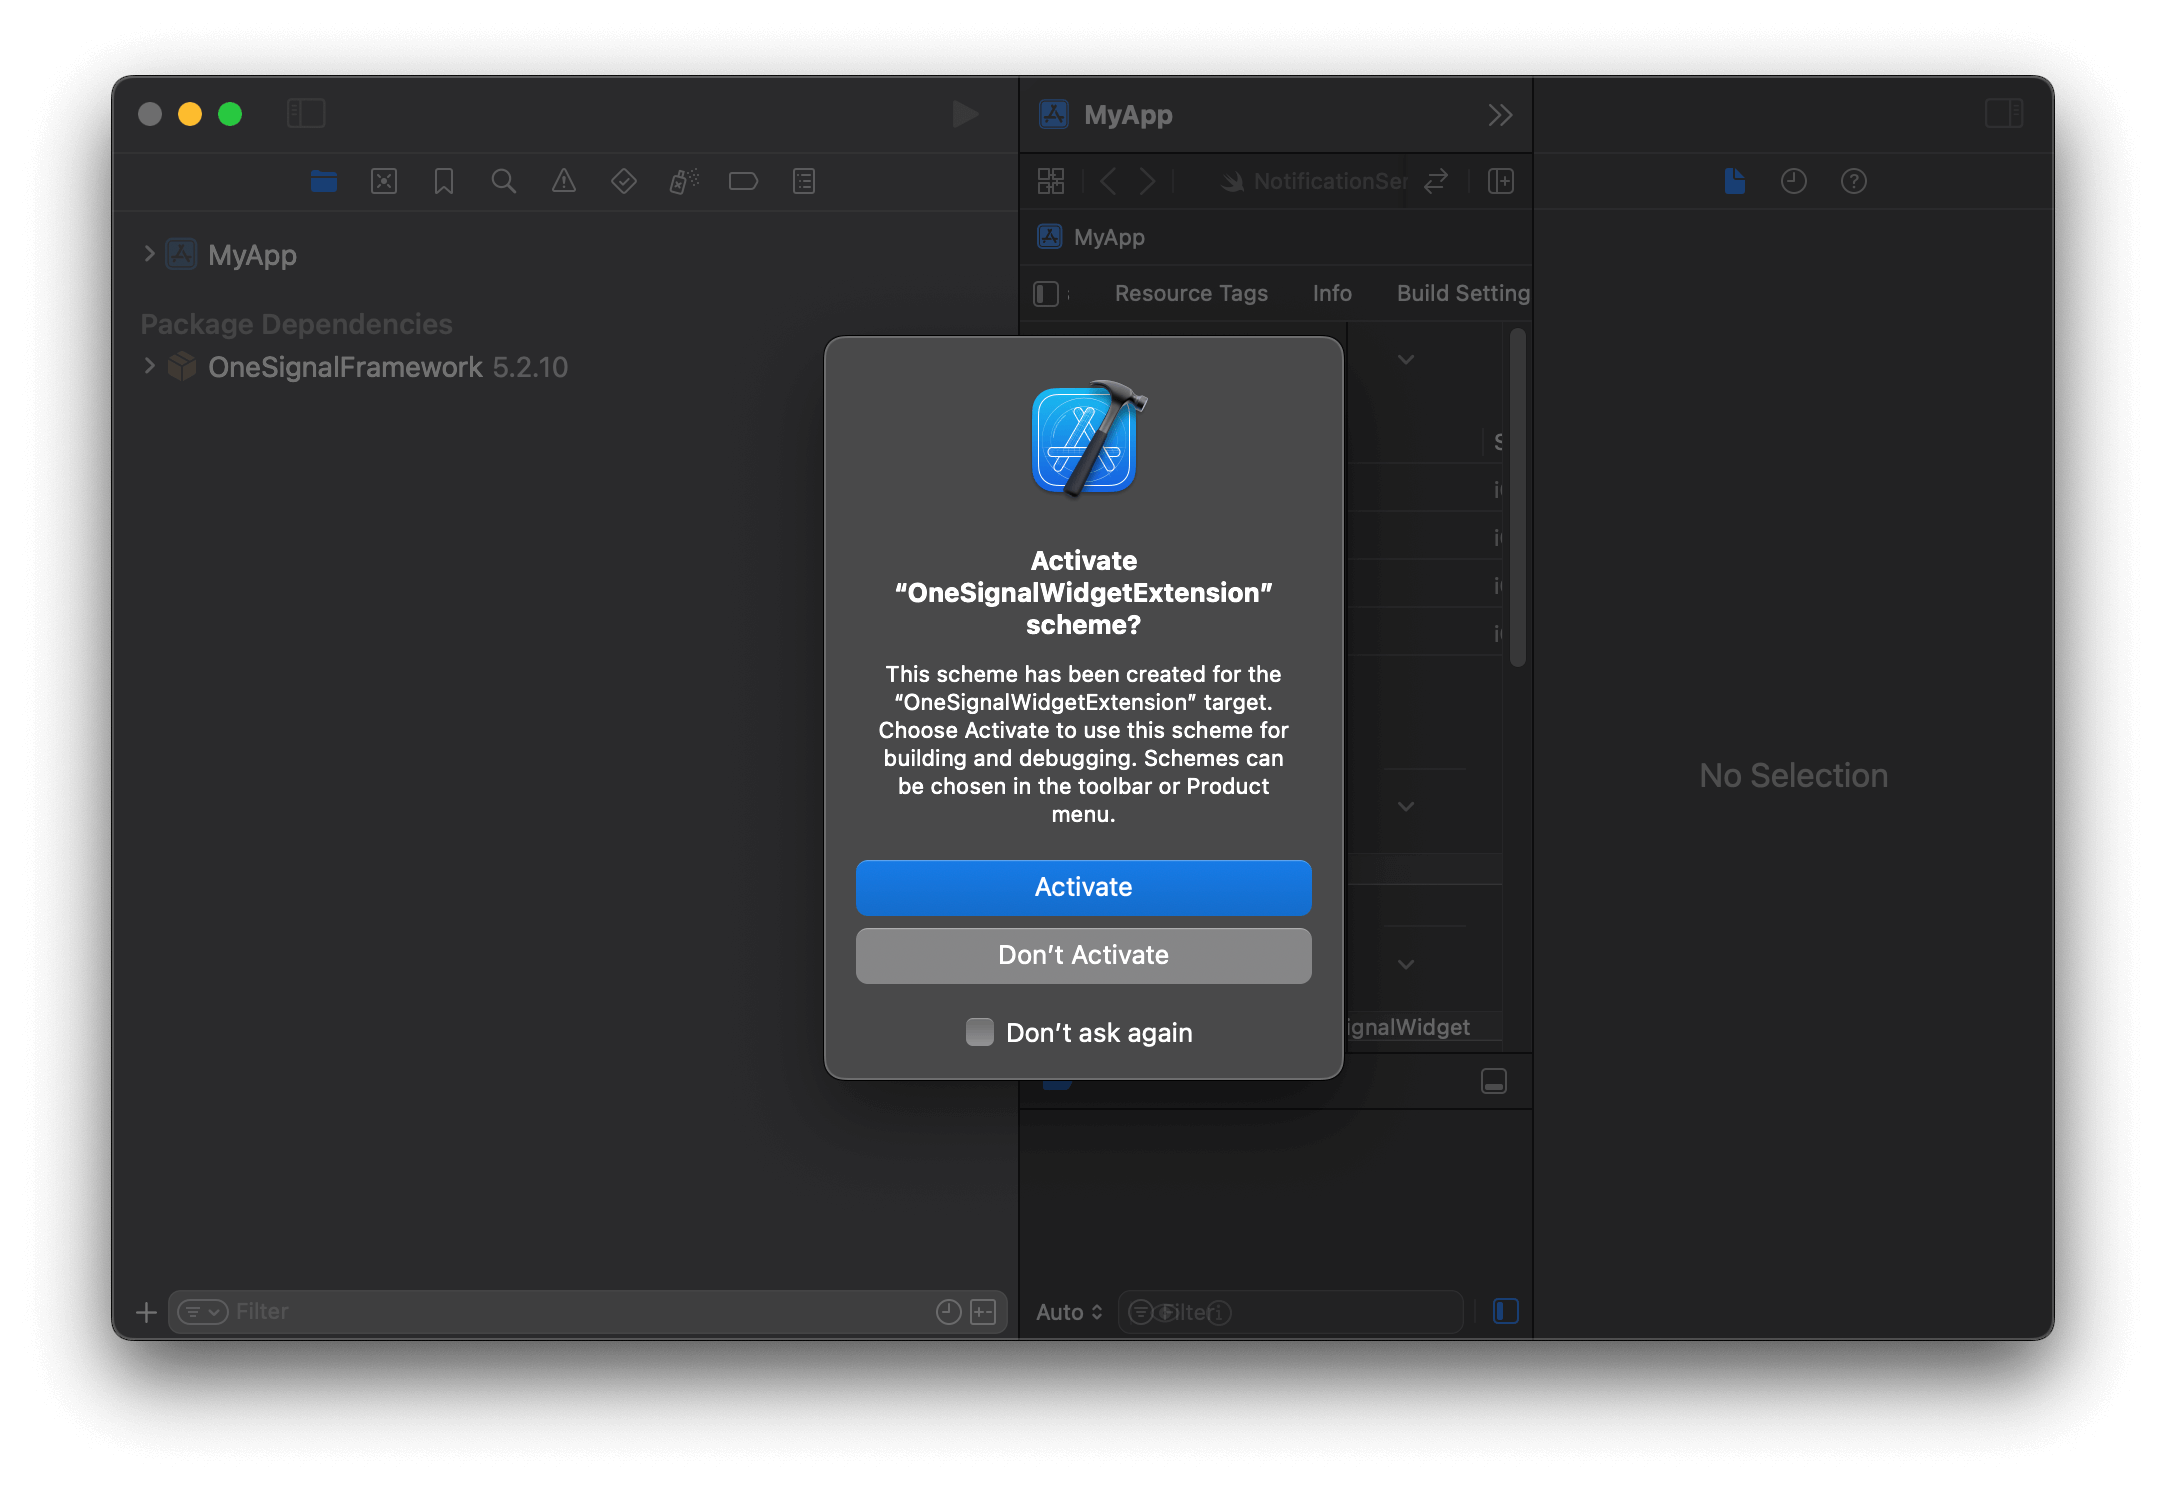
Click Don’t Activate if prompted to activate the scheme.
Widget Extension options for a Live Activity.
3
Add the OneSignalLiveActivities subspec to your Podfile (optional)
This step is only required if your app uses a Live Activity widget extension with CocoaPods.Find the name of your widget extension target in your project’s Targets list. Example’s name is OneSignalWidgetExtension.
Find the name of your widget extension target
Open your Podfile and add only the OneSignalXCFramework/OneSignalLiveActivities subspec. Replace OneSignalWidgetExtension with the name of your widget extension target. Do not use the aggregate pod 'OneSignalXCFramework' declaration, which resolves OneSignalComplete and includes the location module.
Podfile
target 'OneSignalWidgetExtension' do #use_frameworks! pod 'OneSignalXCFramework/OneSignalLiveActivities', '>= 5.0.0', '< 6.0'end
Close Xcode and run pod repo update && pod install to install the OneSignalLiveActivities pod.
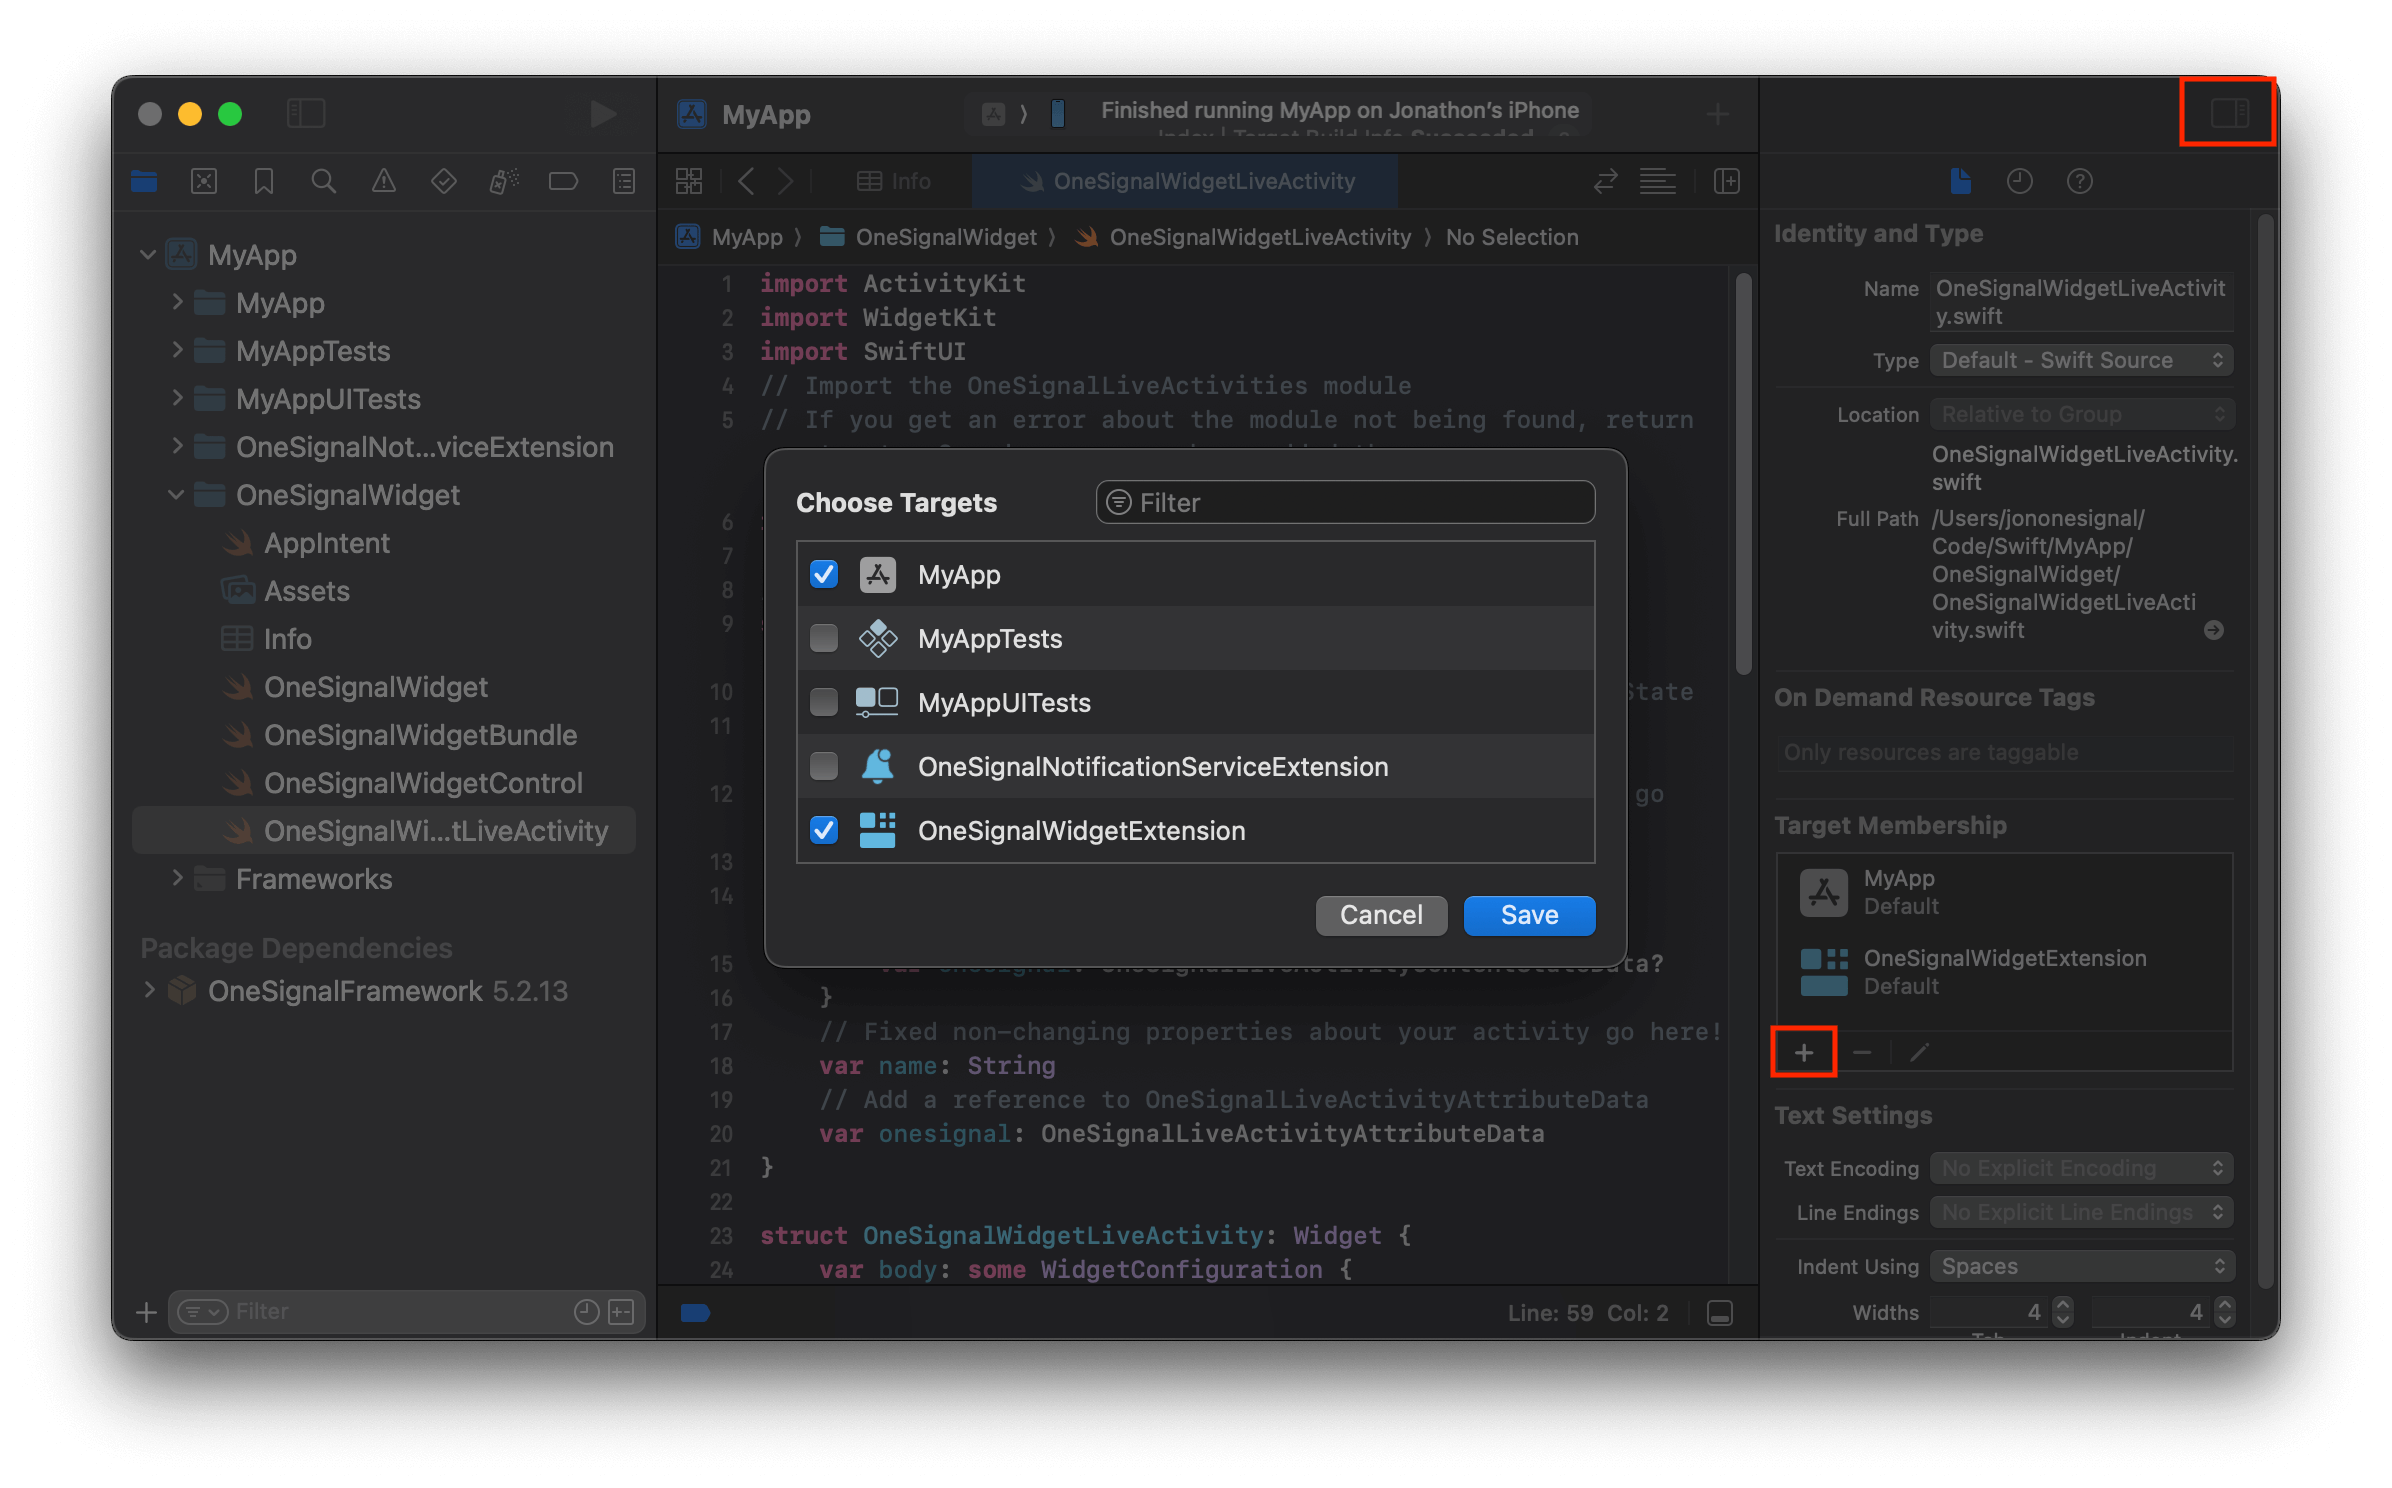
In Xcode, open the WidgetExtensionLiveActivity.swift file.Open the Inspector panel on the right side of the screen. Within Target Membership, click the + button and select your Runner target.
Allow main target membership
Update the contents of WidgetExtensionLiveActivity.swift with the following default Live Activity layout. The values in this Widget can be changed to whatever you’d like displayed on the widget, the setupDefault method will handle defining the struct for these attributes.
See all possible fields in our Start Live Activity API reference. The structure of these fields might differ depending on how you’ve set up your UI. For example :
"event_updates": This is the dynamic data that can be updated after the Live Activity has been started (anything after context.state in the code example). Since we have context.state.data we would add a data object to this field and any additional fields within like the message dictionary we have added in the code example. For usage, see example request below.
"event_attributes": This is the static data that is set in the push to start request, and remains the same value until the Live Activity is removed or overwritten.
When using push to start, you set the "activity_id" in the request, rather than in the code. Using different Activity ID’s will start new Live Activities. Using the same Activity ID will overwrite the widget that is currently using that ID.
Ensure that you’ve changed the OneSignal App ID in your url path, and the App API key in the Authorization header. The DefaultActivityAttributes type cannot be changed if you are using the default setup. Please also note, the activity type added to your path is case sensitive and should match what is defined either by you or the Default activity used in the example below.
curl
curl --request POST \ --url https://api.onesignal.com/apps/YOUR_APP_ID/activities/activity/DefaultLiveActivityAttributes \ --header 'Authorization: key YOUR_REST_API_KEY' \ --header 'Content-Type: application/json' \ --header 'accept: application/json' \ --data '{ "event": "start", "event_updates": { "data": { "message": { "en": "The message is nested in context.state.data[\"message\"] as a dictionary" }, "intValue": 10, "doubleValue": 3.14, "boolValue": true } }, "event_attributes": { "data": { "title": "this is set when the LA starts and does not get updated after" } }, "activity_id": "my-activity-id", "name": "OneSignal Notification Name", "contents": { "en": "English Message" }, "headings": { "en": "English Message" }, "sound": "beep.wav", "priority": 10}'
These are optional methods to use if you want to generate your own Push To Start token, which has also been added in the latest release of the SDK. Using these methods requires that you interact with Xcode more, and generate your own token for Push To Start with Swift. You can find a guide on this here.
//Setting the Push To Start TokenOneSignal.LiveActivities.setPushToStartToken(activityType: string, token: string)//Removing the Push To Start TokenOneSignal.LiveActivities.removePushToStartToken(activityType: string)
//Setting the Push To Start TokenOneSignal.LiveActivities.SetPushToStartToken(string activityType, string token)//Removing the Push To Start TokenOneSignal.LiveActivities.RemovePushToStartToken(string activityType)
/* Cordova *///Setting the Push To Start Tokenwindow.plugins.OneSignal.LiveActivities.setPushToStartToken(activityType: string, token: string)//Removing the Push To Start Tokenwindow.plugins.OneSignal.LiveActivities.removePushToStartToken(activityType: string)/* Ionic *///Setting the Push To Start TokenOneSignal.LiveActivities.setPushToStartToken(activityType: string, token: string)//Removing the Push To Start TokenOneSignal.LiveActivities.removePushToStartToken(activityType: string)
//Setting the Push To Start TokenOneSignal.LiveActivities.SetPushToStartToken(string activityType, string token)//Removing the Push To Start TokenOneSignal.LiveActivities.RemovePushToStartToken(string activityType)
//Setting the Push To Start TokenOneSignal.LiveActivities.setPushToStartToken(String activityType, String token)//Removing the Push To Start TokenOneSignal.LiveActivities.removePushToStartToken(String activityType)