Web Quickstart
How to set up your website with OneSignal.
Sending Web Push Notifications is easy with OneSignal. If you haven't already, sign up for a free account on onesignal.com.
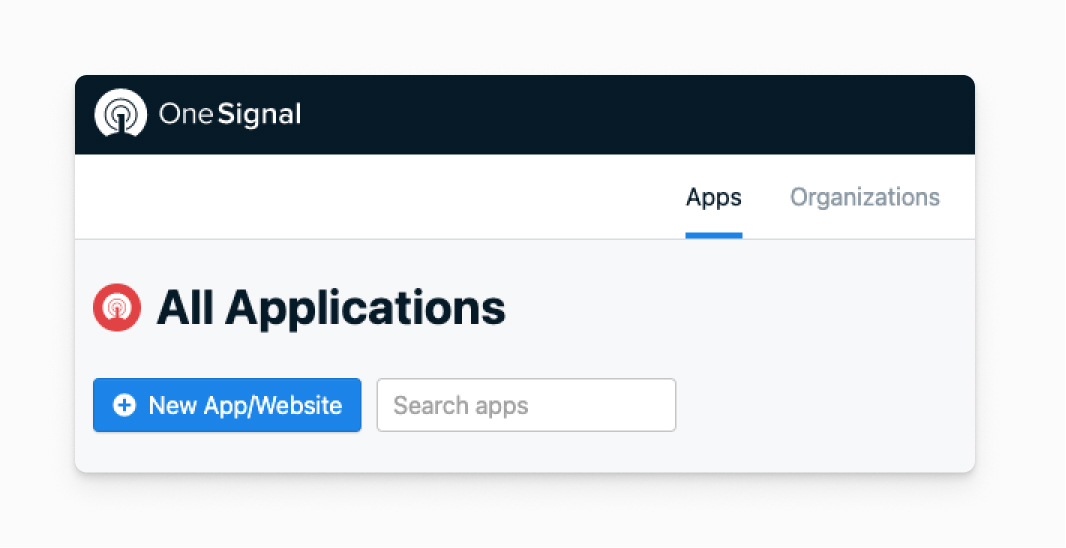
If this is not your first app with OneSignal, click New App/Website. Otherwise, you will see the next page.
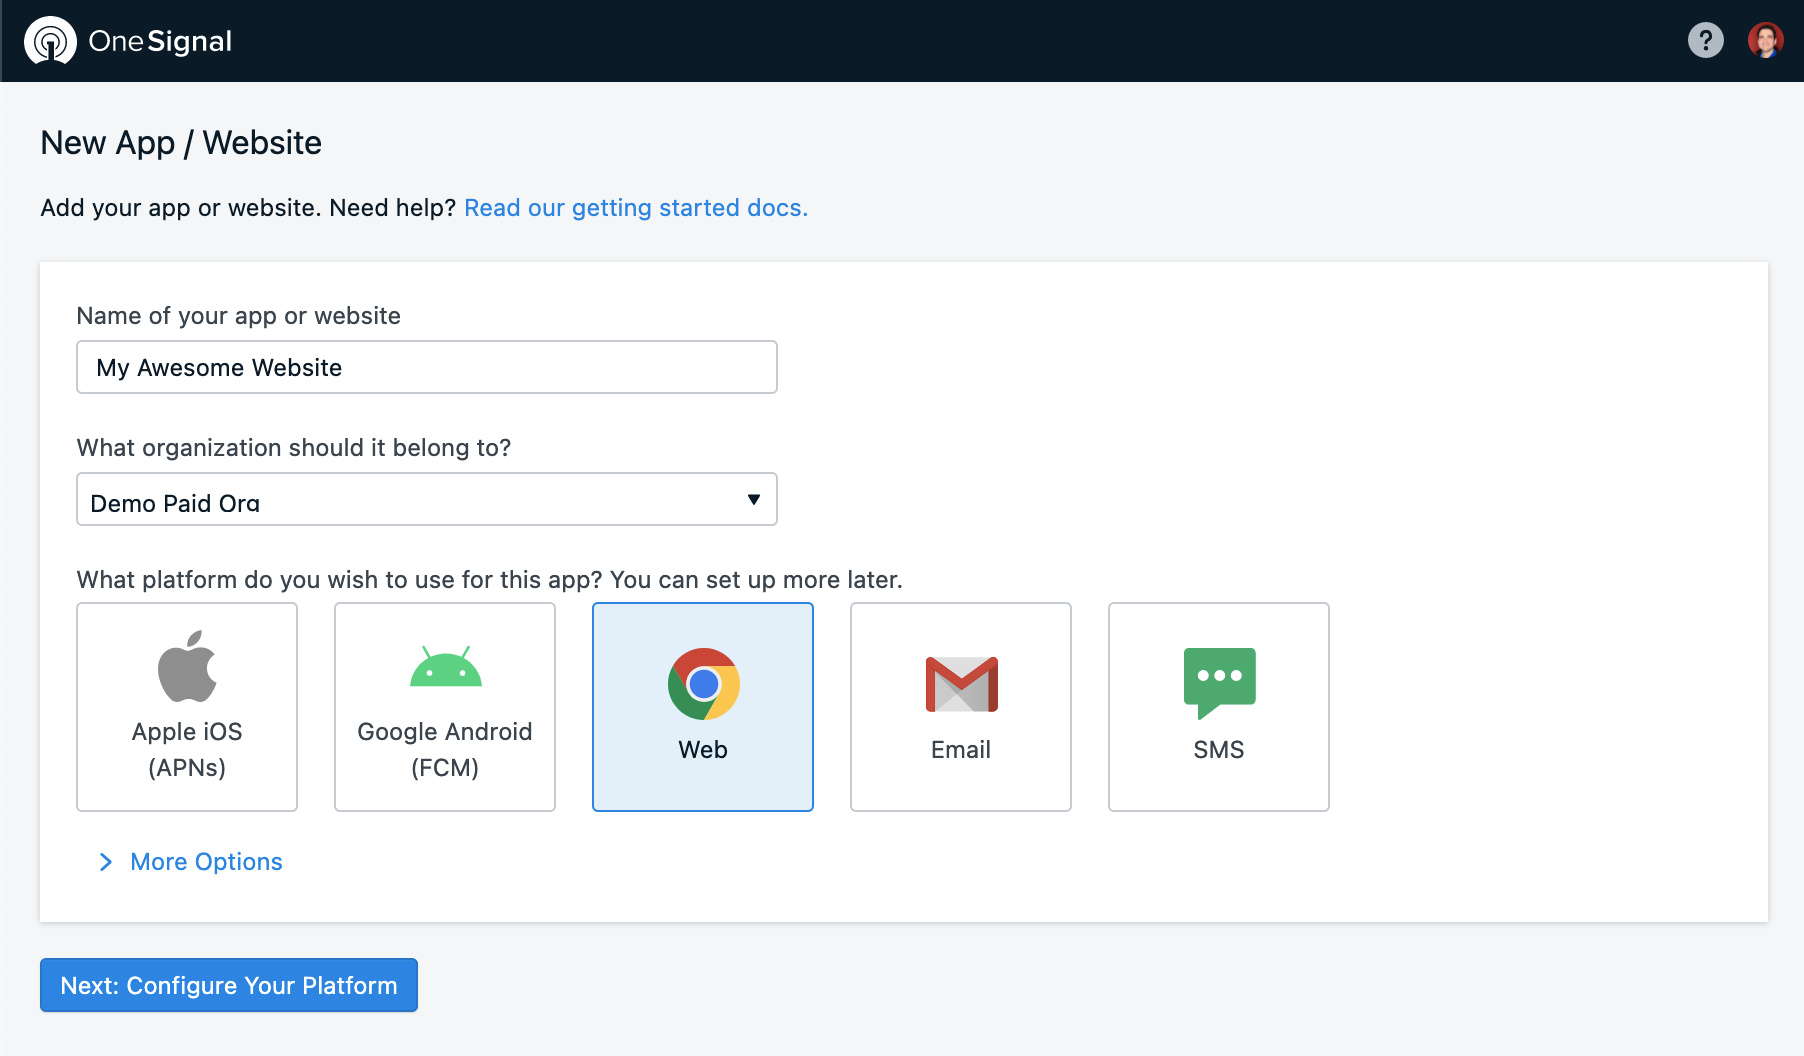
Simply name your app something similar to your site, then select Web from the platform list. Click "Next: Configure Your Platform".
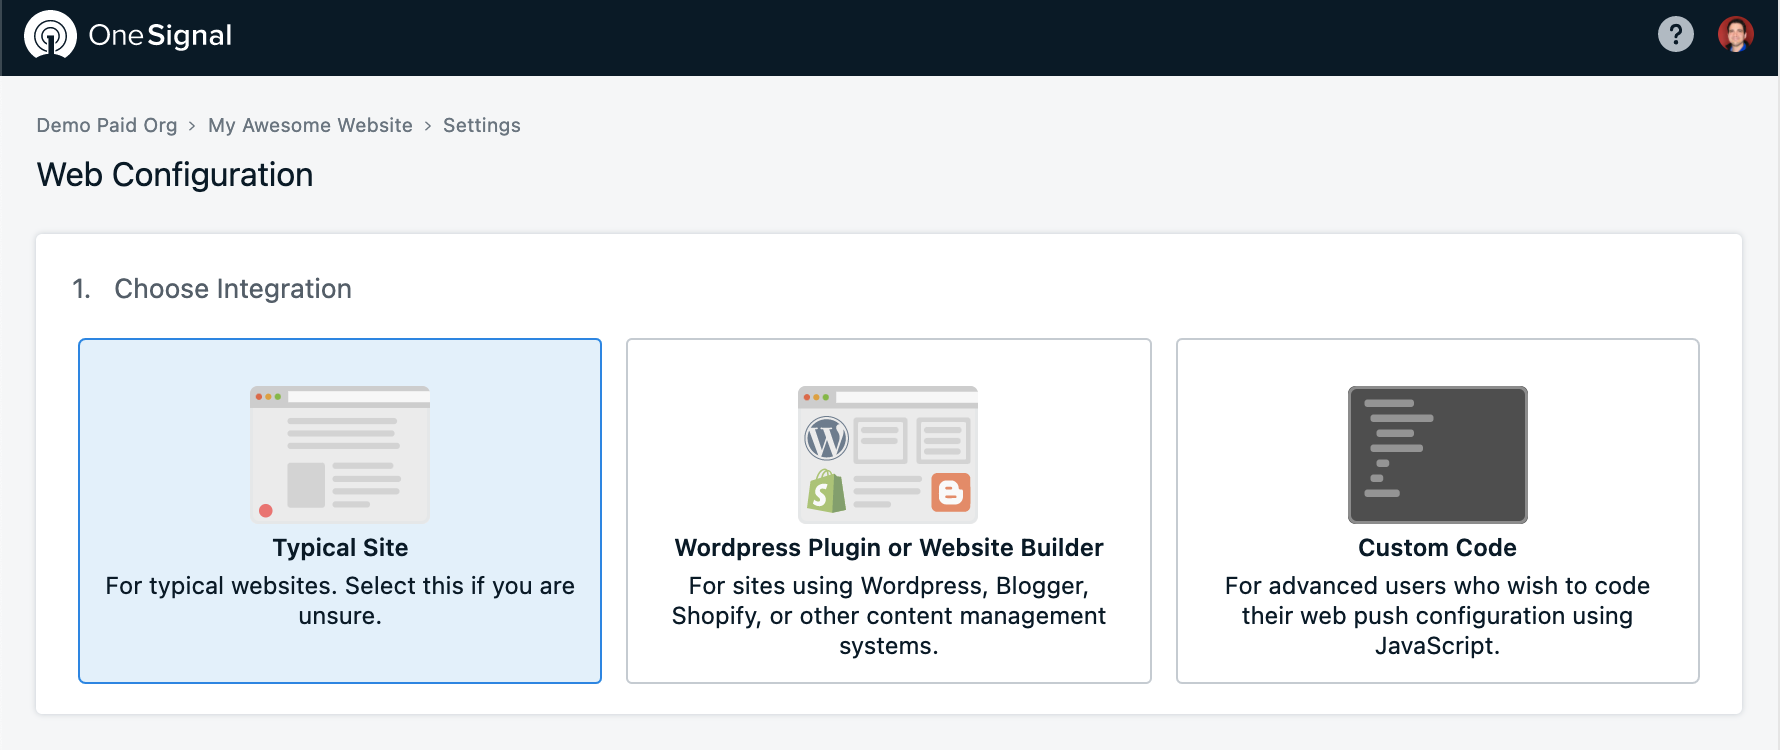
Step 1. Choose Integration
If you plan to add OneSignal to your site using code, continue with Typical Site setup or select Custom Code Setup.
If you use our WordPress Plugin, Shopify App or a custom Website Builder, see our Website Builder Options.
Website Builder Options
OneSignal provides easy integration with the following 3rd party website builders:
Step 2. Site Setup
Input your default site information.
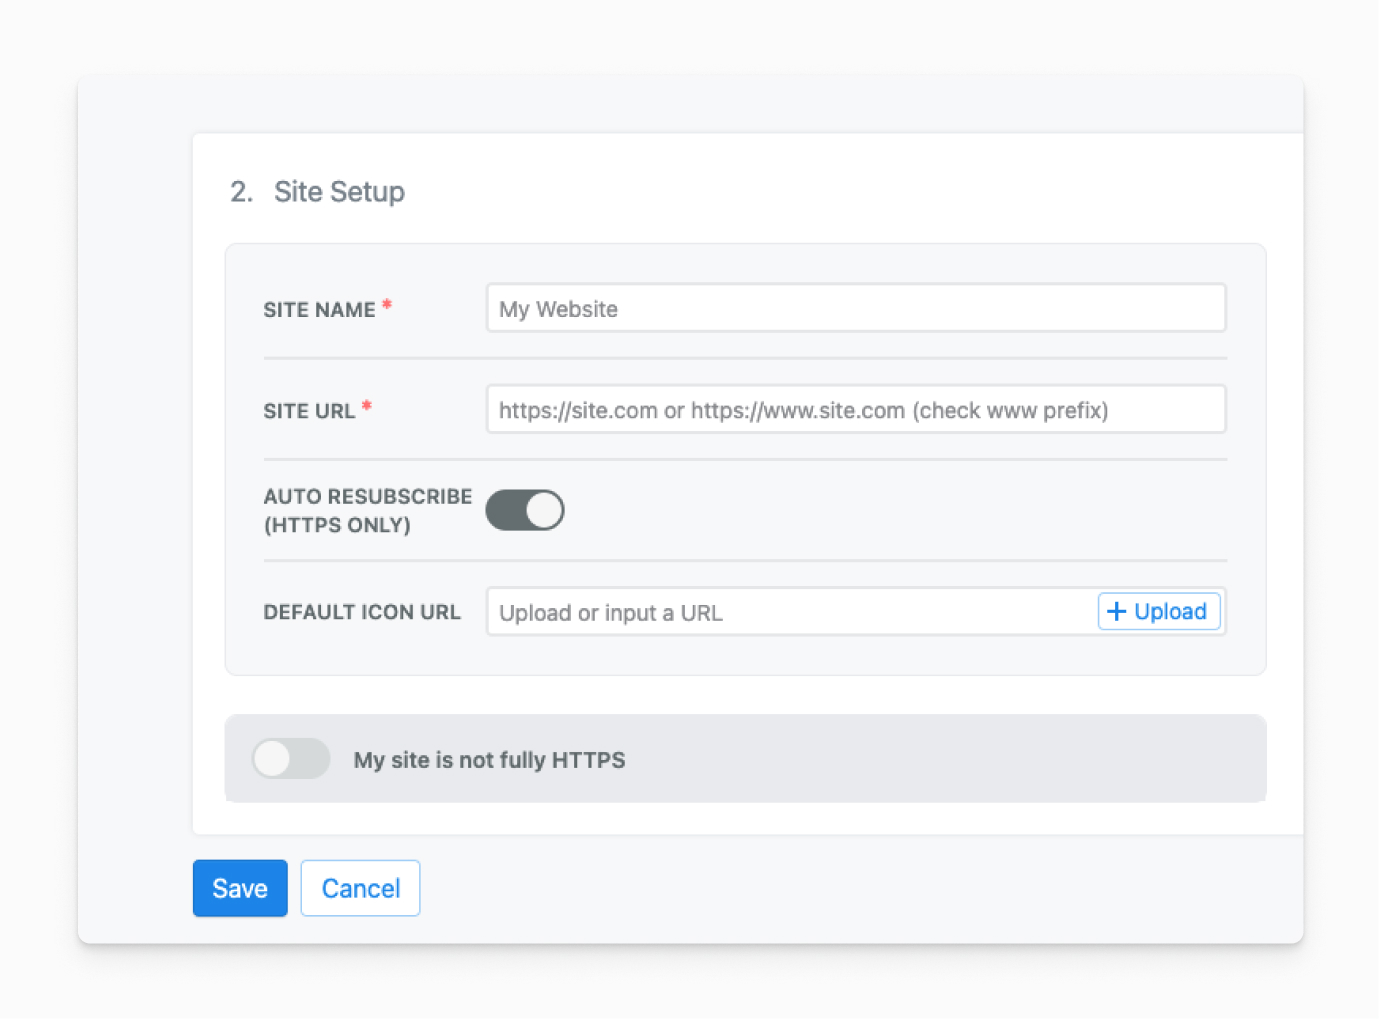
Image showing Site Setup step
| Field | Description |
|---|---|
| SITE NAME | The default name to call your site used in push notifications. |
| SITE URL | Your website URL including: - http:// or https://- www or non-www links (e.g. https://example.com, https://www.example.com)Trying to test locally, see Local Testing Setup |
| AUTO RESUBSCRIBE (HTTPS ONLY) | Recommended: Allows push subscribers to automatically resubscribe upon returning to your site without being prompted if they clear their browser data or if you are transferring to OneSignal from another push provider. |
| DEFAULT ICON URL | Icon used for the Slide Prompt and default for push notifications. Enter an https icon URL or upload file that is square 256x256 pixels.The file must be .png, .jpg, or .gif. |
My site is not fully HTTPS
Select this checkbox if any apply:
- you have an
HTTPwebsite - you cannot upload files to your web host's servers
- your site is hosted by WordPress.com or HubSpot COS
| Field | Description |
|---|---|
| CHOOSE A LABEL | The subdomain label used for push subscription. Set this to be something similar to your current domain. See Web Push HTTP vs. HTTPS for more details. |
Step 3. Permission Prompt Setup
By default, the Push Slide Prompt will show on the first page view after 10 seconds. You can skip this step for now and come back later to add new prompts or modify this one. See our Web Prompting Guide for more details.

Step 4. Welcome Notification (Optional)
A push notification sent immediately to current user upon subscribing to your site for the first time. Enabled by default, it can be toggled-off to prevent showing and update message content at anytime. If you want to add a delay, toggle off this notification and use our Automated Messages.
Step 5. Advanced Push Settings (Optional)
OneSignal provides several Advanced Options. For instance:
Multiple Service Workers
If you are using or plan to use another service worker on your site, please follow the OneSignal Service Worker Setup Guide.
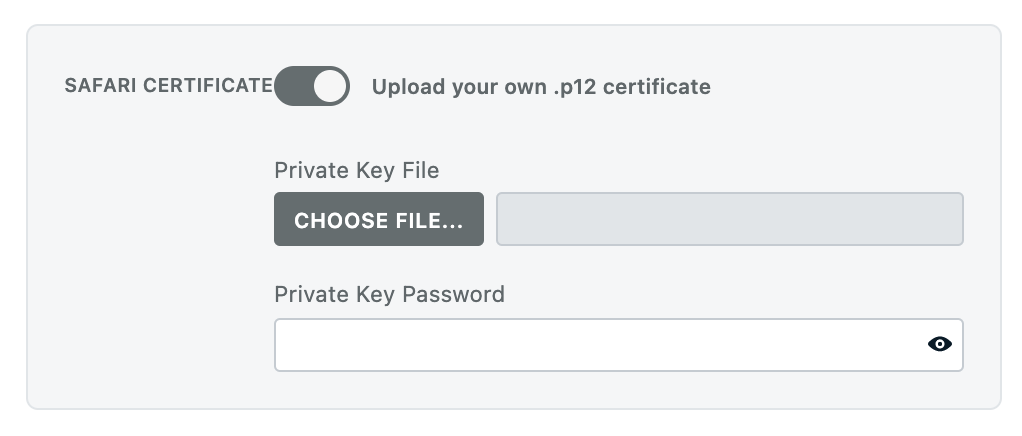
Safari - Custom Certificate (Optional)
OneSignal automatically provides the necessary certificates to work with Safari Browsers at no additional cost. If you already have your own Safari Web Push Certificates, toggle on this option to upload your Safari Web .p12 Push Certificate and password.
Step 6. Upload Files
Next, you'll need to add the OneSignal SDK Service Worker file to your site.
Option 1 - Create file and copy code
-
Create a new file
OneSignalSDKWorker.jsat the top-level root of your site (public). -
Copy the following import statement:
importScripts('https://cdn.onesignal.com/sdks/OneSignalSDKWorker.js');
Option 2 - Download zip folder and upload
-
Click Download OneSignal SDK files. (You can also download the file here).
-
Unzip the download. There should be a single file you need to host:
https://yoursite.com/OneSignalSDKWorker.js
Hosting the file
The OneSignal SDK files must be publicly accessible and can be placed at the top-level root of your site. Note: If you want to place them in a subfolder you can! Please see our OneSignal Service Worker Guide for instructions.

Note regarding Service Worker file(s)
If you are revisiting this page for an existing site set up prior to November 22, 2021, and are currently using two service worker files:
OneSignalSDKWorker.jsOneSignalSDKUpdaterWorker.jsyou should continue hosting both files. This is to prevent the Service Worker from going stale if a user doesn't return to your site in some time.
On November 22, 2021 the OneSignal Web SDK was updated to require only a single service worker file. New setups will now only require a single file.
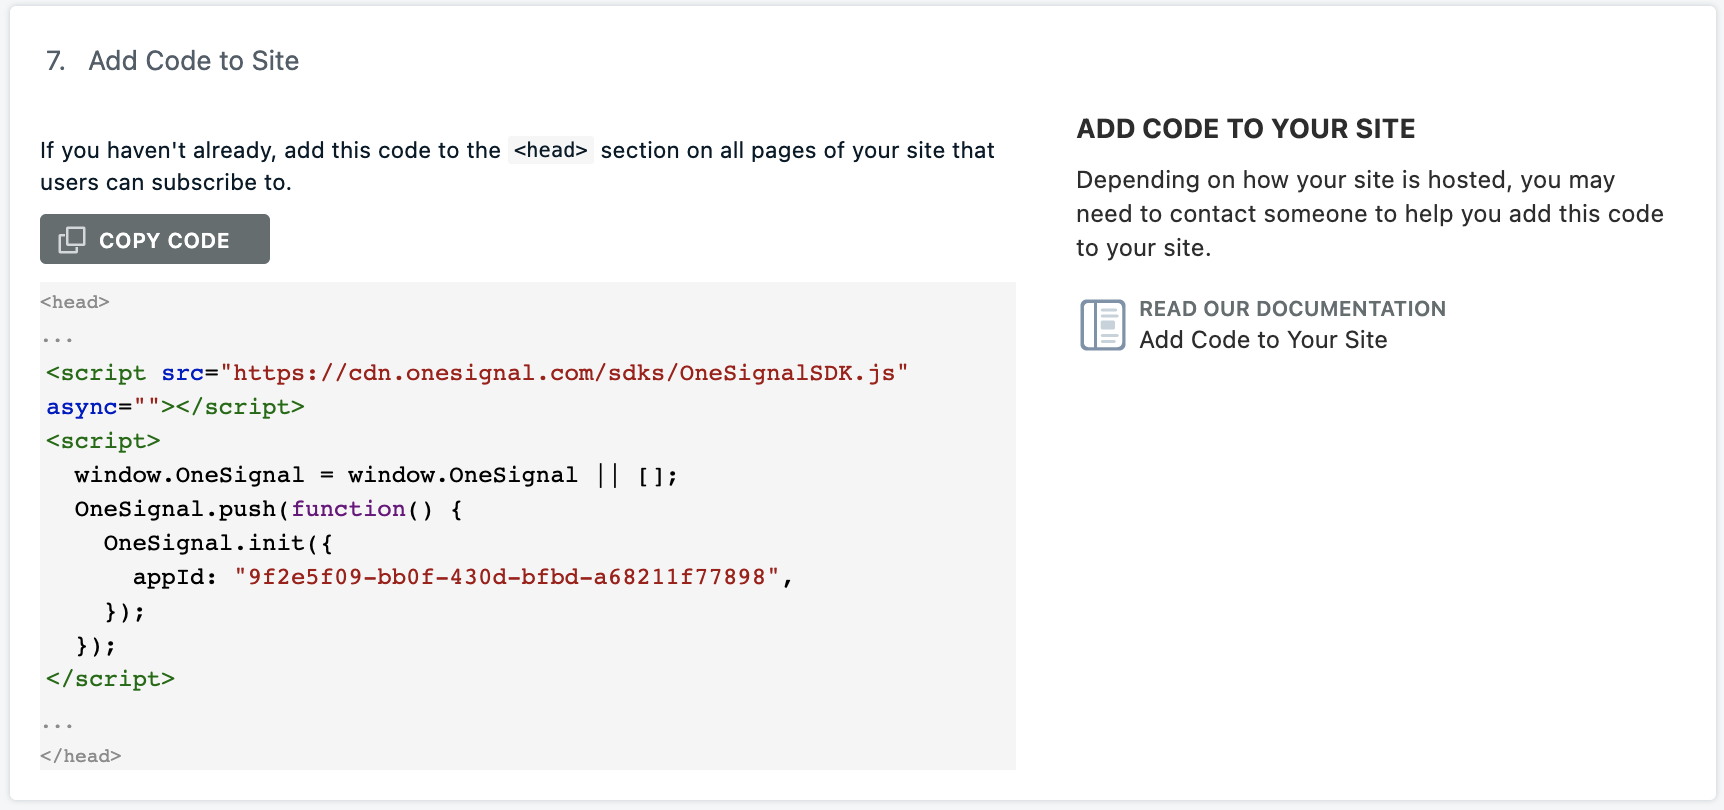
Step 7. Add Code to Site
To enable OneSignal on your site, you will need to paste the provided code into your website's <head>. If you do not have access to modify your site's code, you will need to contact a developer to help you.
The OneSignal JavaScript SDK code should work on any site, but if your site is setup using Angular, React JS, or Vue JS then follow these links.
Step 8. Subscribe and Send Yourself a Notification
Visit your website and you should be prompted to subscribe to push notifications based on the prompt settings you setup. See Web Prompts Guide for more details.
Check your OneSignal Dashboard Audience > All Users to see your Device Record and set yourself as a test user.
Then head over to Messages > New Push to Send your first Push Notification.
Troubleshooting
If running into issues, checkout the Web Push Troubleshooting Guide for common fixes.
If stuck, feel free to contact [email protected] for assistance.
Setup Complete!
Visit Web Push Tutorials for next steps.
Updated 5 months ago
