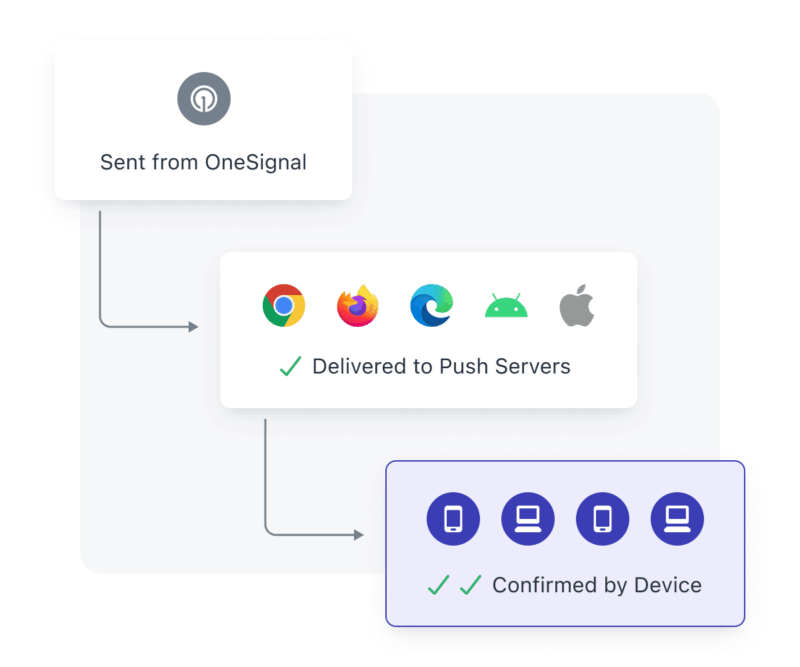
Confirmed receipt flow
Confirmed receipt is different from “Delivered.” Platform push services (APNs, FCM, ADM, HMS) report whether a notification was accepted by the service — not whether the device actually received it. Confirmed receipt is the device-side confirmation.
Requirements
- Available only on paid plans. Compare plans.
- Complete the Web SDK Setup and/or Mobile SDK Setup.
- Confirmed receipt only works if the device has the OneSignal SDK installed.
- Not supported for subscriptions created via API only.
Platform limitations
iOS
- Requires both the Notification Service Extension and App Group to be set up correctly.
- Push notifications must include the
mutable-contentkey set to1. This is set automatically by OneSignal. Make sure you are not explicitly settingmutable_content: false. - APNs keeps only one message per app when offline. If multiple pushes are sent while offline, only the latest is delivered.
Huawei
- Supported only for the
dataHuawei message type. - For the
messagetype, Huawei provides receipt data only in their own dashboard.
Web
- Safari does not support confirmed receipt.
Troubleshooting confirmed receipt
If you are not receiving push notifications at all, see Notifications not showing first.iOS
Confirmed receipt on iOS requires two things working together:- A Notification Service Extension (NSE) that runs OneSignal code when a push arrives
- An App Group shared between your main app target and the NSE target so they can exchange data
Verify your iOS setup
1
Confirm the NSE target exists and has the correct code
In Xcode, check that you have a OneSignalNotificationServiceExtension target listed under your project targets. If it does not exist, follow Step 2 of the iOS SDK Setup.Open the NSE’s
NotificationService.swift (or .m) file. It must call OneSignalExtension.didReceiveNotificationExtensionRequest inside didReceive(_:withContentHandler:). If the file still contains Apple’s default template code, replace it with the OneSignal NSE code.2
Confirm the NSE has the OneSignalExtension package
Select your NSE target > General > Frameworks and Libraries (or Build Phases > Link Binary With Libraries). Verify that
OneSignalExtension is listed. The main app target uses OneSignalFramework, but the NSE target must use OneSignalExtension — these are different packages.3
Verify the App Group is configured correctly on both targets
The OneSignal SDK uses an App Group to share data between your main app and the NSE. There are two ways to configure this — pick the one that matches your setup.
- Select your main app target > Signing & Capabilities > App Groups.
- Confirm the App Group.
group.YOUR_MAIN_APP_BUNDLE_ID.onesignal — where YOUR_MAIN_APP_BUNDLE_ID is your main app target’s Bundle Identifier (found under General > Identity), then follow the Default App Group tab. Otherwise, follow the Custom App Group tab.- Default App Group - group.YOUR_MAIN_APP_BUNDLE_ID.onesignal
- Custom App Group
- Select your NSE target > Signing & Capabilities > App Groups.
- Confirm the exact same App Group is listed. If missing, add it via + Capability > App Groups and select the same group.
- Correct:
group.YOUR_MAIN_APP_BUNDLE_ID.onesignal - Wrong:
group.YOUR_MAIN_APP_BUNDLE_ID.OneSignalNotificationServiceExtension.onesignal
4
Confirm minimum deployment targets match
Select your NSE target > General > Minimum Deployments. This value must match your main app target’s minimum deployment. A mismatch can prevent the NSE from running on certain OS versions.
5
Uncheck "Copy only when installing"
Select your main app target > Build Phases > Embed App Extensions. Make sure “Copy only when installing” is unchecked. If checked, the NSE is not embedded during development builds, so it never runs when testing.
6
Verify NSExtension Info.plist values
Select your NSE target > Info tab and expand the If your NSE is written in Objective-C, use
NSExtension key. Confirm it contains:NotificationService instead of $(PRODUCT_MODULE_NAME).NotificationService.7
Verify mutable-content is set
OneSignal automatically sets
mutable-content: 1 in the push payload, which tells iOS to invoke the NSE. If you send pushes via the REST API, verify you are not explicitly setting mutable_content: false. Without mutable-content, iOS does not run the NSE and confirmed receipt cannot fire.8
Test that the NSE is running
Add this line temporarily inside Send yourself a test push. If the notification body starts with
didReceive before the OneSignal call:[Modified], the NSE is running correctly. If it does not, revisit the steps above — the NSE is not being invoked. Remove this line after testing.For advanced NSE debugging with Xcode Console logs, see Debugging the iOS Notification Service Extension.Android
- If notifications are not displaying, see Mobile push troubleshooting.
- If notifications show but confirmed receipt is missing, a custom Android Service Extension may be blocking it. Check the Android Service Extension guide.
Web
- Safari is not supported.
- For other browsers, ensure migration to v16 SDK is complete:
- Correct SDK init:
- Correct Service Worker reference:
- Correct SDK init:
FAQ
Why are my confirmed receipt numbers low or missing?
The most common causes are setup issues (especially on iOS), inactive devices, and platform limitations.- iOS misconfiguration: The Notification Service Extension or App Group is missing or incorrect. See Troubleshooting confirmed receipt on iOS.
- Inactive or abandoned devices: Devices that are offline or no longer in use do not receive pushes or send confirmed receipt events. See How do I handle inactive devices?.
- Platform limitations: Huawei
messagetype and Safari do not support confirmed receipt. - Android force quit: Some device manufacturers treat swiping the app away as a force quit, which stops SDK events. See Mobile push not shown guide.
How do I handle inactive devices?
Devices that are offline or abandoned do not receive push notifications or send confirmed receipt events. This is common when users replace or abandon devices. To re-engage inactive users:- Use Audience Activity to resend to users who did not confirm receipt.
- Create Segments based on Last Session (for example, inactive for 90+ days).
- Combine with a Re-engagement Journey to win them back.
- Periodically target inactive users to prune unreachable devices.
Why does confirmed receipt show but the notification doesn’t appear?
A confirmed receipt event means the device received the push payload. In rare cases, the notification may not display. Possible causes:- Missed notification: Send yourself a test push via Find and set Test Users to rule this out.
- iOS Focus Mode: “Do Not Disturb,” “Sleep,” or other Focus modes delay or group notifications. You may have dismissed a grouped notification without seeing it.
- App code suppressing display:
event.preventDefault()in the foreground lifecycle listener or Notification Service Extension stops the notification from displaying.- Calls to
removeDeliveredNotifications(withIdentifiers:)orremoveAllDeliveredNotifications()remove notifications after they arrive.
- Push payload settings:
- Ensure
priorityis set to high. See Push priority. collapse_idreplaces older pushes with newer ones using the same ID.
- Ensure
Related pages
Push notification message reports
Review delivery, engagement, and confirmed receipt metrics for each push.
Analytics metrics glossary
Definitions for every delivery and engagement metric in OneSignal.
iOS SDK setup
Add the Notification Service Extension and App Group required for iOS.
Service extensions
Customize notification behavior on iOS and Android with service extensions.
Need help?Chat with our Support team or email
support@onesignal.comPlease include:- Details of the issue you’re experiencing and steps to reproduce if available
- Your OneSignal App ID
- The External ID or Subscription ID if applicable
- The URL to the message you tested in the OneSignal Dashboard if applicable
- Any relevant logs or error messages