Overview
The OneSignal Drag and Drop Email Builder lets you visually design responsive emails exactly as they appear in recipients’ inboxes — without writing full HTML. You build emails using three core components:- Settings – global styles and layout applied across the entire email
- Rows – horizontal layout containers that control structure and responsiveness
- Content – individual blocks such as text, images, buttons, and HTML
Use the Drag and Drop Email Builder if you want to:
- Design emails visually without managing full HTML (HTML blocks are available)
- Reuse rows or templates across campaigns
- Allow non-technical teammates to safely edit content
Recommended build flow
Follow this order for the best results and fewer rendering issues:- Configure global styles in Settings
- Add layout structure using Rows
- Insert Content blocks
- Add personalization and links
- Add an unsubscribe link (for marketing emails)
- Save as a template or send
When finished, your email should:
- Be no wider than 600px
- Render cleanly on mobile and desktop
- Include required compliance links
Settings
Settings define the foundational layout and styles for your email. These values cascade down to rows and content blocks unless explicitly overridden.
| Design Setting | Description |
|---|---|
| Content area width | Width of the email in pixels. Recommended: 600px. |
| Content area alignment | Align content left or center. |
| Background color | Color behind the content area. |
| Content area background color | Color inside the content area. |
| Default font | Applied to all text unless overridden. Custom fonts require HTML. |
| Link color | Default color for all links. |
| Language | Sets the HTML lang attribute for accessibility. Defaults to English. |
Recommended default: Configure as much styling as possible in Settings to ensure consistency and reduce per-block overrides.
Rows
Rows define the horizontal layout of your email. Each row can contain one or more columns, and each column can contain content blocks. Drag and drop rows into the editor to build your structure.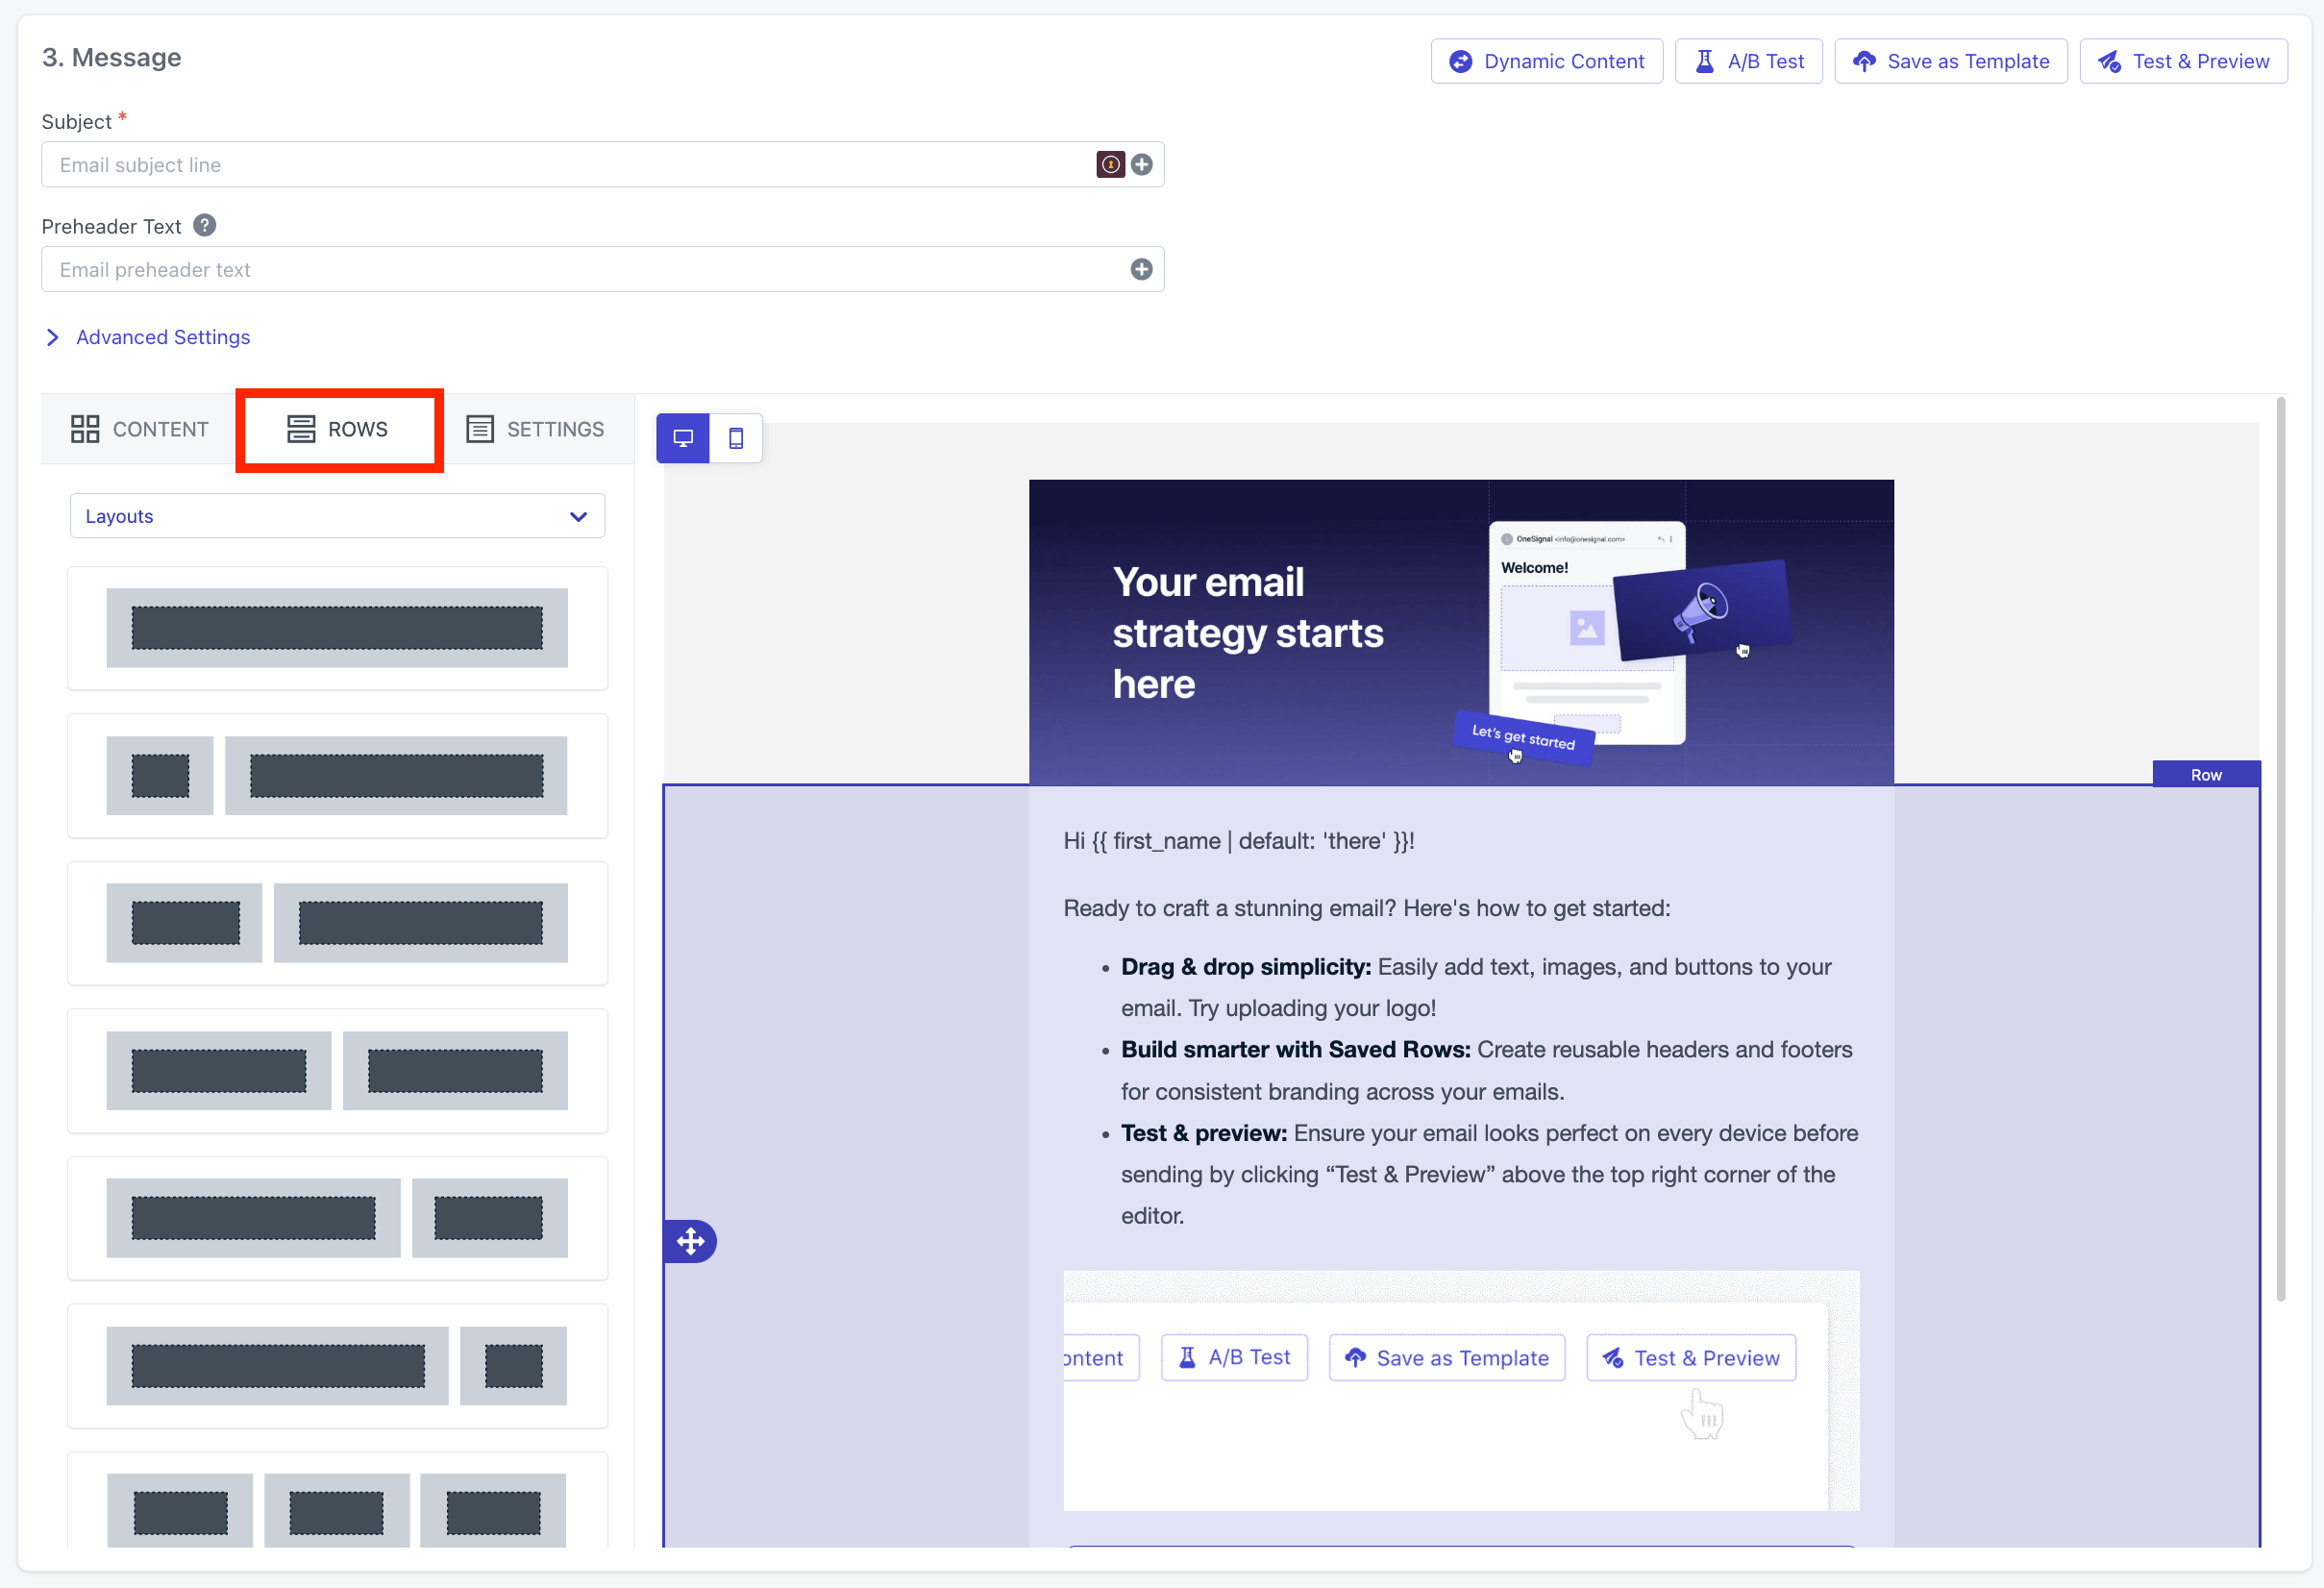
Use rows to control layout and spacing. Avoid relying on individual content blocks for major layout decisions.
Saved rows
Saved rows let you reuse headers, footers, or repeated sections across emails and templates. Click the save icon on a row to save it.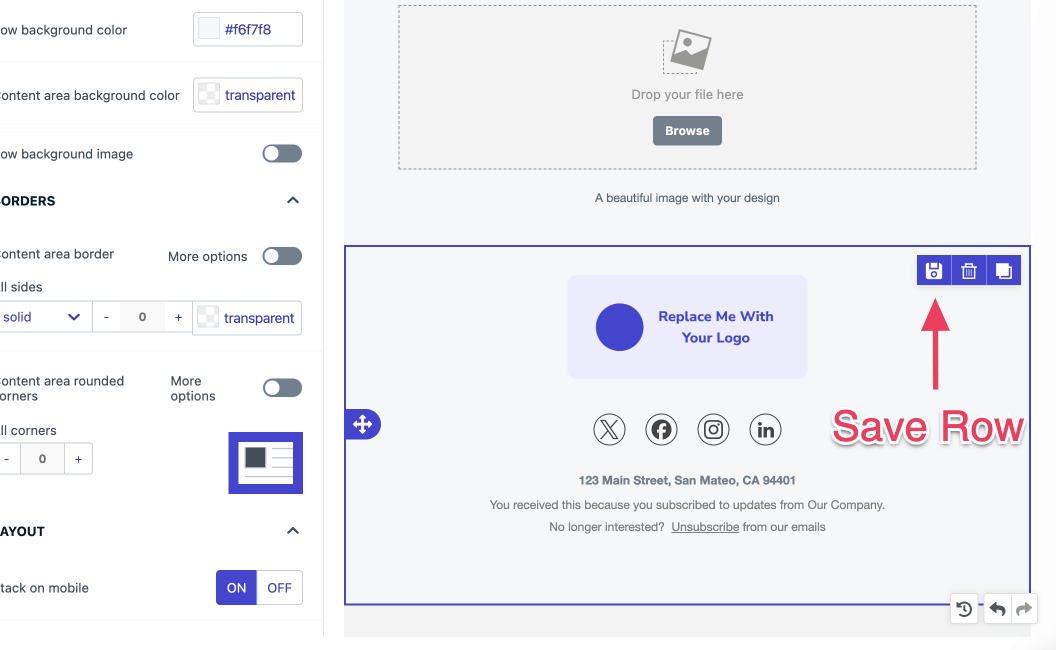
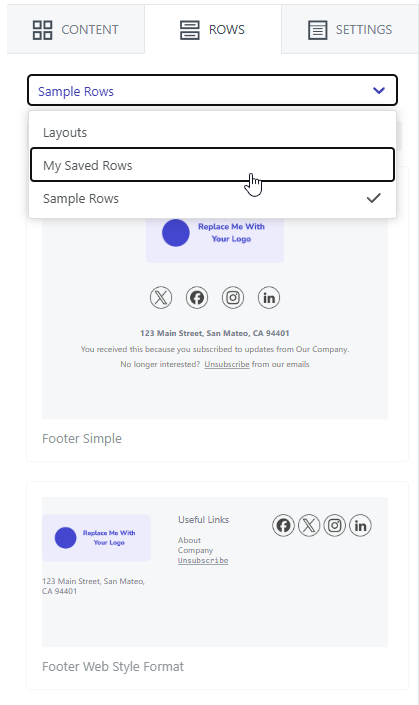
- Empty – blank row templates
- My Saved Rows – rows created by you or your team
- Sample Rows – OneSignal examples
Row properties
Click the outer edge of a row to edit row-level settings. If you see Content instead of Row when hovering, you’ve selected a content block. Click the outer container edge until the label reads Row.
| Row Property | Description |
|---|---|
| Backgrounds | Color or image behind the row. Recommended: set background color in Settings for consistency. |
| Borders | Border color, width, and style. |
| Layout | Show or hide rows on mobile or desktop. |
| Columns | Add, remove, or resize columns and adjust column padding. |
| Delete/Duplicate | Select a row and use the delete or duplicate icons to remove or copy it. |
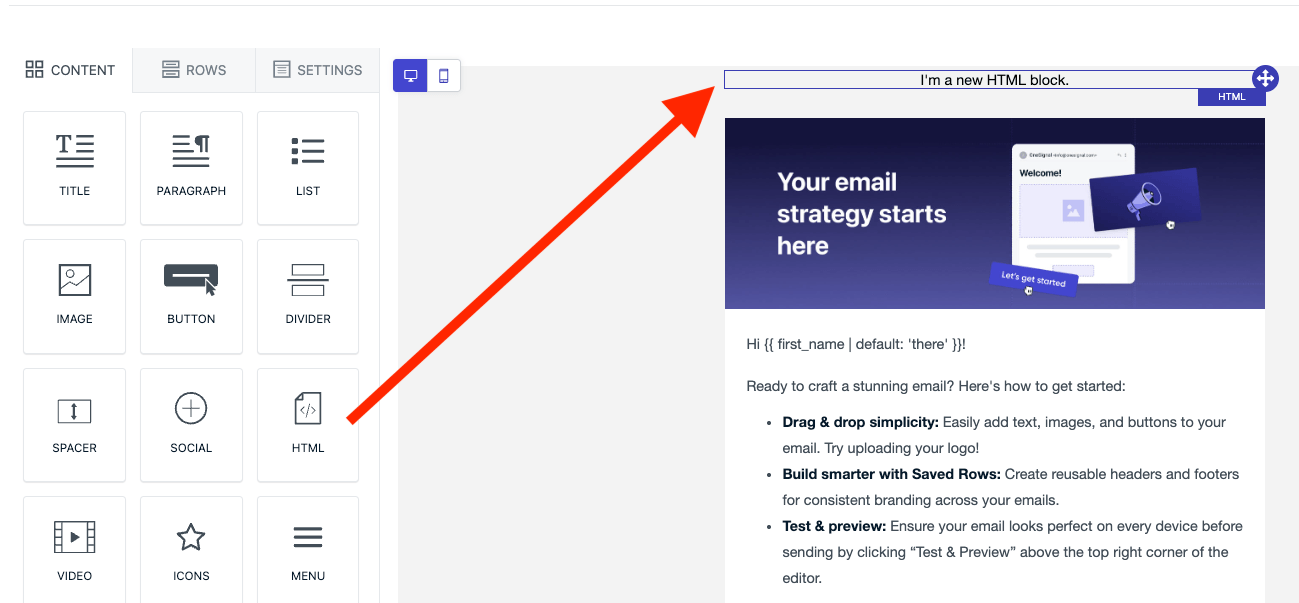
Content
Content blocks are the elements recipients see — text, images, buttons, dividers, and HTML. Drag a content block into a row column. It automatically adapts to the column width.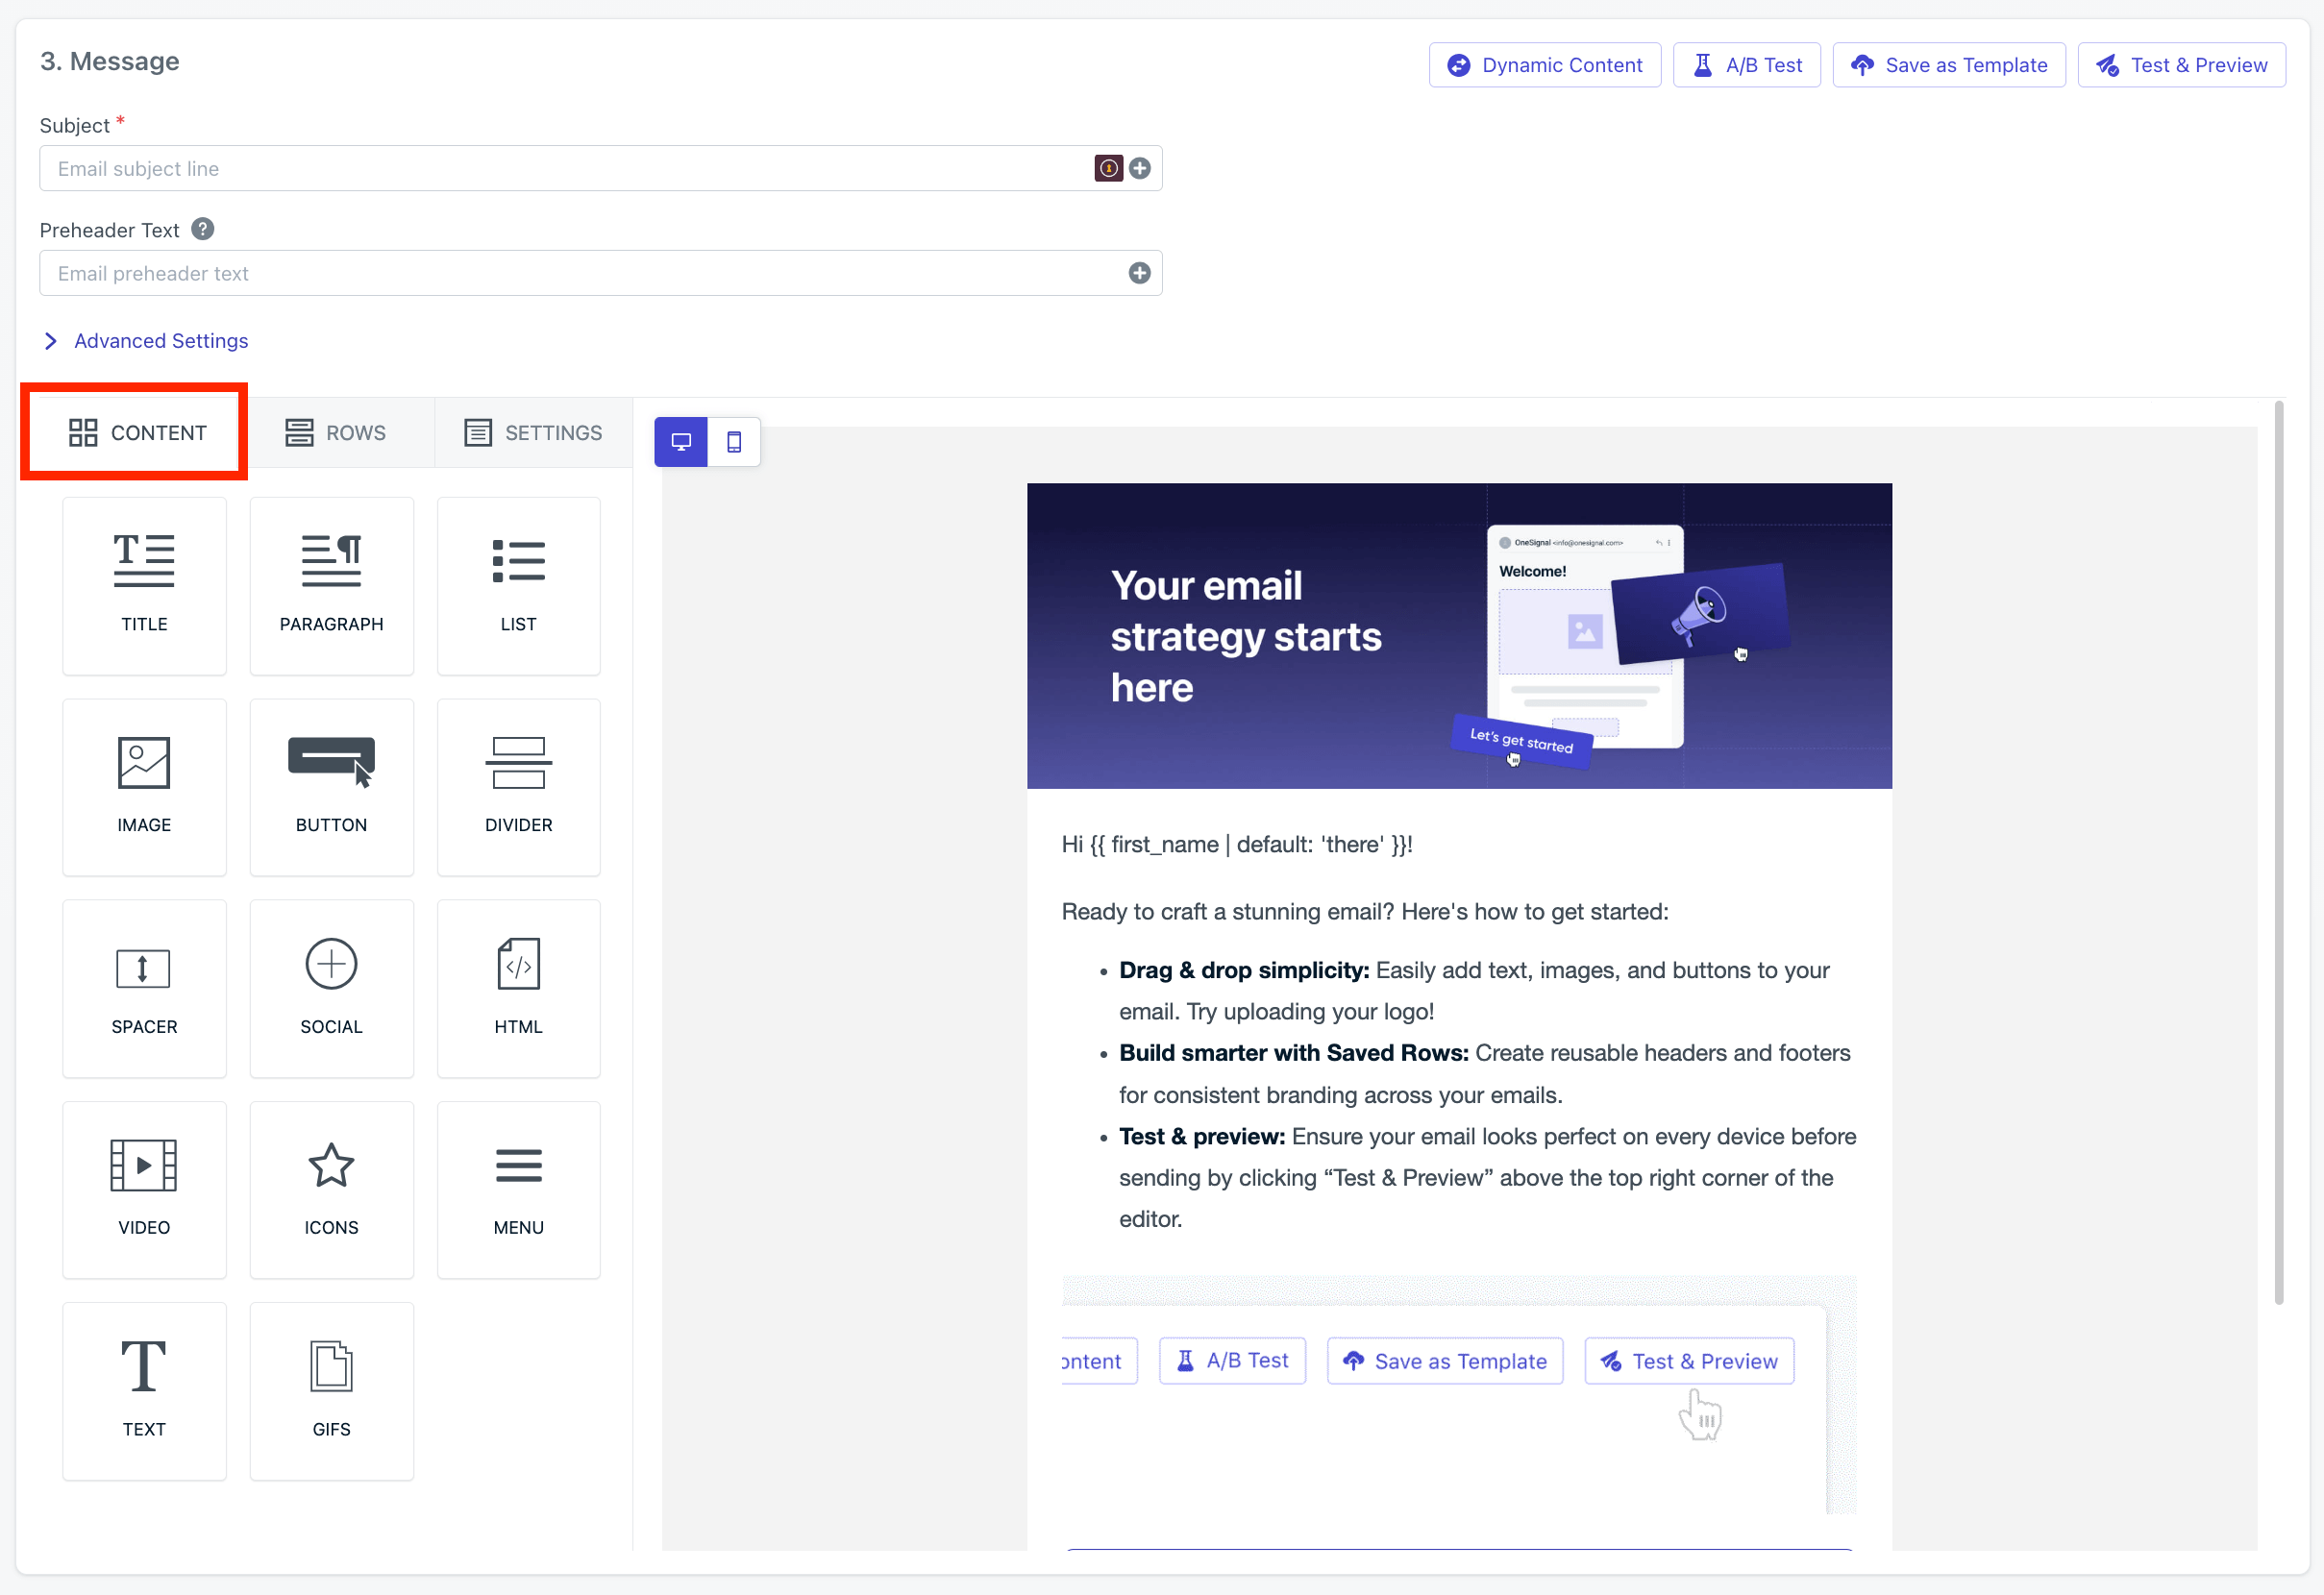
Decision rules for content blocks:
- Use Text blocks for most copy.
- Use Image blocks for visuals or custom typography.
- Use HTML blocks only when you need advanced styling or behavior.
Custom fonts
The Drag and Drop Editor supports system fonts by default. To use custom fonts, you must use an HTML block.HTML block
Images & video
Upload images directly to the OneSignal dashboard so your team can reuse them. The editor supports cropping, filtering, and other effects. You can also reference externally hosted images and videos by URL — make sure each URL is publicly accessible.Recommended image sizes for email
Aspect ratios
Aspect ratios
- Header/Banner images:
3:1or4:1(e.g.,600×200or600×150) - Hero images:
16:9or2:1(e.g.,600×338or600×300) - Square images:
1:1(e.g.,300×300) — good for product grids - Thumbnails:
1:1or4:3 - Max width:
600–700pxis standard (most email clients) - Design at
2xfor retina displays (e.g.,1200pxwide, displayed at600px)
File size
File size
- Keep individual images under
100–200 KB - Total email size (including images) under
1 MB - Smaller images mean faster load times and better deliverability
File formats
File formats
- JPG — best for photos
- PNG — best for graphics, logos, and images with transparency
- GIF — for simple animations (keep file size small)
- WebP — not widely supported in email yet; avoid
General tips
General tips
- Always include alt text for accessibility and for when images do not load
- Use inline CSS for styling (many clients strip
<style>tags) - Avoid background images (inconsistent client support)
- Test across clients — Gmail, Outlook, and Apple Mail all render differently
- Outlook often ignores image dimensions, so set both
widthandheightattributes in HTML
Links
OneSignal enables link tracking by default and supports multi-link tracking.Links
Configure link tracking, multi-link tracking, and click analytics for email.
Deep linking
Route recipients to specific screens in your app from email links.
Unsubscribe links
All marketing emails must contain an unsubscribe link. Emails without one are more likely to be flagged as spam by inbox providers. When a recipient clicks the default OneSignal unsubscribe link, their email Subscription is automatically set to unsubscribed. Add the[unsubscribe_url] tag to your email using either method:
- Editor (Special links)
- HTML block
- Select the text you want to turn into the unsubscribe link.
- Click the link icon in the toolbar.
- Choose Special links > Unsubscribe.

Unsubscribe links
Compliance requirements and how OneSignal handles unsubscribes.
Custom unsubscribe page
Replace the default unsubscribe flow with your own branded page.
HTML blocks
Use HTML blocks when you need control that drag-and-drop content blocks cannot provide:- Dark mode overrides — add
prefers-color-schemeCSS. See Dark mode styling below. - Custom fonts — declare
@font-facerules with fallback stacks. - Advanced layouts — multi-column grids, conditional content, or Outlook-specific markup.
JavaScript is not supported in email. Use inline CSS — many clients strip
<style> tags, classes, and IDs.Personalization
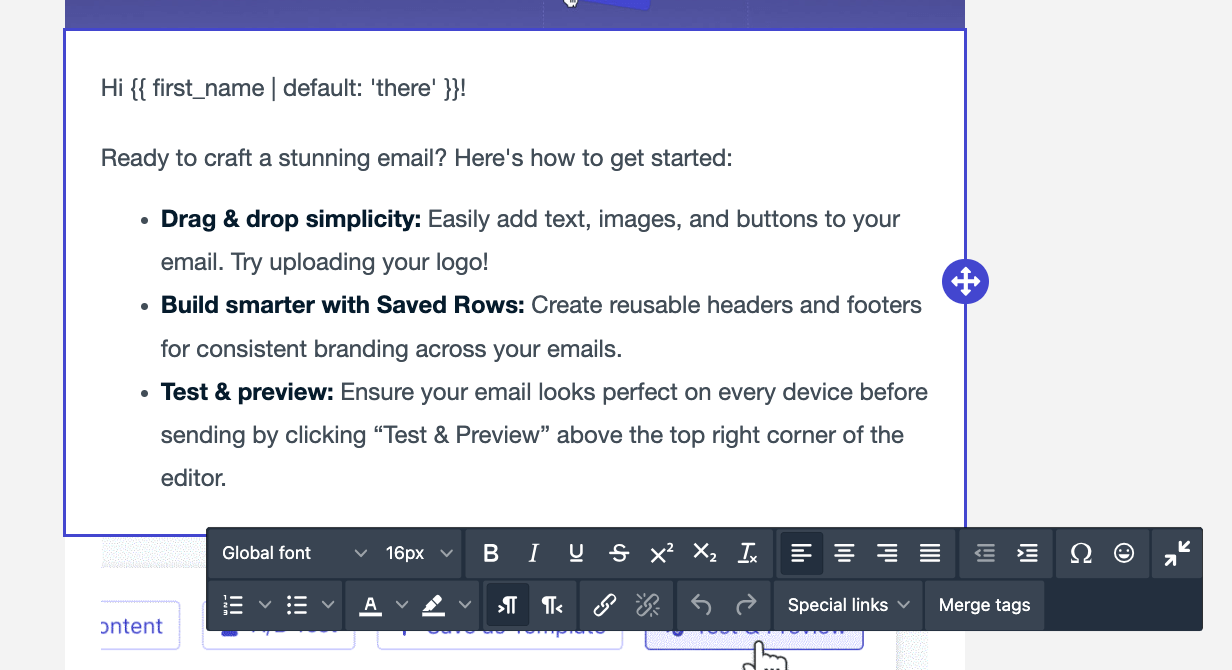
Use Liquid templating to insert subscriber-specific content like names, tags, or fallback values. Example:{{ first_name | default: "there" }}
Message personalization
Available personalization variables and how to use them.
Using Liquid syntax
Conditionals, filters, loops, and advanced Liquid patterns.
Dark mode
Most emails render acceptably in dark mode without changes. However, emails with brand colors, logos on white backgrounds, or colored sections often need adjustments.Do I need dark mode styling?
Add dark mode overrides if your email includes any of the following:- Brand-colored sections — saturated colors become harsh in dark mode and hurt readability
- Logos or icons on white/light backgrounds — the background may invert while the image stays light, making it invisible
- Text on colored backgrounds — inverted backgrounds can clash with non-inverted text colors
- Call-to-action buttons — button backgrounds may invert to unexpected colors
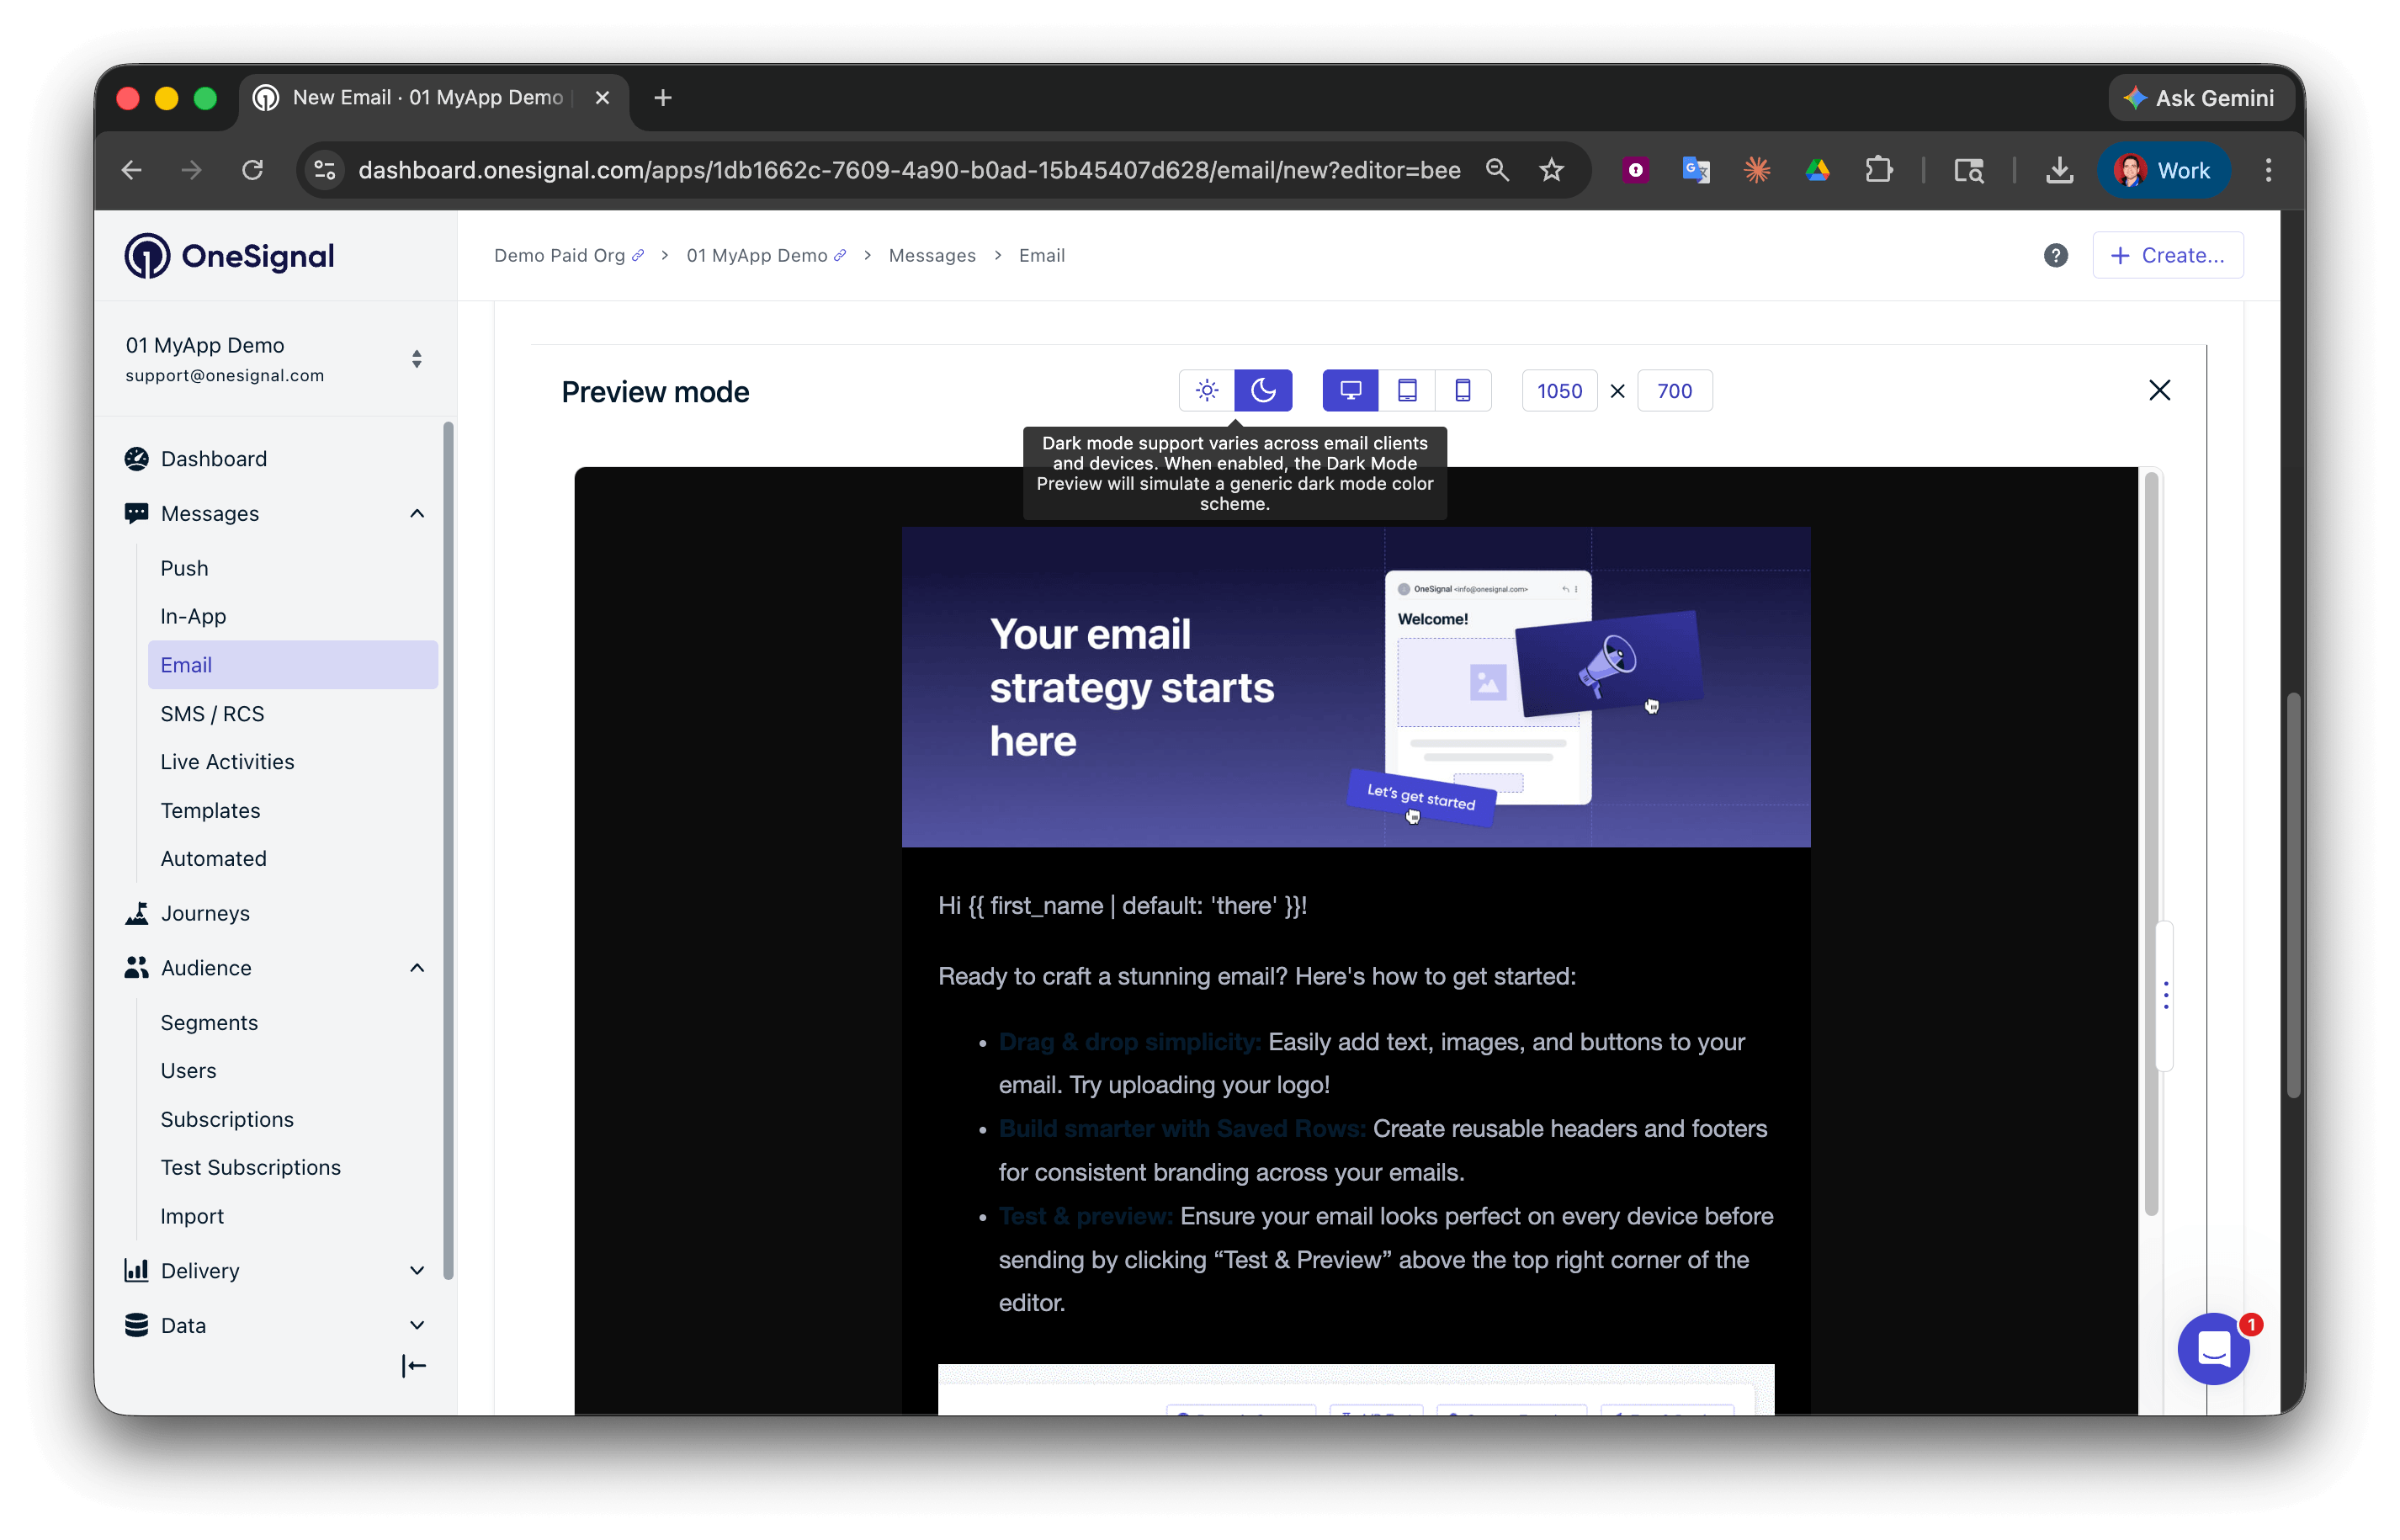
Preview dark mode in the editor
Use the Preview Mode button to get a general preview of dark mode rendering. This preview is an approximation — actual rendering varies by inbox provider (see the client behavior table below).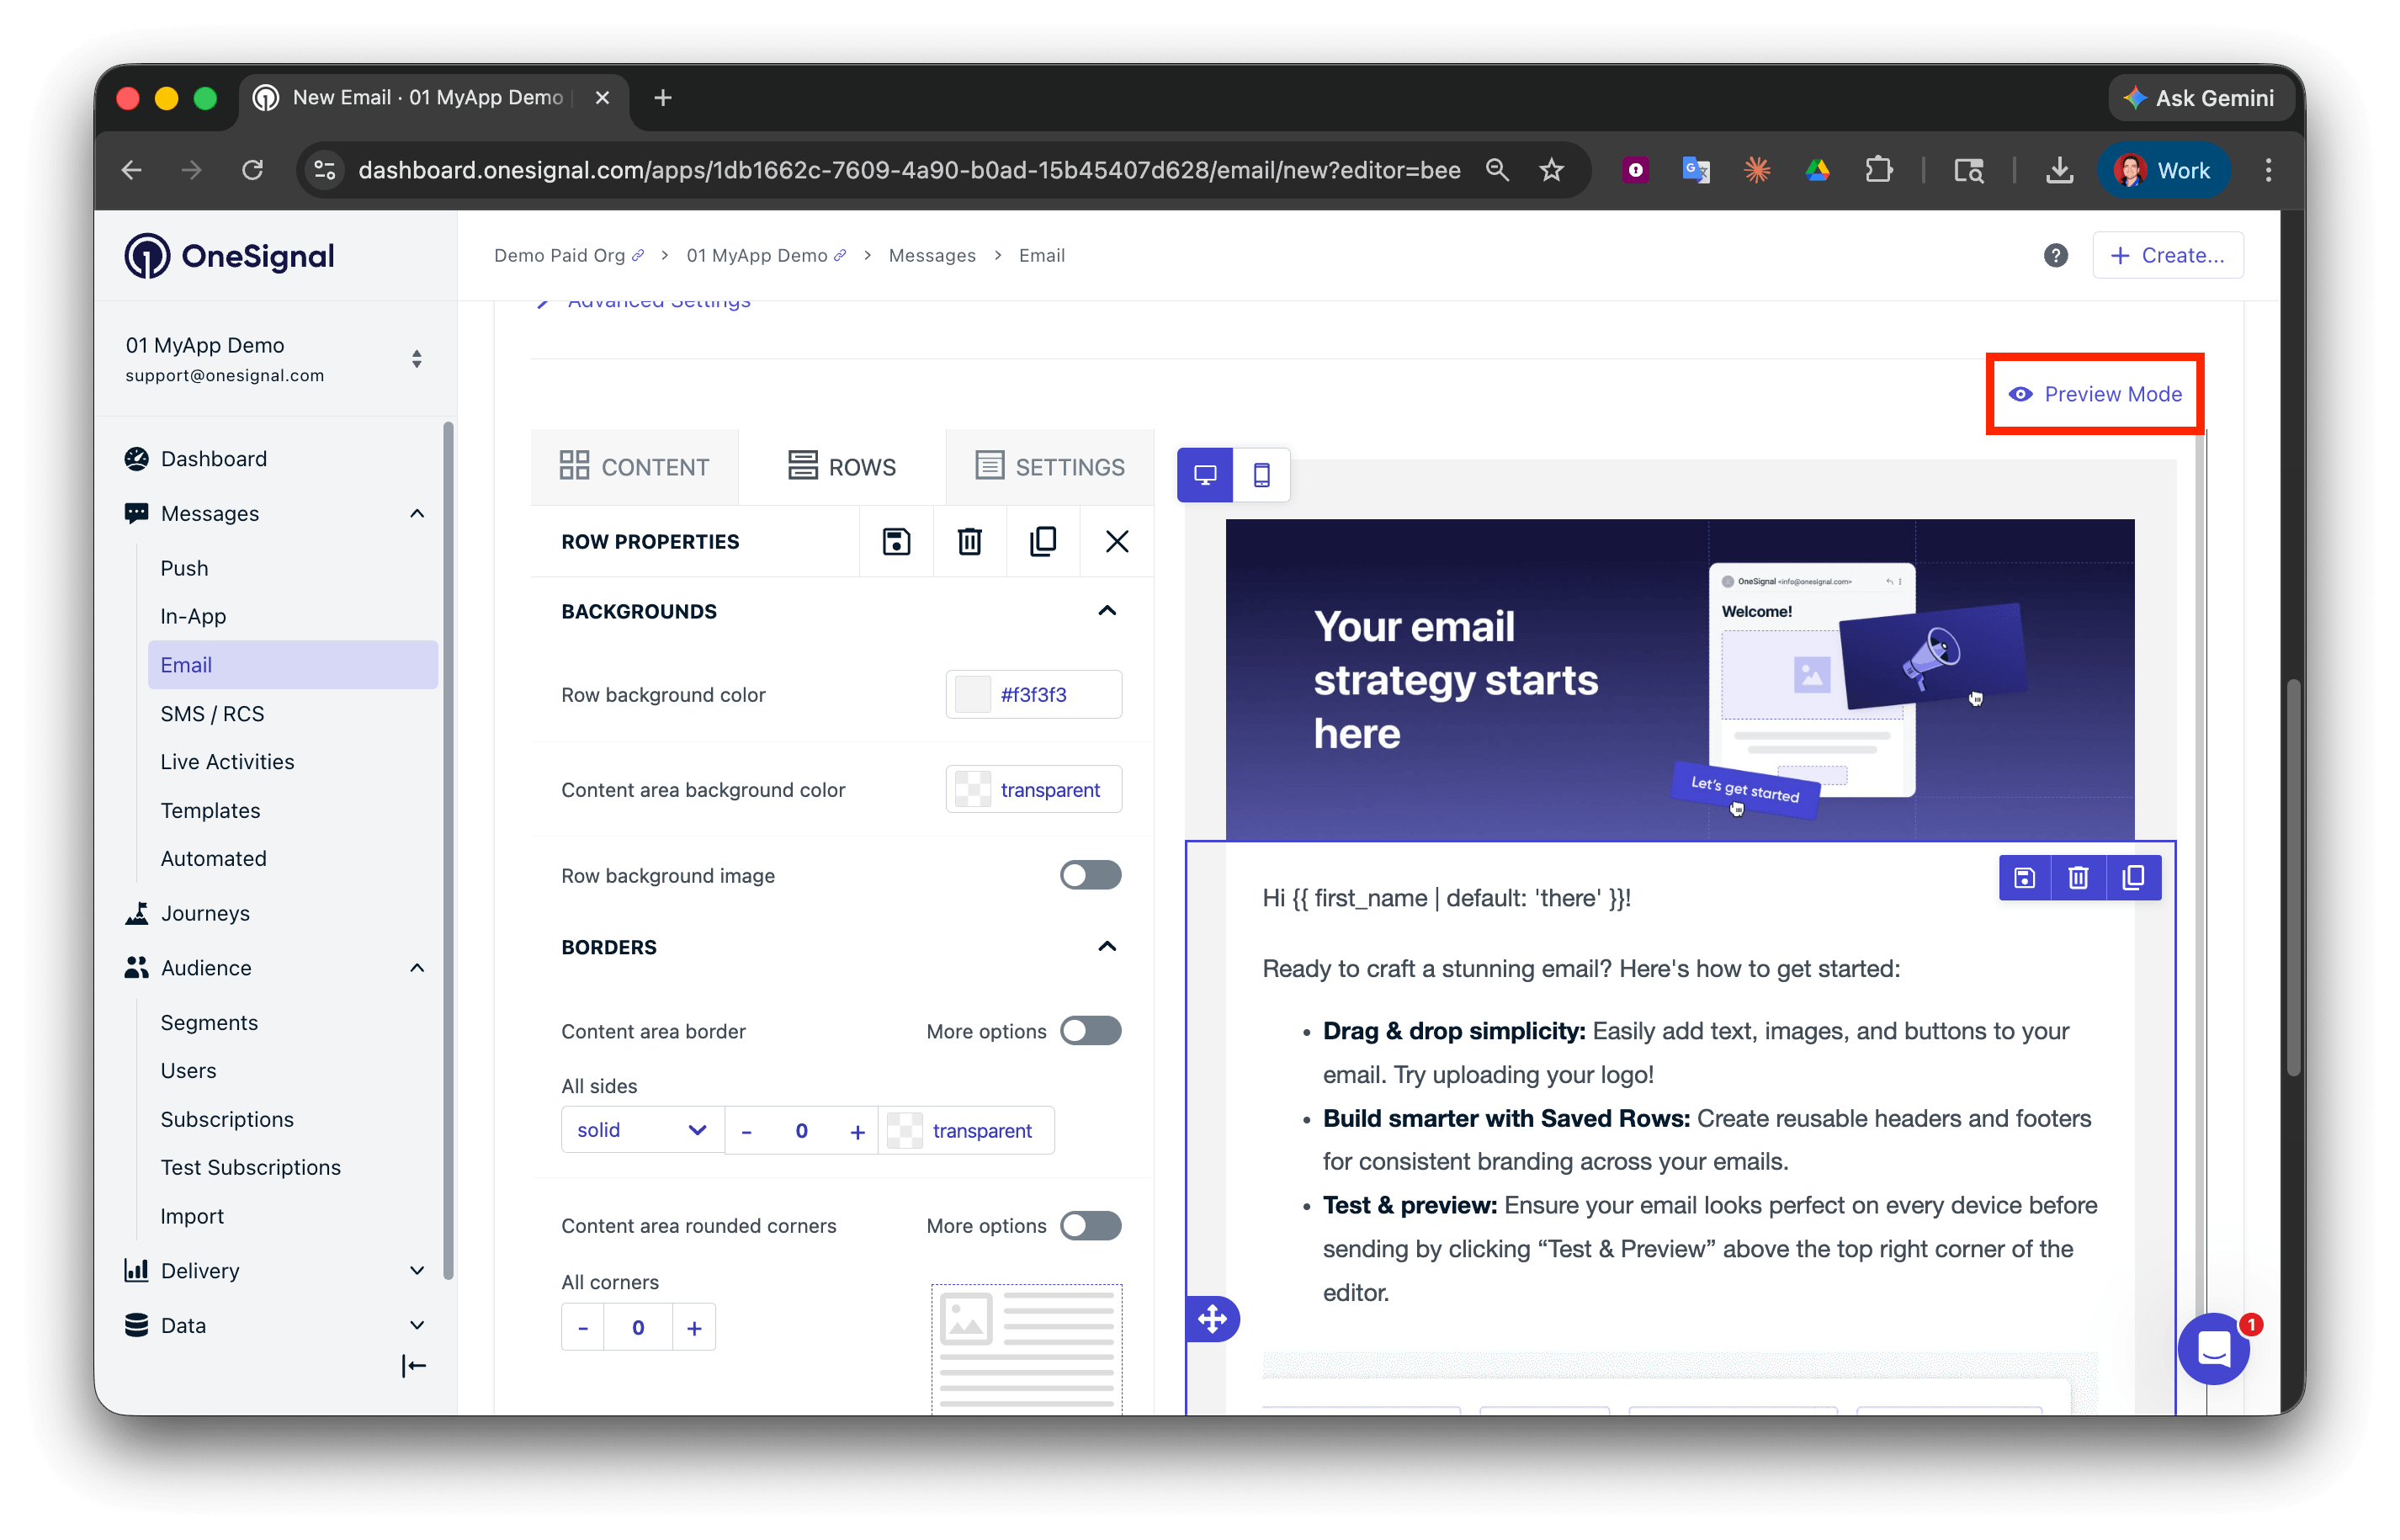
How email clients handle dark mode
Every email client applies dark mode differently. You cannot control this behavior directly, but you can design emails that render well across all modes.| Client | Behavior | Respects prefers-color-scheme CSS? |
|---|---|---|
| Apple Mail (iOS/macOS) | Full color inversion | Yes |
| Gmail (iOS/Android apps) | Partial inversion — changes light backgrounds but not all colors | No |
| Gmail (Web) | No dark mode rendering | N/A |
| Outlook (Windows) | Full inversion using Word rendering engine | No — ignores most CSS overrides |
| Outlook (Mac/iOS) | Partial inversion | Yes |
| Yahoo Mail | Partial inversion | No |
| Samsung Mail | Full inversion | No |
- Avoid pure white (
#FFFFFF) and pure black (#000000). Use off-whites and dark grays to reduce the impact of full-inversion clients. - Use transparent PNGs with care. They blend well with any background, but dark logos on transparent backgrounds become invisible in dark mode. Add a light outline or use a version with a built-in background for logos.
- On images that include text, outline dark text in white to ensure legibility. For white text on a dark background, outline in black.
Dark mode styling with drag-and-drop
If only a few elements render poorly in dark mode, you can replace them with HTML blocks and override the styling directly using CSS classes and!important declarations.
Add dark mode CSS
Paste the following into the HTML block. The
prefers-color-scheme: dark media query applies styles only when the recipient’s email client is in dark mode.HTML block
Return to preview mode to verify the dark mode styles are applied correctly.
Save your work
Save your email design as a template for future use.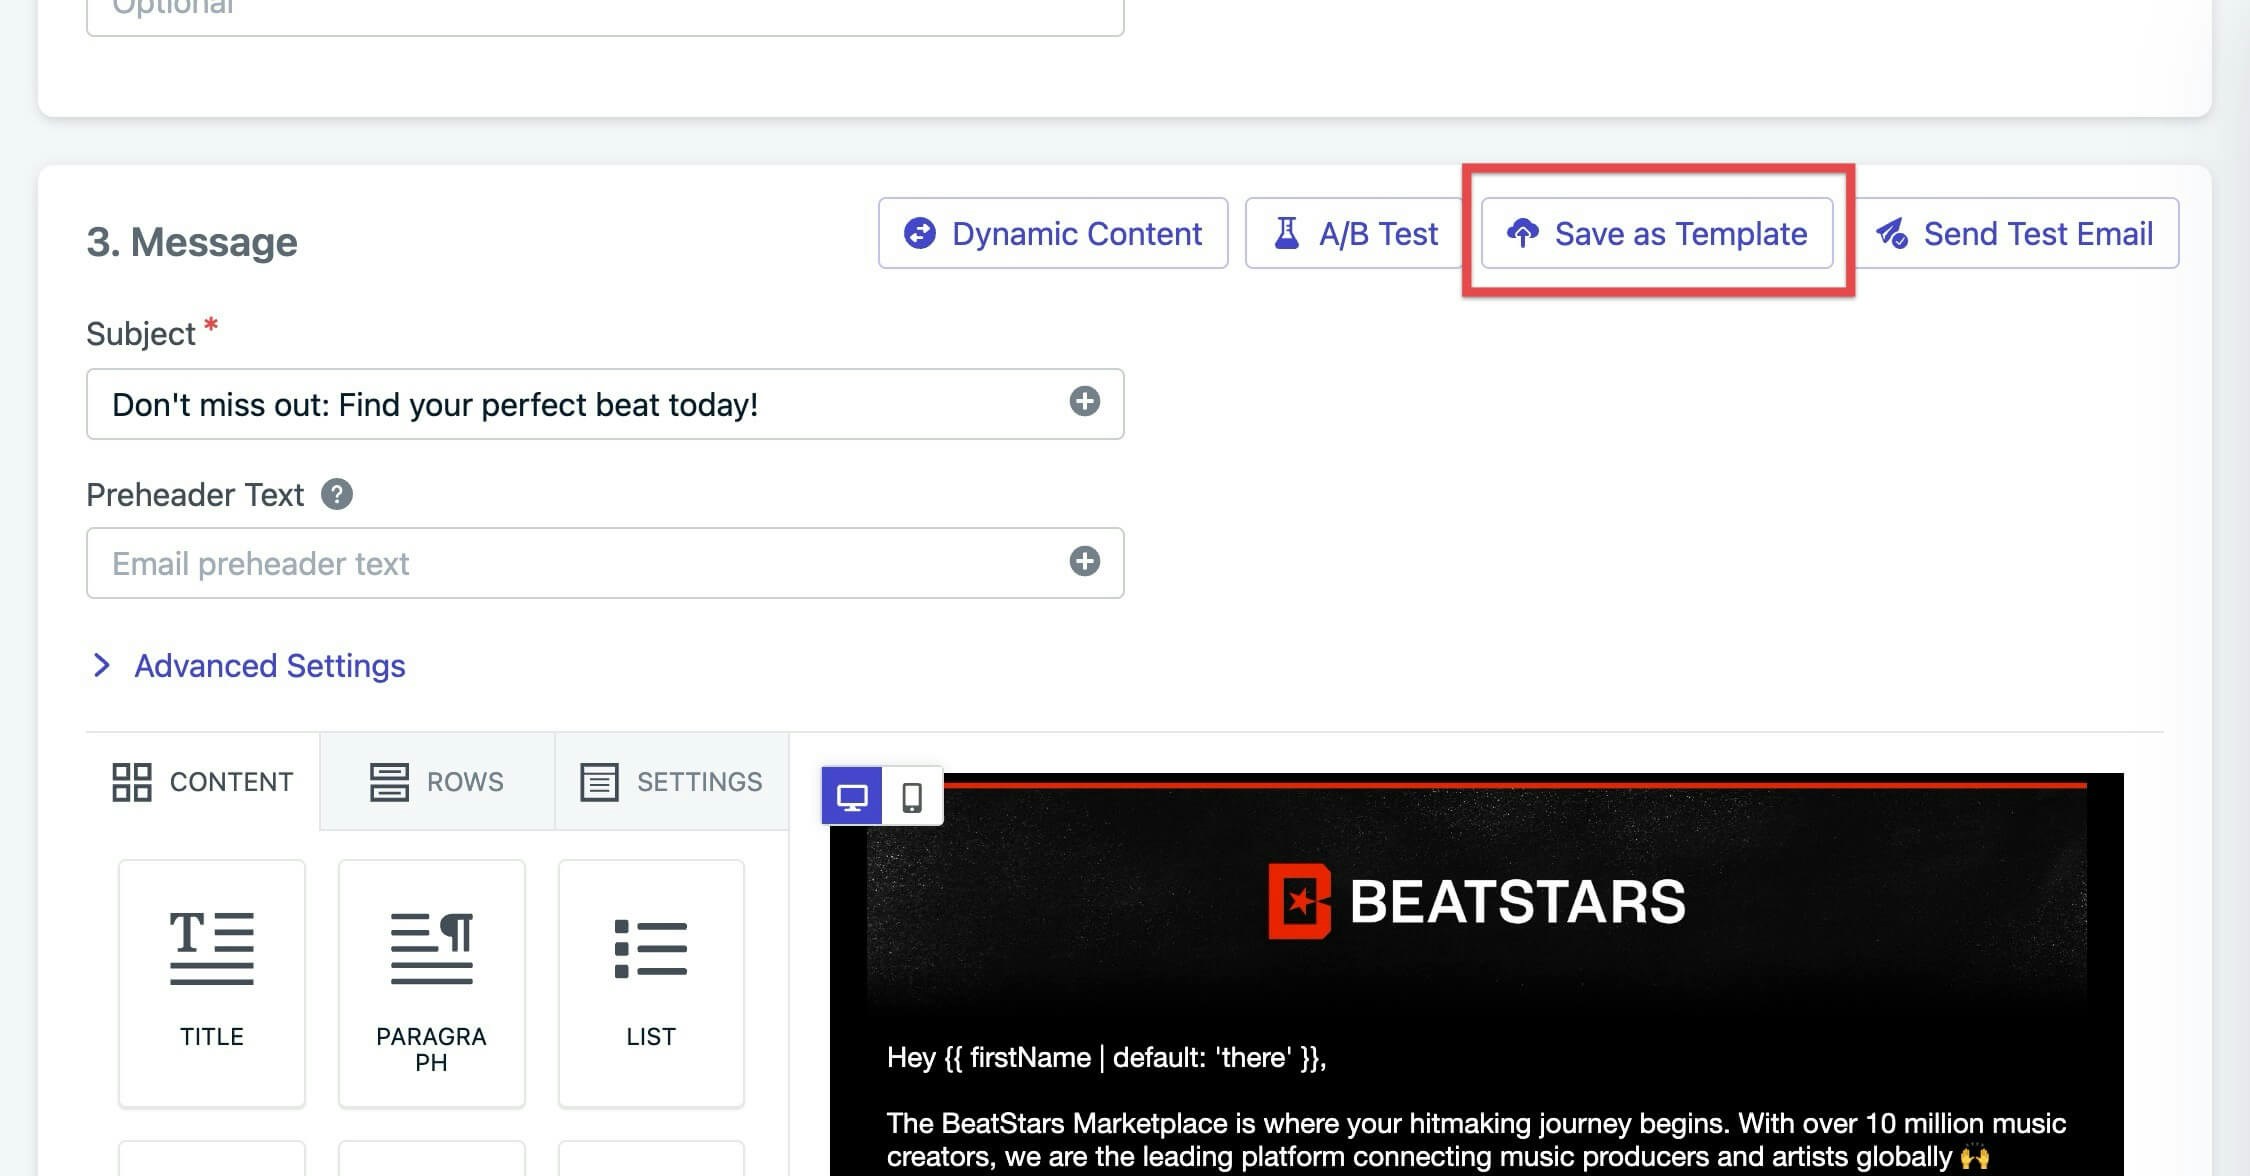
FAQ
How do I add a custom unsubscribe link?
Replace the default[unsubscribe_url] with your own URL. You are responsible for updating the email Subscription status in OneSignal when a recipient unsubscribes. See Create a custom unsubscribe page for setup details.
Why does my email look different in Outlook?
Outlook on Windows uses the Microsoft Word rendering engine, which does not support modern CSS. Common issues include ignoredmax-width, collapsed background images, and missing web fonts. Test in Outlook specifically and use inline CSS with explicit width and height attributes on images.
What is the maximum email size?
Keep total email size (HTML + images) under 1 MB. Emails over 102 KB of HTML are clipped by Gmail, which hides content below the fold behind a “View entire message” link. Optimize images and remove unused code to stay under this threshold.Can I reuse parts of an email across multiple campaigns?
Yes. Save any row as a Saved Row by clicking the save icon on the row. Saved rows appear under Rows > My Saved Rows and can be dragged into any email. For full email reuse, save the entire design as a template.How do I preview my email before sending?
Use the Preview button in the top toolbar to see how your email renders on desktop and mobile. To send a live test, click Send Test Email and enter a recipient address. Test emails are delivered to the inbox so you can verify rendering, links, and personalization in actual email clients.Do emojis work in emails?
Yes, but they render differently across email clients. Outlook on Windows is the most inconsistent — emojis may appear as black-and-white outlines or boxes. If emojis are part of your subject line or CTA text, test across clients before sending.How do I import an existing HTML email template?
You can bring existing HTML templates into OneSignal three ways:- Forward the email to OneSignal using Email Template forwarding
- Use the Create Template API to upload HTML programmatically
- Copy-paste your HTML directly into the HTML Editor
Related pages
Email overview
End-to-end guide to sending email with OneSignal.
Design emails with HTML
Full HTML control, dark mode overrides, and advanced styling.
Email templates
Save and reuse email designs across campaigns.
Unsubscribe links
Add default or custom unsubscribe links for compliance.
Message personalization
Personalize emails with tags, Liquid syntax, and dynamic content.
AB testing
Test subject lines, content, and send times to optimize engagement.