Organize and manage messages across push, email, SMS, and in-app channels with Labels in OneSignal. Easily filter, categorize, and streamline your campaign workflow.
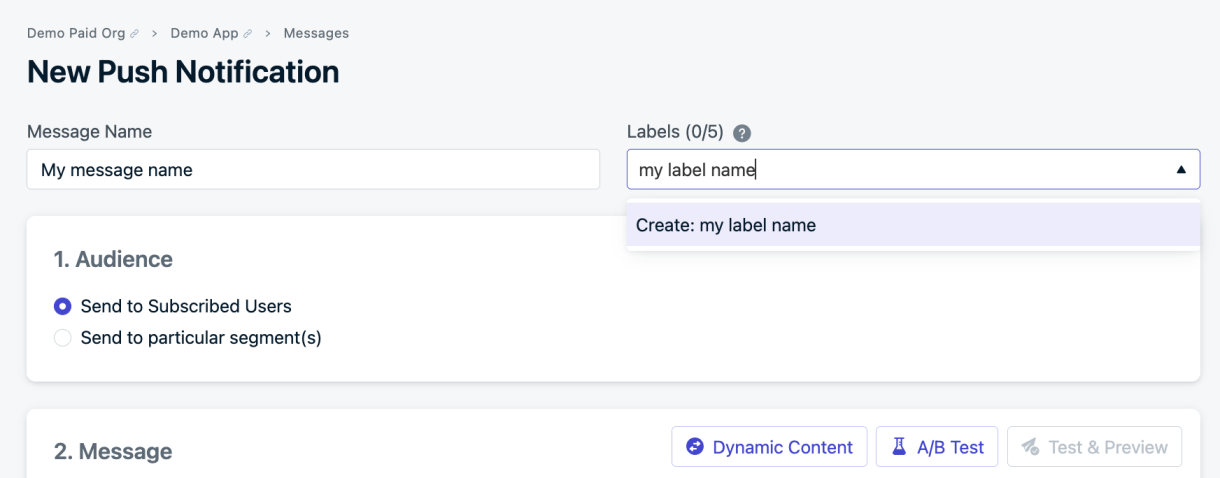
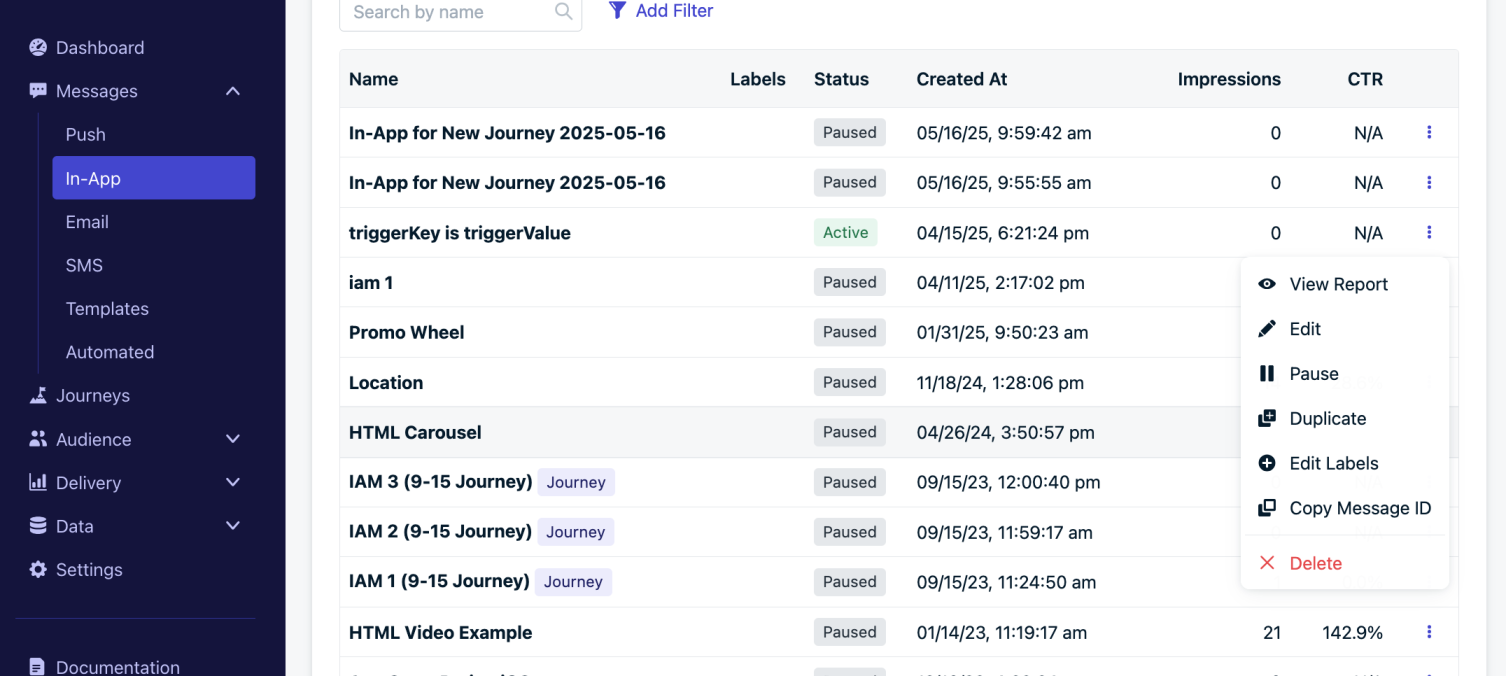
Labels in OneSignal help you categorize and organize messages across push, email, SMS, and in-app channels. Labels make it easier to filter messages, locate templates, and collaborate across teams.Once a label is applied, it can be used to filter and group content, improving visibility and navigation within your dashboard.
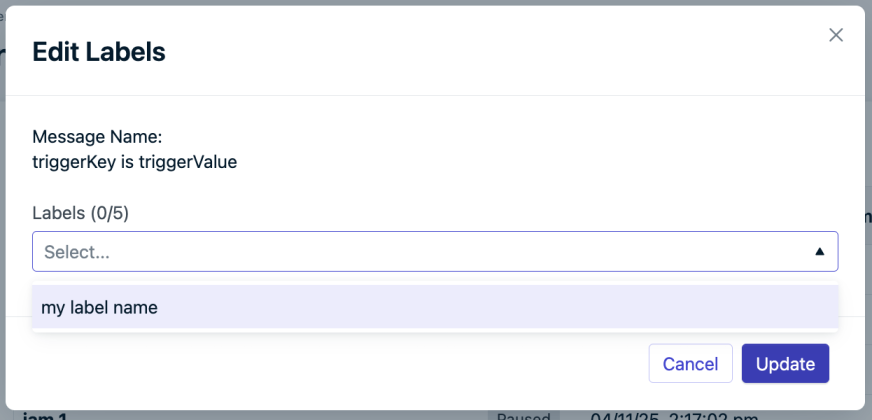
You can apply up to five labels per message or template. Each label can be up to 100 characters long and must be unique. Labels are shared across all channels, enabling you to group related content across push, email, SMS, and in-app messages.
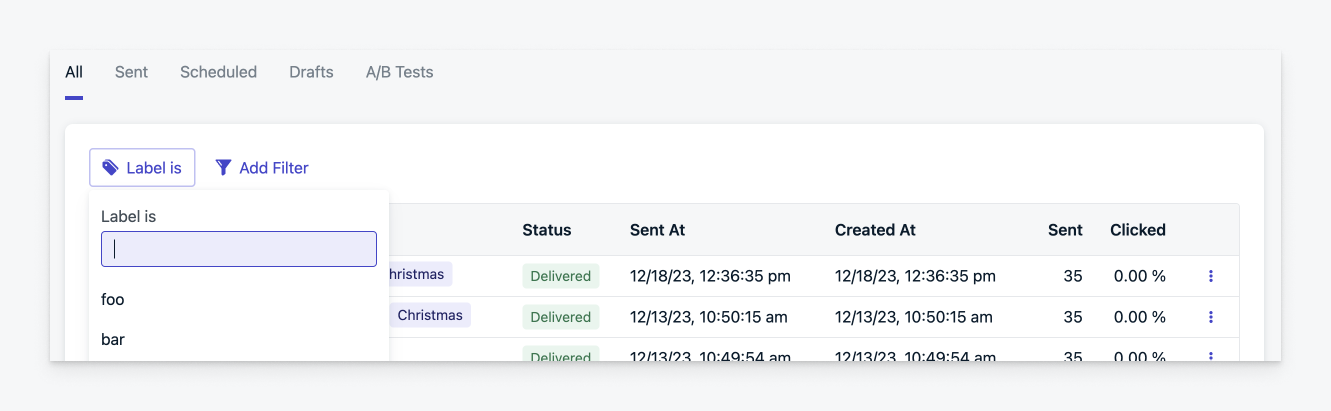
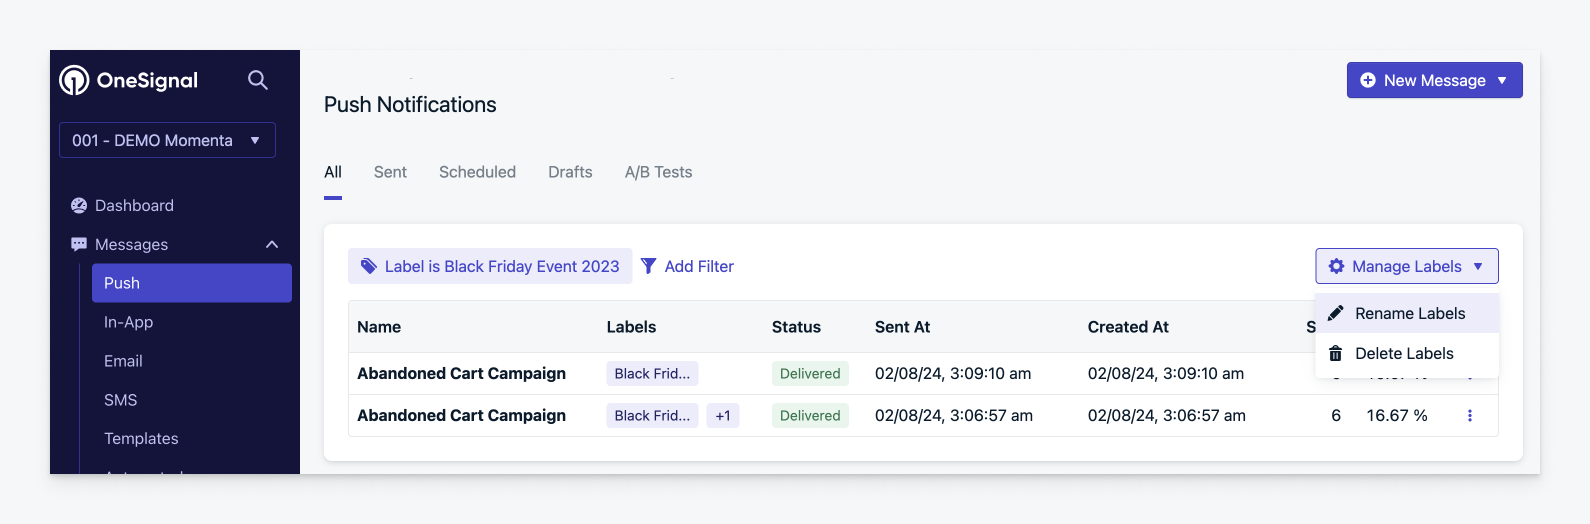
Apply filters to show only messages with selected labels. You can use up to five label filters at once. Filters use AND logic, meaning only messages that match all selected labels will appear.Example: Filtering by Label A and Label B will only show messages tagged with both.
Use the filter to find items with that label applied. Limit 5.
If I use the same label across different channels, will it group those messages together?
Yes. Labels are shared across all messaging channels. For example, the label “Super Bowl 2023” can be used on push, email or any other channel and will appear consistently in filters.