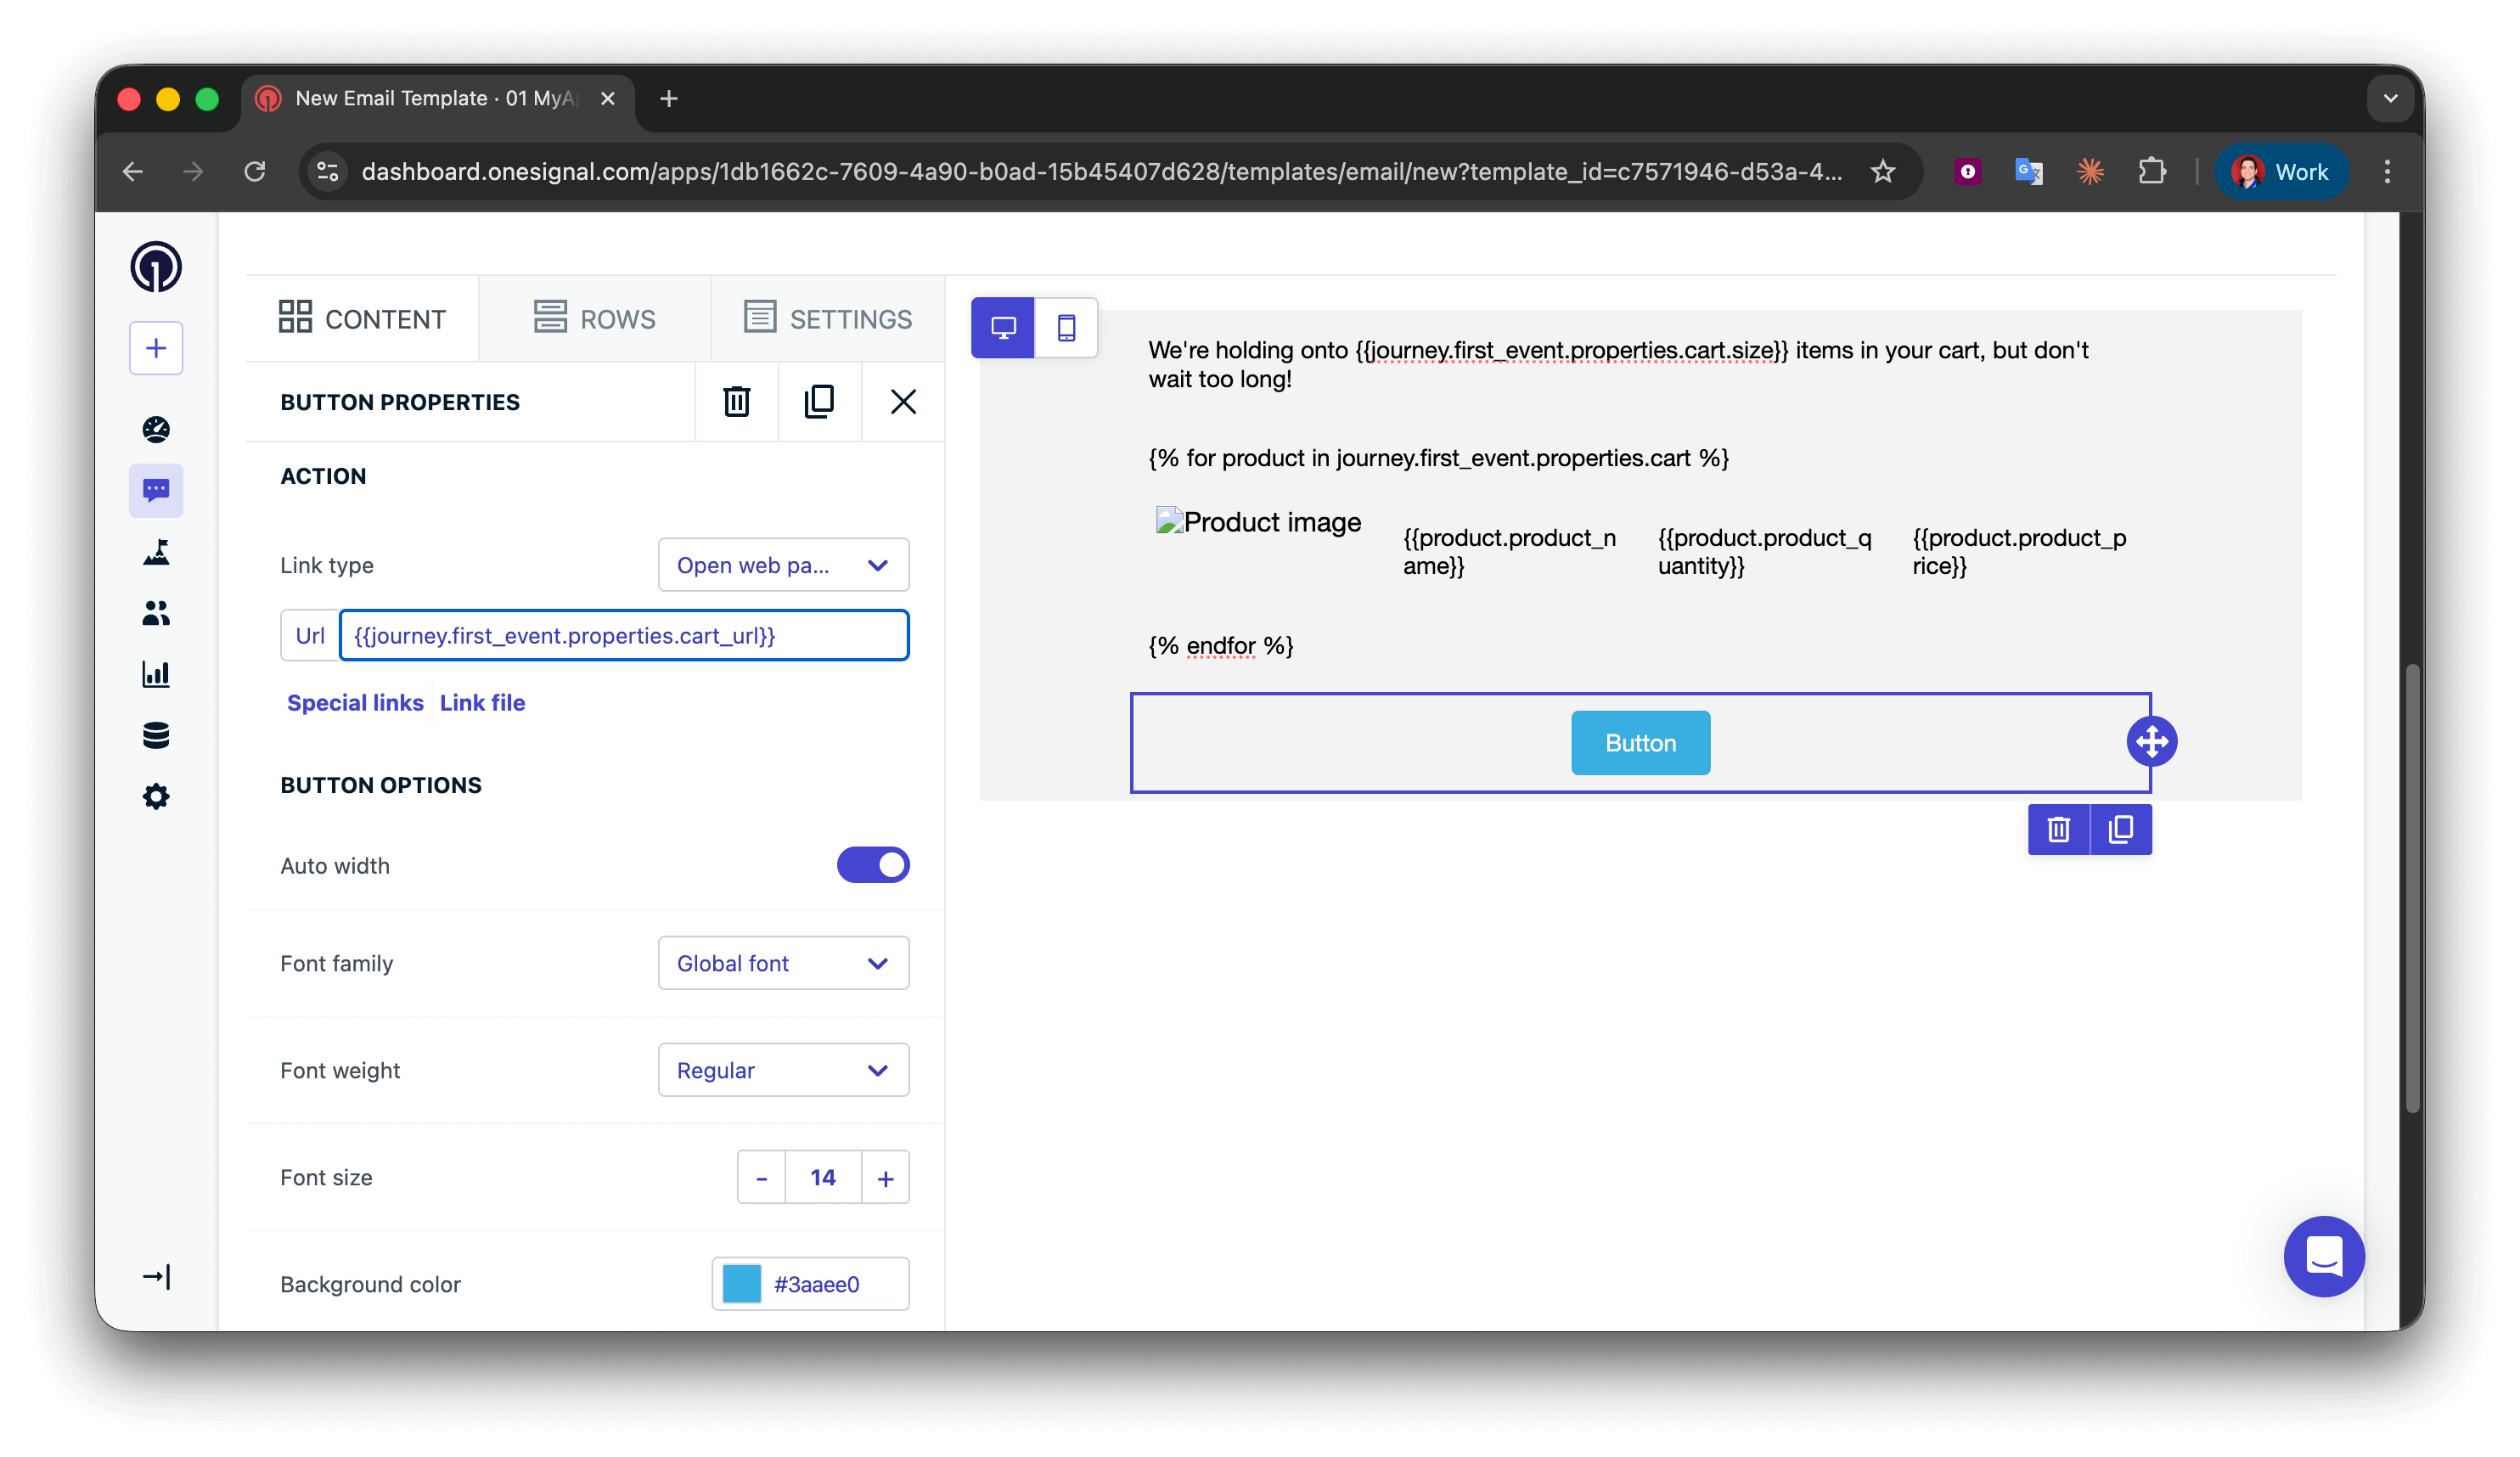
{{ journey.first_event.properties.details.first.manufacturer }} = Company A{{ journey.first_event.properties.details.last.manufacturer }} = Company B{{ journey.first_event.properties.details[0].manufacturer }} = Company A{{ journey.first_event.properties.details[1].manufacturer }} = Company B
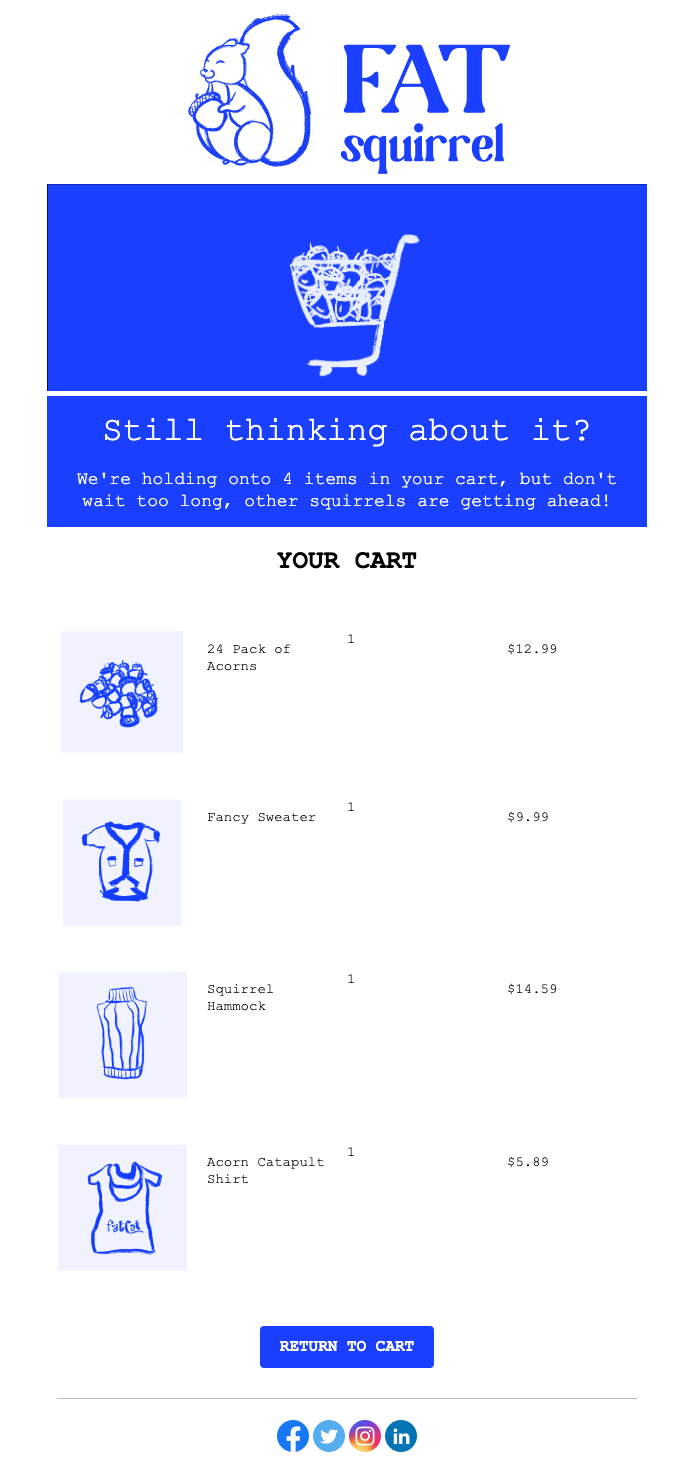
{% assign cart = message.custom_data.cart %}{% assign item_count = cart.size | plus: 0 %}{% if item_count == 1 %}We're holding onto {{item_count}} item in your cart, but don't wait too long, other squirrels are getting ahead!{% endif %}{% if item_count > 1 %}We're holding onto {{item_count}} items in your cart, but don't wait too long, other squirrels are getting ahead!{% endif %}
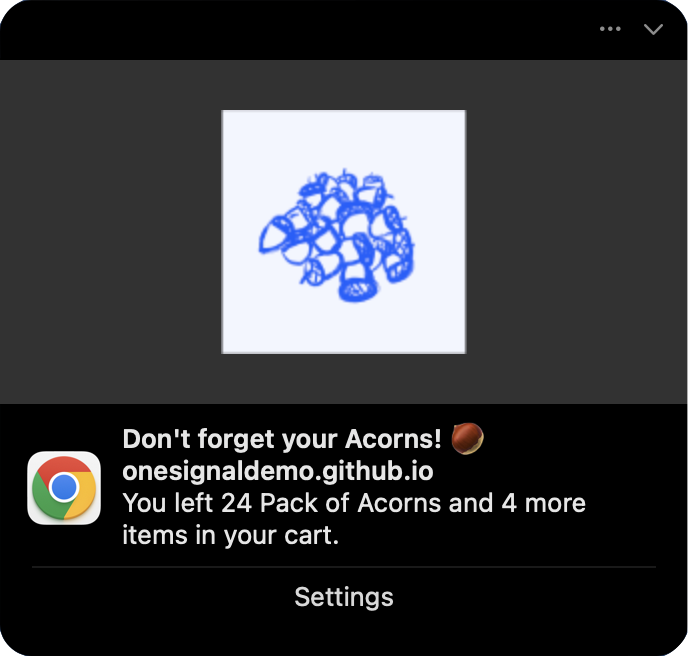
{% assign cart = journey.first_event.properties.cart %}{% assign item_count = cart.size | plus: 0 %}{% if item_count == 1 %}You left {{cart.first.product_name}} in your cart.{% endif %}{% if item_count == 2 %}You left {{cart.first.product_name}} and {{item_count | minus: 1}} more item in your cart.{% endif %}{% if item_count > 2 %}You left {{cart.first.product_name}} and {{item_count | minus: 1}} more items in your cart.{% endif %}