Guide users to enable location tracking in your mobile app using a soft pre-prompt in OneSignal before triggering the native Android or iOS location permission request.
Easily request location access from users by using a OneSignal in-app message as a soft pre-prompt before showing the required native system-level location permission dialog. This improves opt-in rates and gives you more control over when and how to ask. Alternatively, you can directly trigger the system prompt using our Mobile SDK location methods.
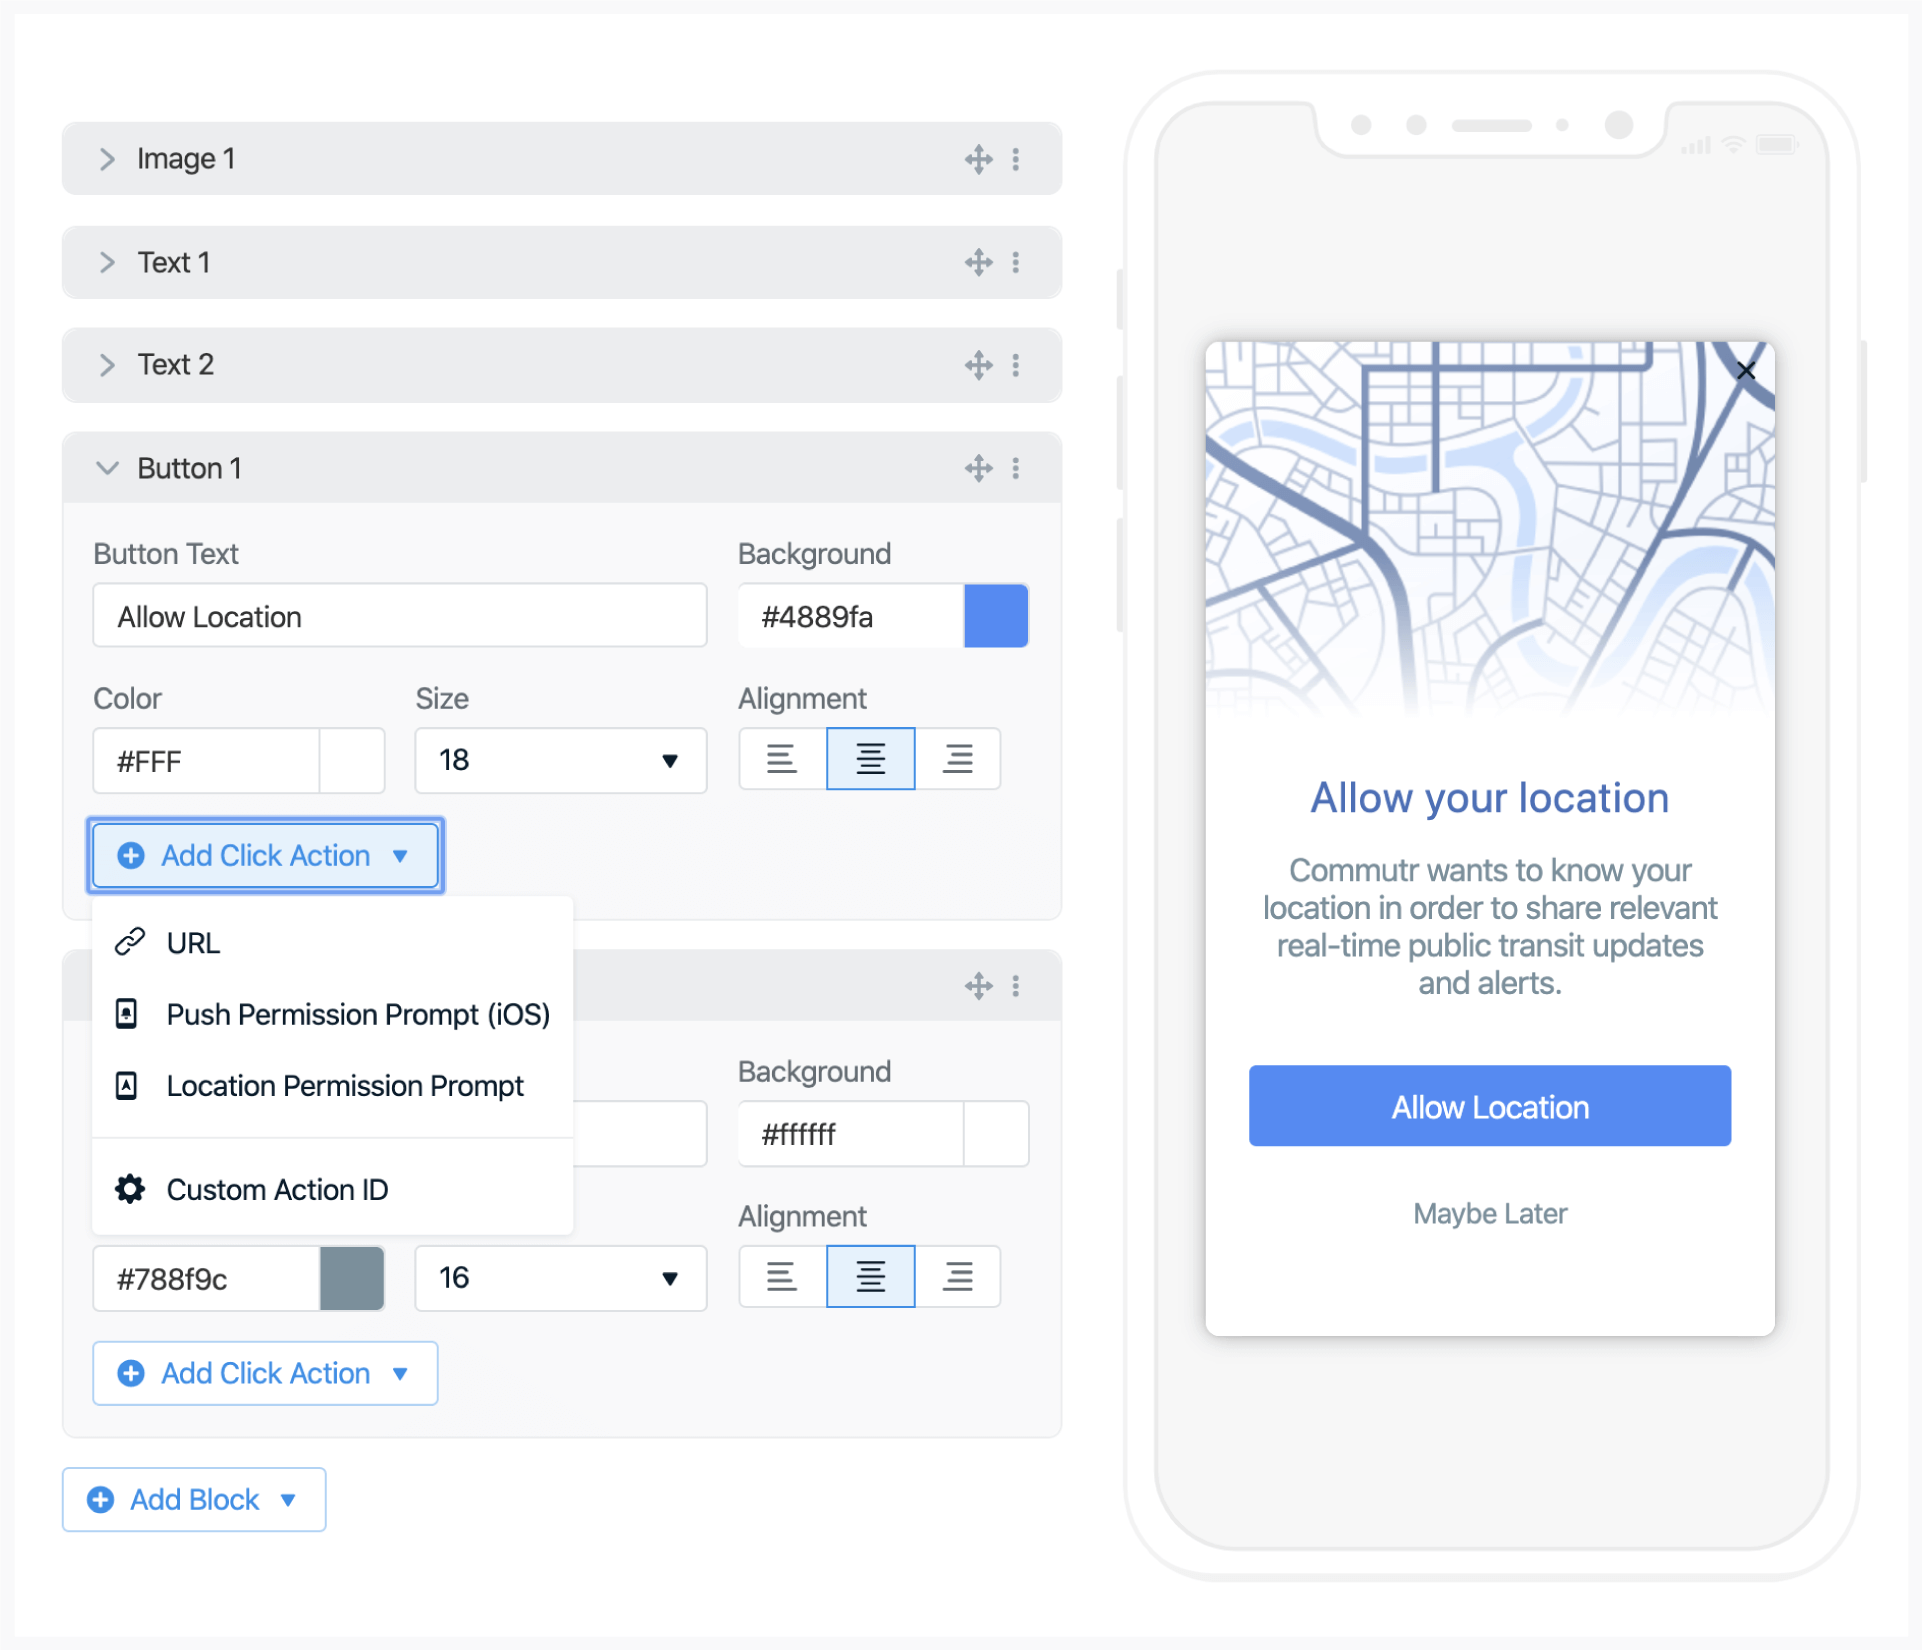
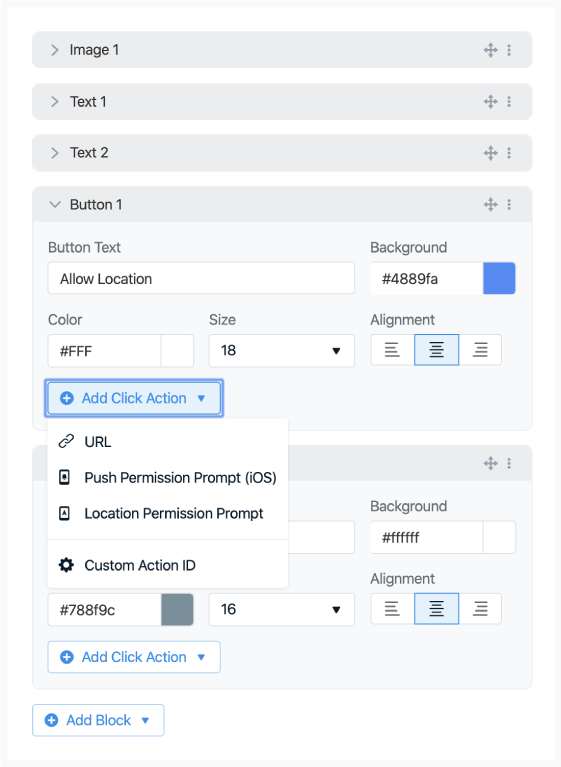
Add a button or image with a clear call to action (e.g., “Enable Location”).
2
Add a click action
In the options:
Click Add Click Action
Select Location Permission Prompt
When clicked, OneSignal will trigger the native, required system-level location prompt.If location is already enabled, the message won’t show to avoid unnecessary prompts.
Both Android and iOS limit how frequently system-level prompts can appear. Using this soft pre-prompt helps avoid those limitations and allows for repeat attempts if needed.
Image showing in-app blocks and ability to add click actions
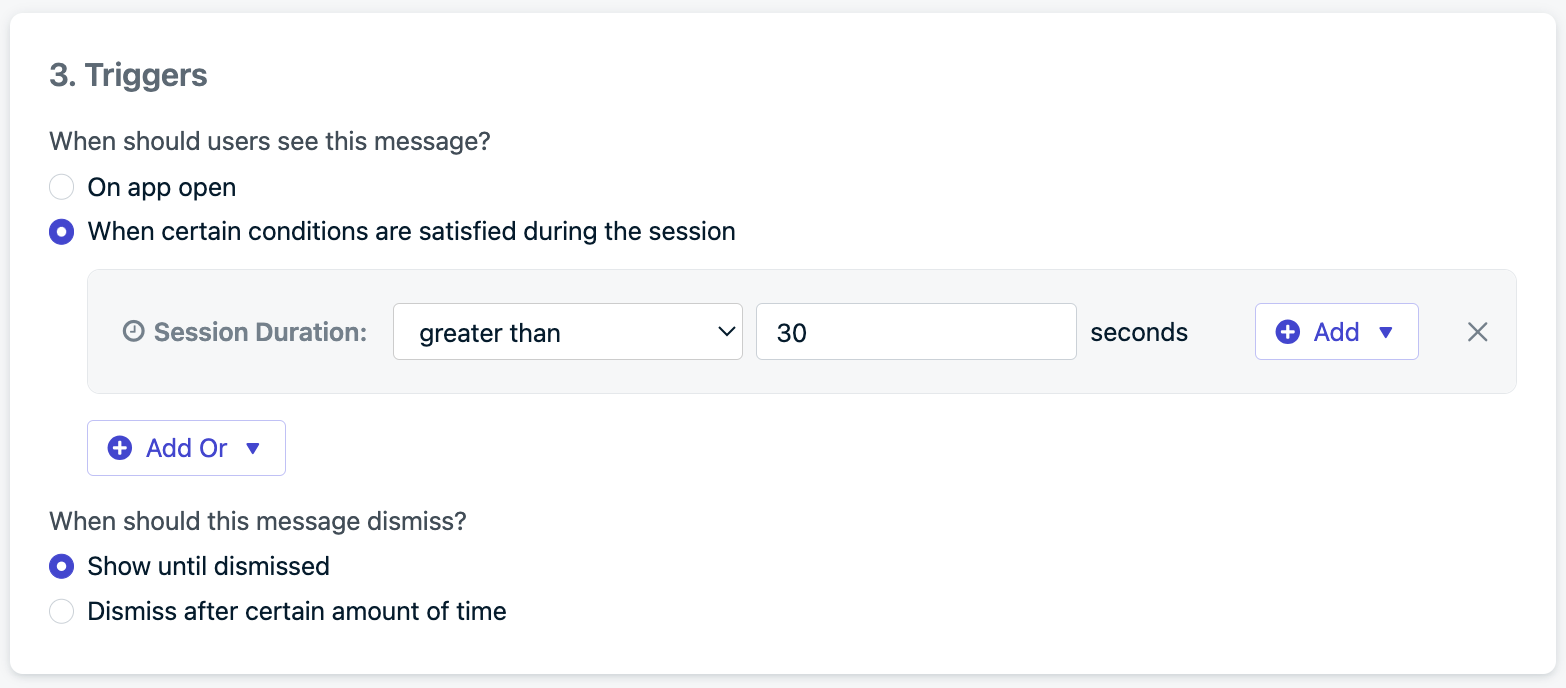
Example setting: show up to 5 times, with a 4-week gap between each attemptThis allows monthly reminders for up to 5 months, striking a balance between persistence and user experience.
Example scheduling configuration for repeat prompts.