Editing a Journey
To edit a Journey, click the Edit button. This activates Edit Mode, allowing you to modify steps, messages, wait durations, and other Journey components. Once done, click Settings > Save. Changes are applied as follows:- Step changes take effect immediately. Any active or future users will flow through the updated steps based on where they are in the Journey.
- Settings changes only affect users who enter the Journey after the changes are saved. Existing users in the flow remain unaffected.
Editing wait steps
Changing the duration of a Wait step only affects users who enter the step after the change. Timers already set for existing users are not updated or reset.Editing message steps
- If you update the content/template of an existing message step, existing stats are retained and new metrics accumulate from the time of the change.
- If you replace or remove a message step, the new step starts tracking stats from zero.
Editing split branches
Split Branches are locked once a Journey is live. If you need to change the number or structure of branches, you must duplicate or create a new Journey.Viewing and refreshing stats
- Click View Stats to exit Edit Mode and enter Stat Mode. This allows you to analyze message and Journey performance.
- Use Refresh Stats to reload the most recent user interaction data.
Journey actions
Click the More Options (⋯) menu to access additional Journey management tools:Stop or archive a Journey
- Stop + Archive halts all user progress through the Journey and marks it as archived.
- Archived Journeys can still be viewed and duplicated, but cannot resume sending.
Duplicate a Journey
- Duplicate creates a new Journey with the same structure and settings.
- Start and end times are not copied—you must set them manually for the new Journey.
Export a Journey as an image
- Export as Image downloads a PNG of your Journey canvas.
- Only visible steps on-screen are included in the snapshot.
Delete a Journey
- Delete permanently removes the Journey and its data.
- This action is irreversible.
Adding team notes
Use Notes to annotate Journey steps with important context, collaboration insights, or implementation rationale. This helps teams stay aligned when reviewing or editing Journeys.Benefits of notes
- Keep all strategic context centralized in the Journey.
- Communicate segmentation logic, personalization rules, or testing hypotheses.
- Document what each message is intended to convey or test.
How to add a note
- Enter Edit Mode.
- Select a message or action step.
- Add your note.
- Click Save.
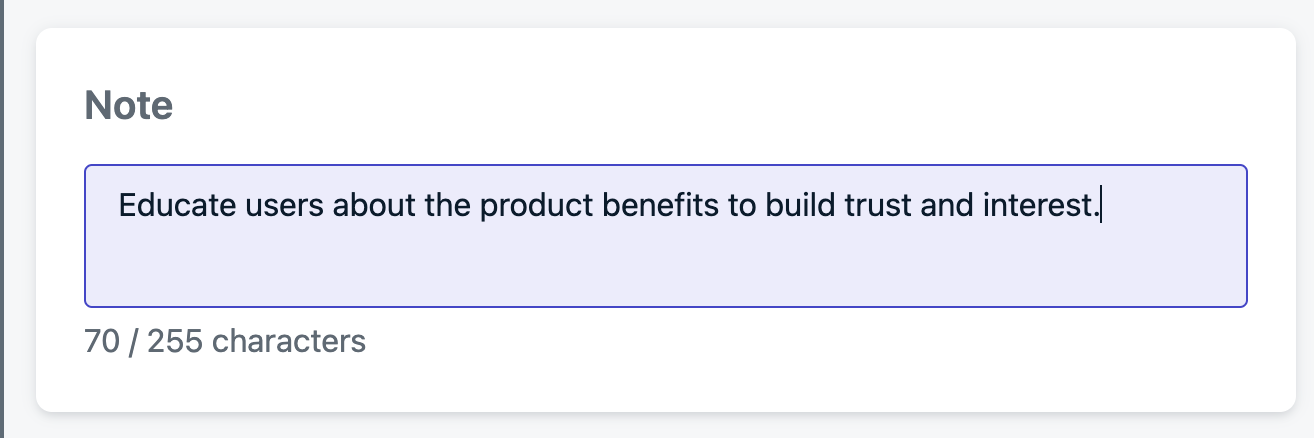
Adding a note to a Journey step
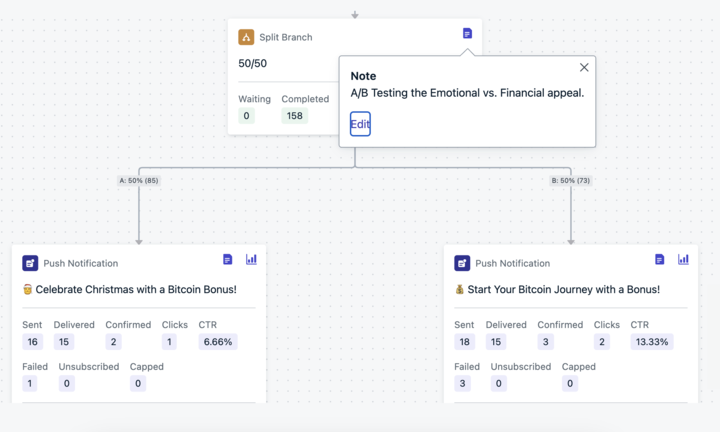
A note added to a Journey step