Learn how to replace OneSignal’s default unsubscribe link with a branded, multi-language, and personalized email preferences page, while maintaining compliance and tracking.
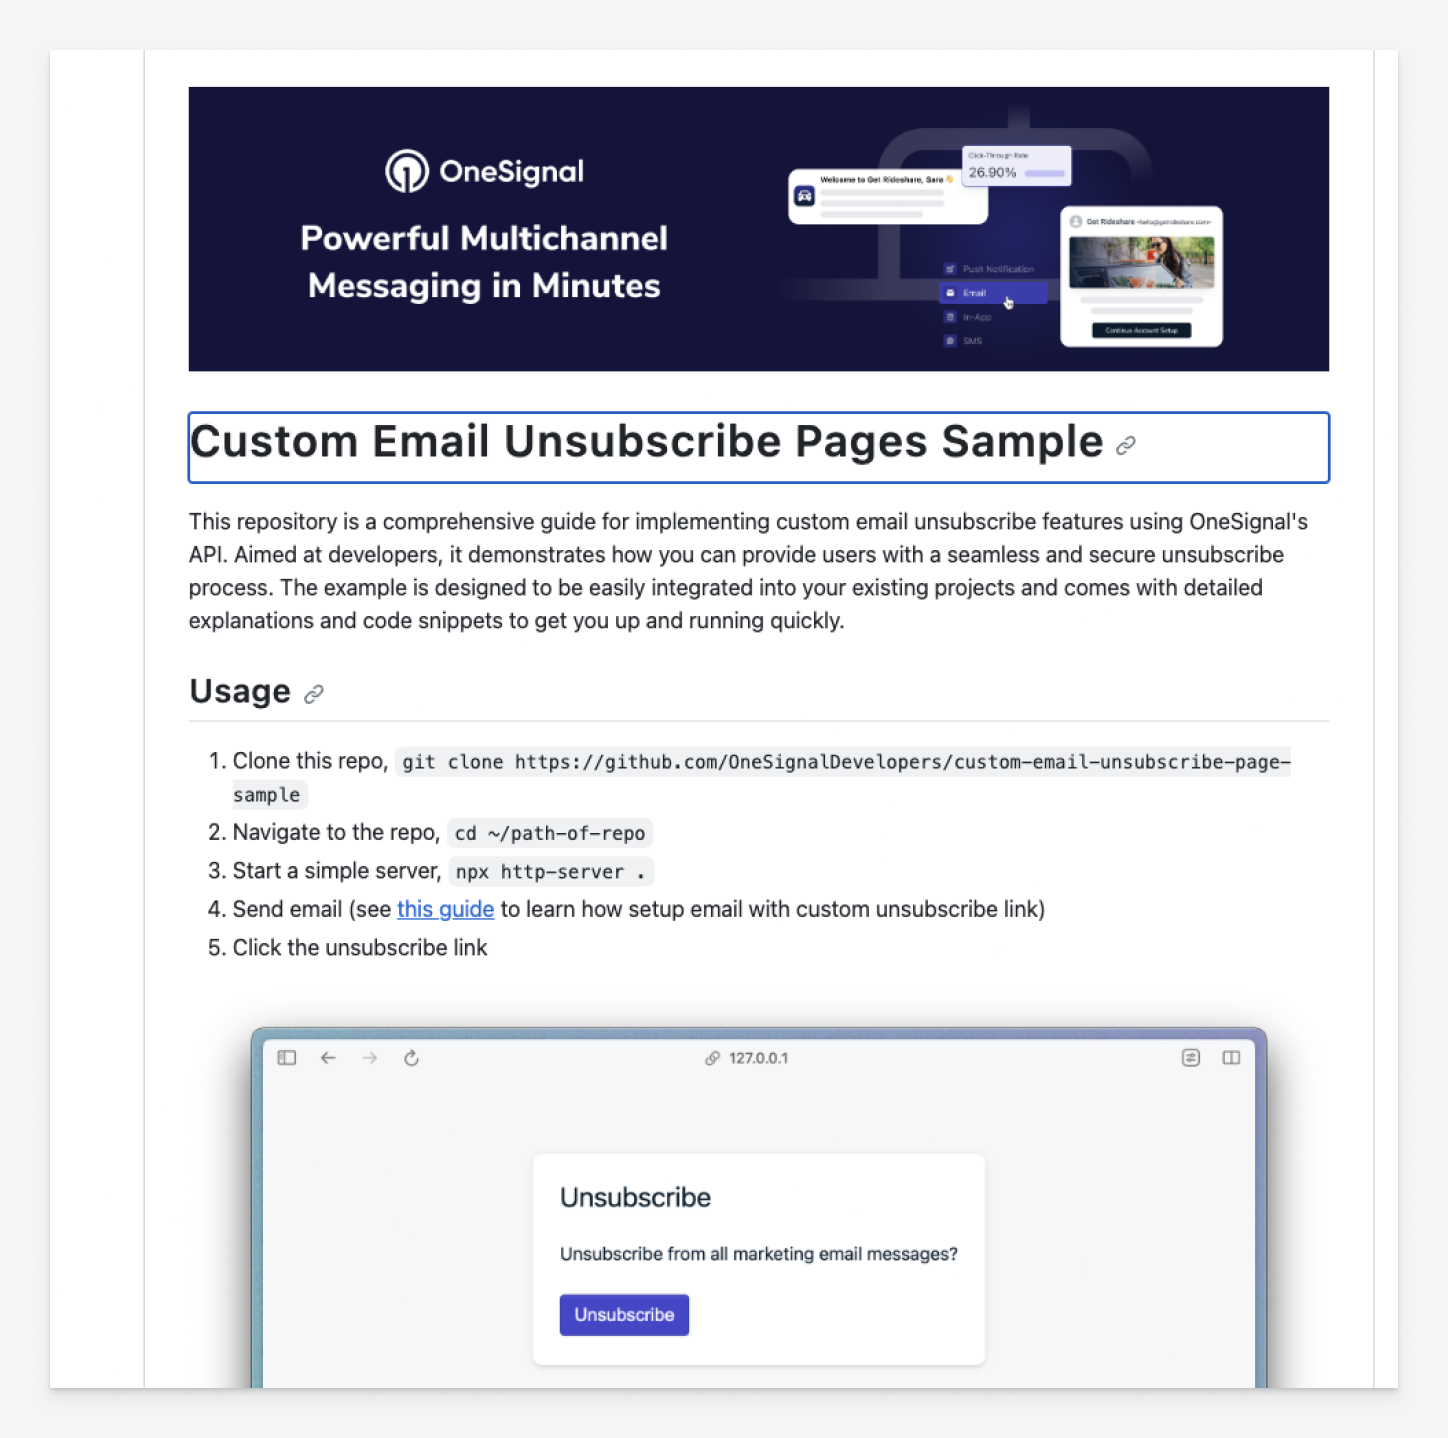
OneSignal provides a default email-compliant unsubscribe experience that injects a link into your email templates so users can unsubscribe with ease and their subscription statuses are updated in real-time. If you want full control over branding, copy, and fields (such as category opt-outs), you can replace the default link with your own custom page and use the OneSignal API to unsubscribe or update user preferences.This guide explains how to add your own custom unsubscribe page to emails (removing the default OneSignal link) and which of our APIs to use to unsubscribe the user’s email Subscription.If you want to add more functionality to your custom unsubscribe page (like opt out of specific email categories instead of all), this is detailed in our Preference Center tutorial.
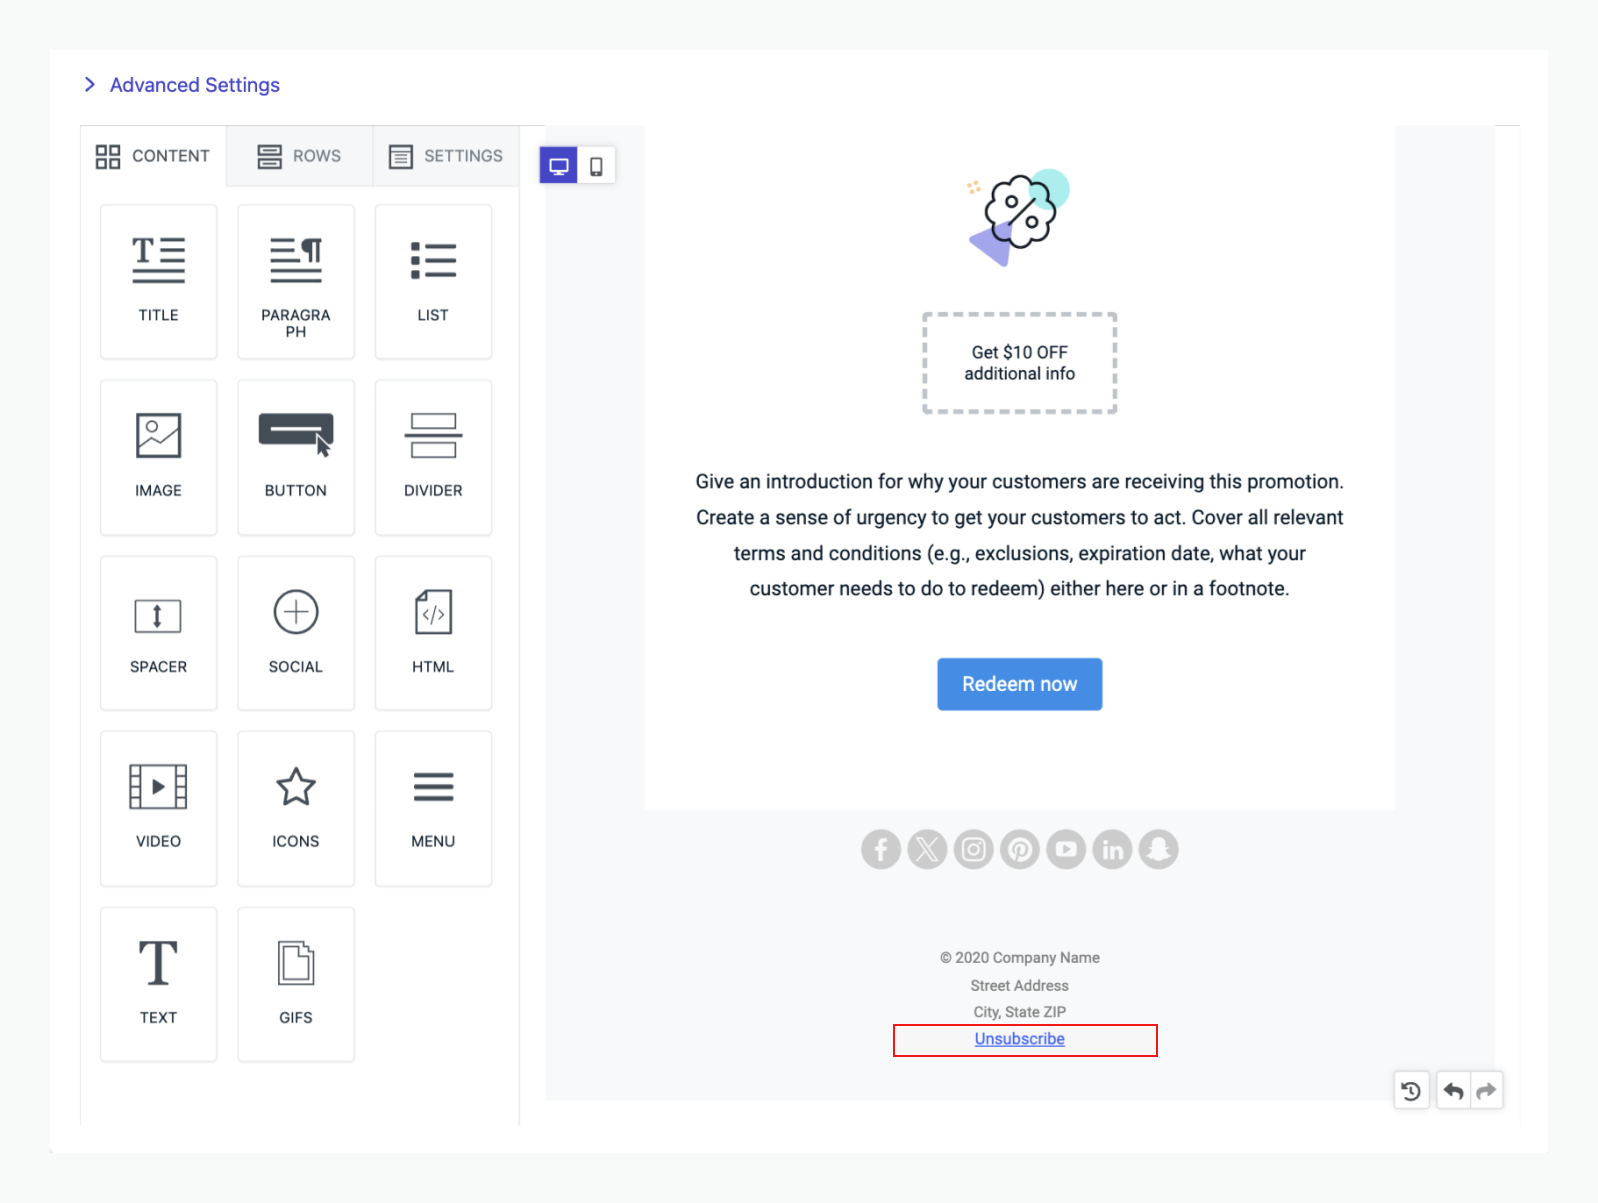
OneSignal automatically inserts a special link in the format [unsubscribe_url] to your email templates. This URL unsubscribes the user from all emails in OneSignal. See Email Unsubscribe Links for details.To use your own page, locate and remove the default link in your template.
Drag-and-Drop Editor
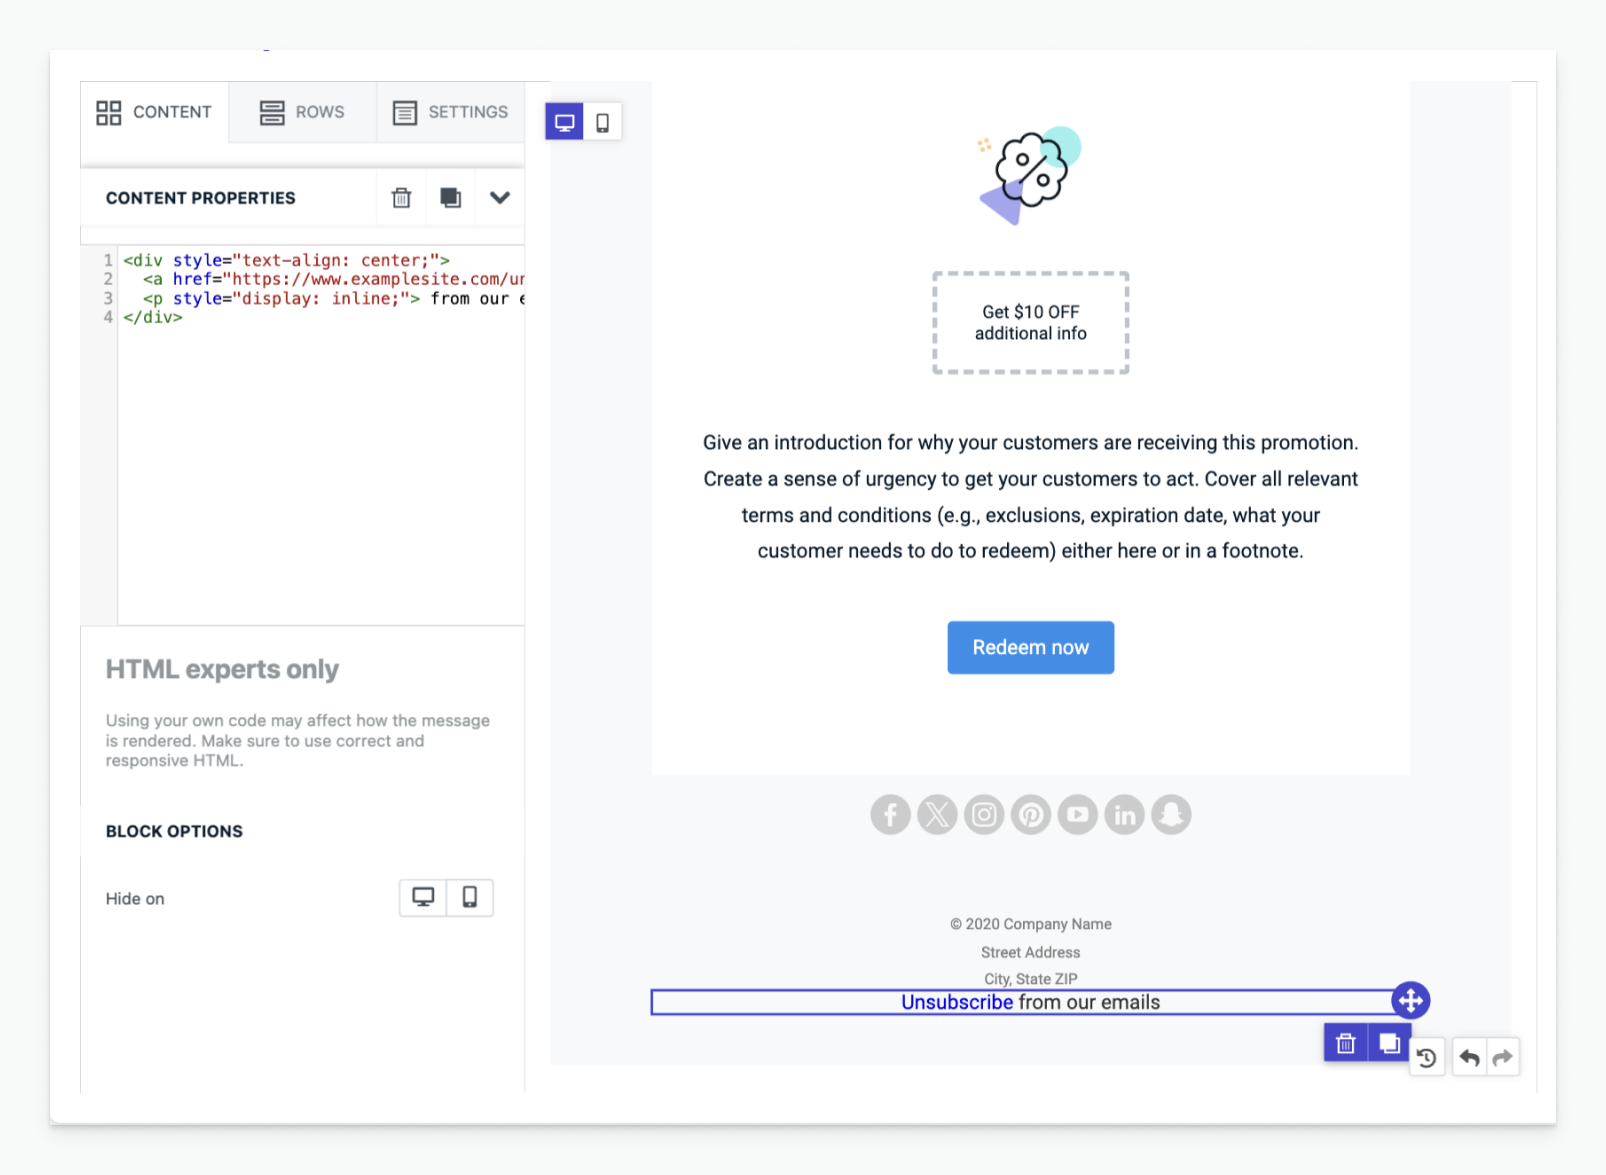
HTML Editor
In the drag-and-drop editor, the default link may appear nested like:
Now that you have removed our special link, you can replace it with your own URL.Many times, these links require some additional data to be passed to your page. Use Liquid variables to pass OneSignal data to your page.Common parameters:
Unsubscribe clicks are generally not used for engagement metrics. If you want to disable link tracking, you can add the data-disable-tracking="true" attribute to your link like this:
This API is most commonly used when you have the user’s email address and just want to subscribe or unsubscribe them from all emails.Required query parameters:
app_id
token
Authentication required
Call this API from your server.
Use this API if you want to track which specific email caused the unsubscribe. This uses the email message ID to track the unsubscribe. See Unsubscribe Email with Token API for more details.Required query parameters: