How it works
When OneSignal detects any of the following conditions:- An email recipient marks your message as spam
- An email address produces a hard bounce (permanent delivery failure)
- Maintain a clean email list
- Improve overall deliverability
- Protect your sender reputation
- Reduce bounce rates
Managing your suppression list
You can view and manage your suppression list by navigating to Settings > Email > Suppression: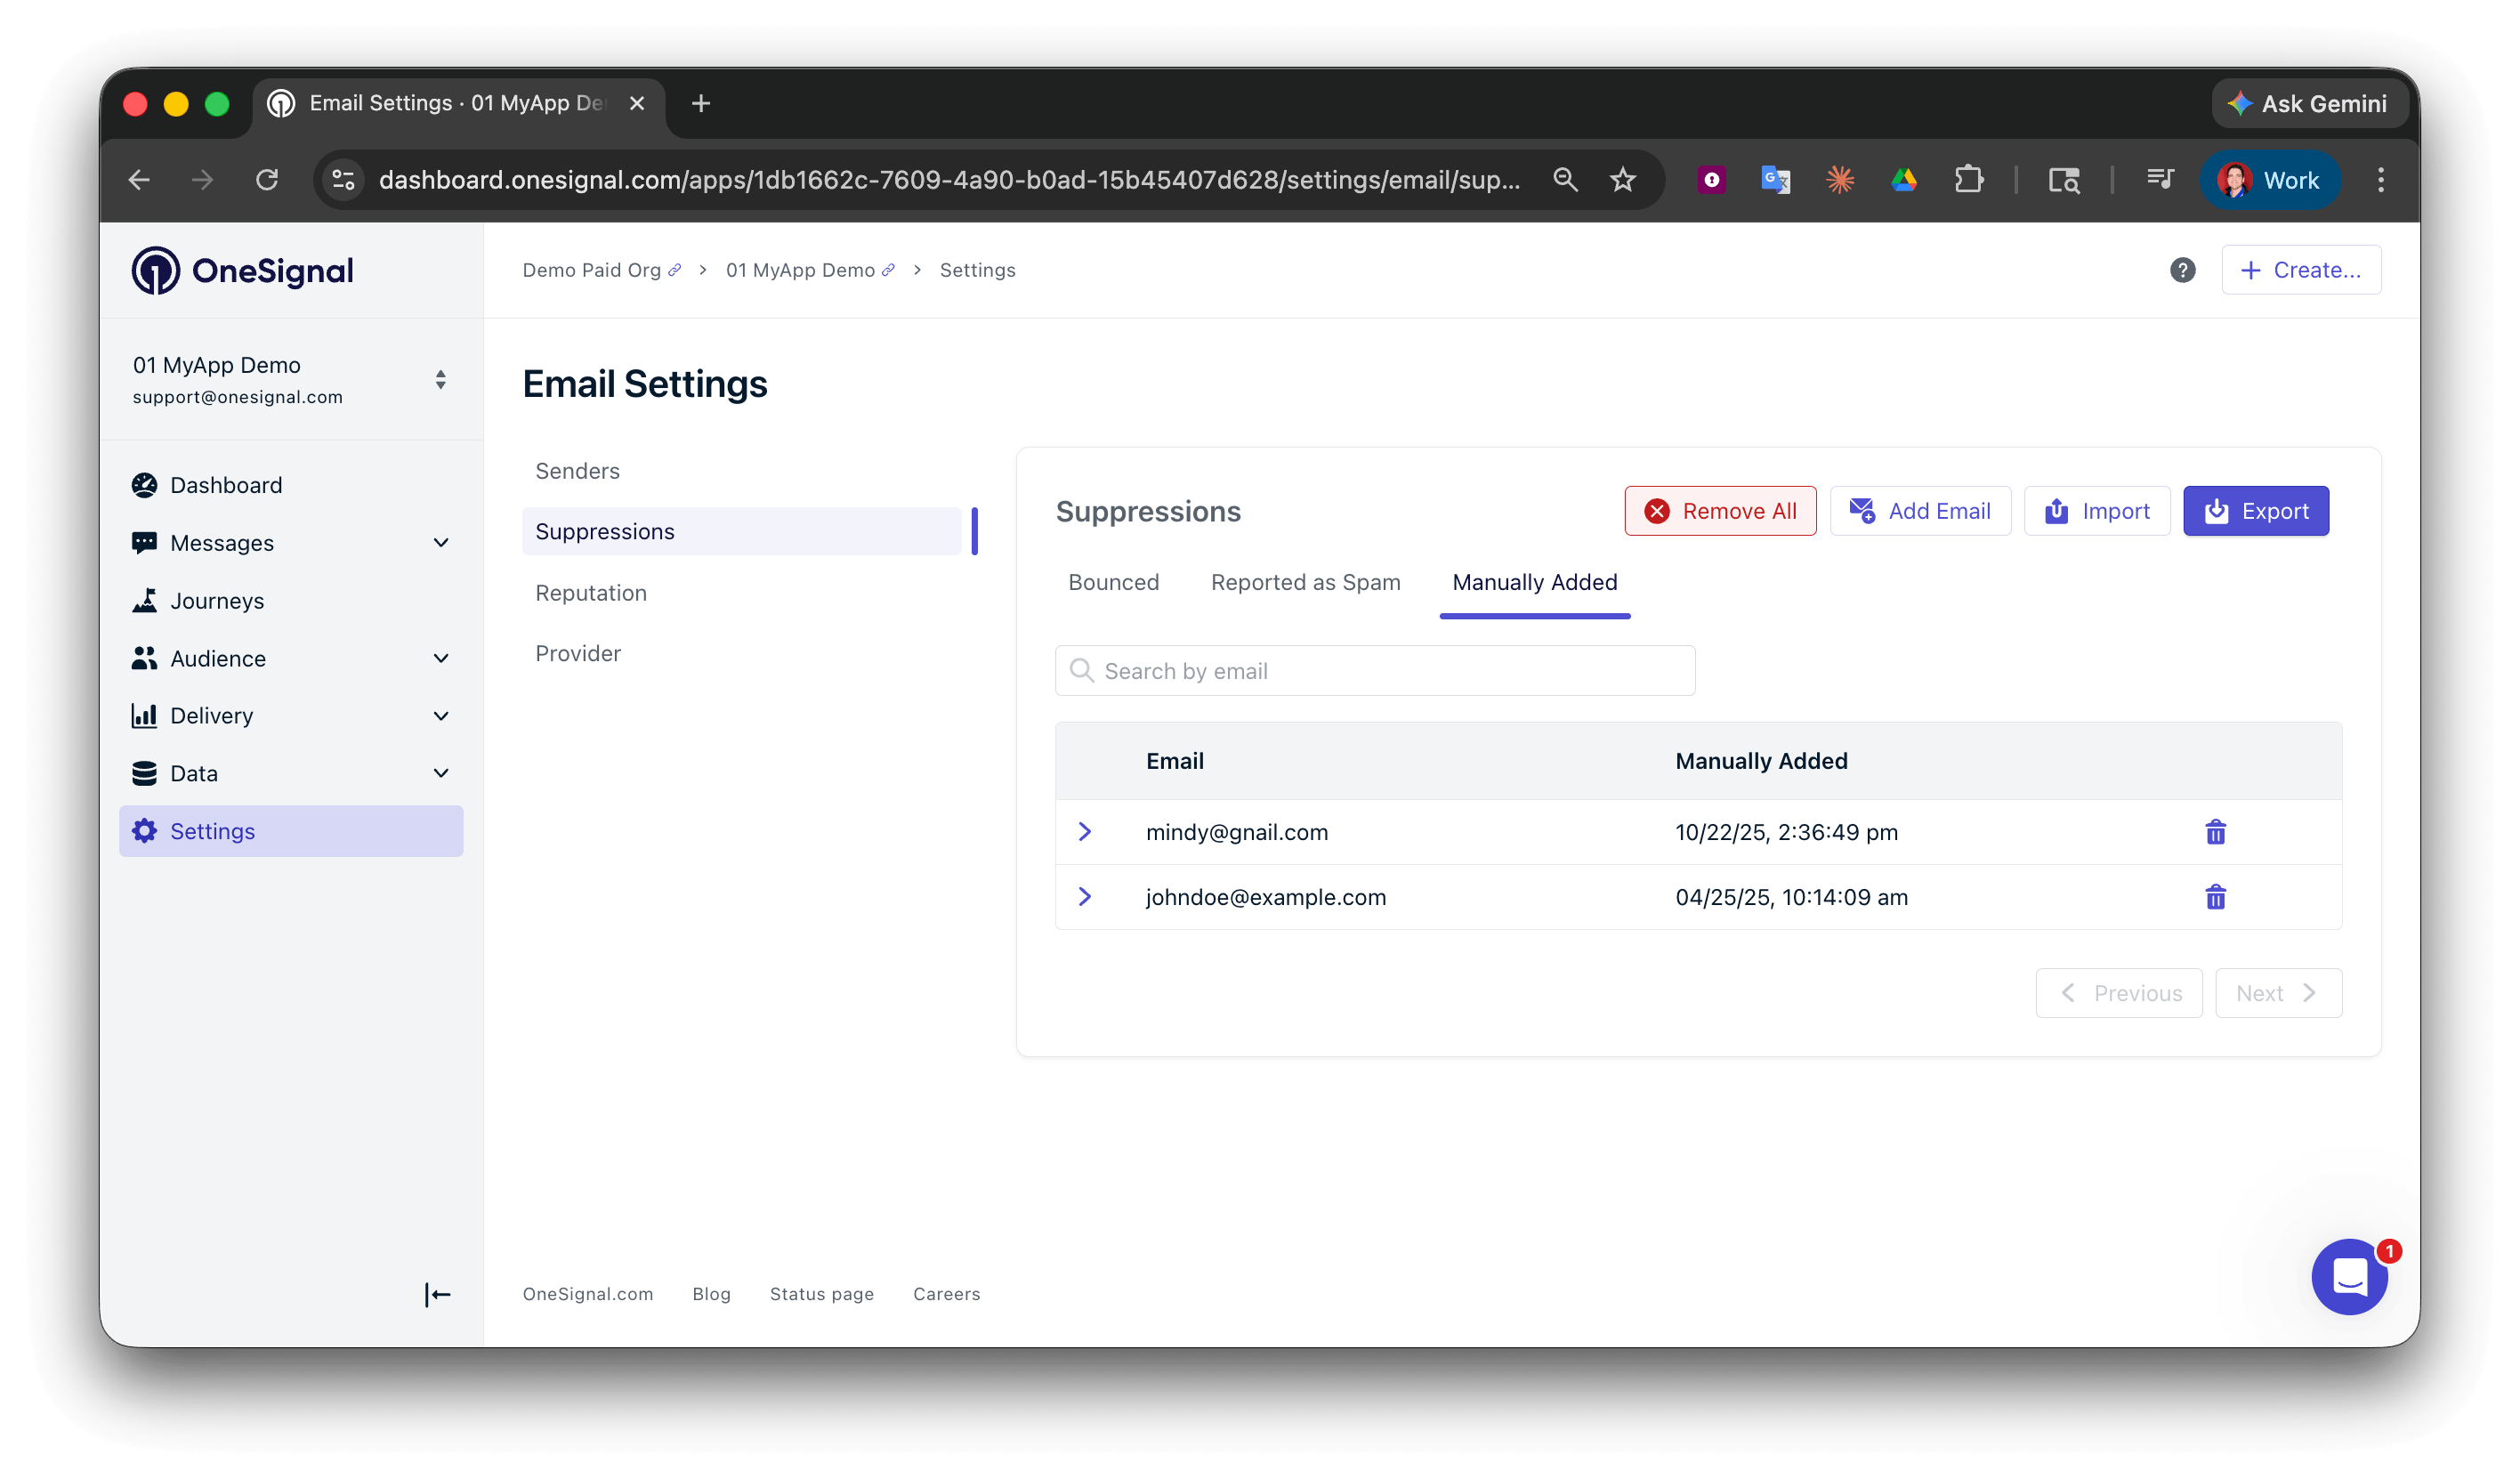
If you are using another ESP as your email service provider, your suppression list must be managed directly through your ESP’s platform.
Adding new suppressions
To manually add a new email address to your suppression list, click the Add Email button:
suppressed column with the value set to true for each email address row you want in the suppression list.
Example CSV
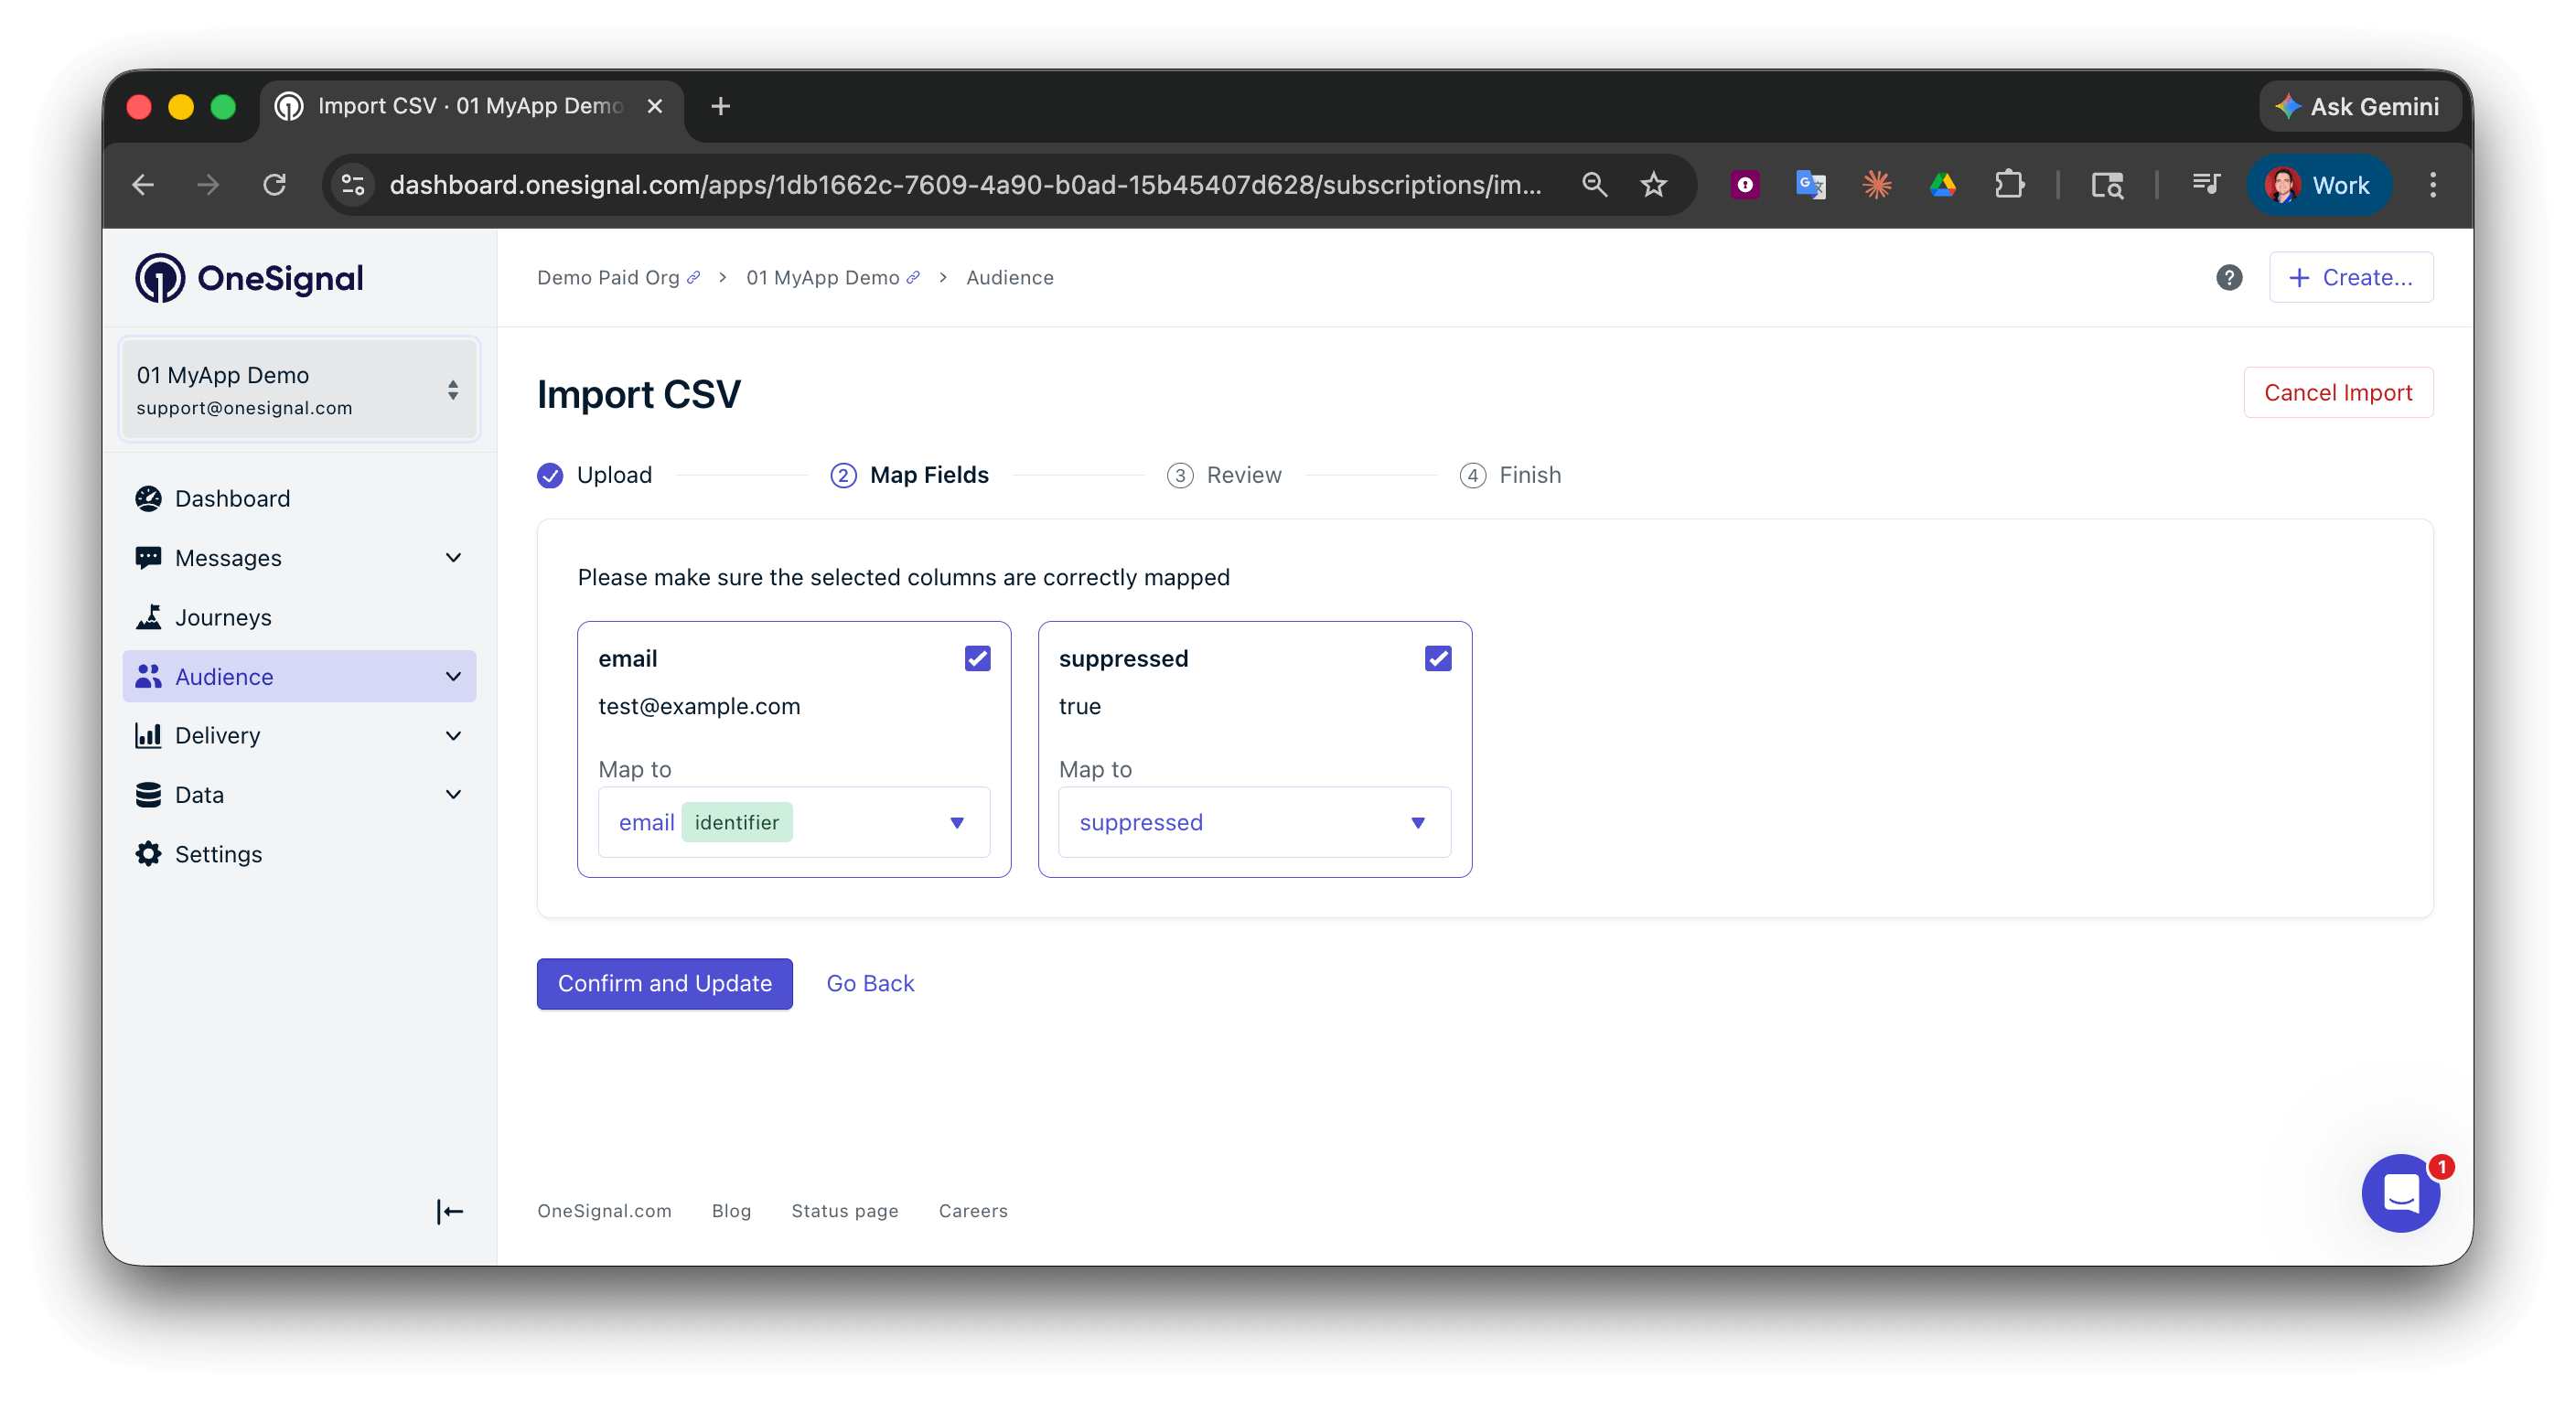
Import CSV tool
Learn how to import email addresses in bulk using the CSV Import tool.
Removing suppressions
To remove a suppression, click the trash icon next to the email address: To remove emails in bulk, use the CSV Import tool and include asuppressed column with the value set to false for each email you want to unsuppress. Map this column to suppressed after uploading your CSV.
FAQ
What triggers an automatic suppression?
OneSignal automatically suppresses an email address when a recipient marks your message as spam or when the address produces a hard bounce (permanent delivery failure). Soft bounces (temporary failures) are not automatically suppressed.Does removing a suppression re-subscribe the user?
Removing an address from the suppression list allows OneSignal to send to it again, but it does not change the user’s subscription status. If the user previously unsubscribed, you must also update their subscription separately.Are suppressions per-app or account-wide?
Suppressions are per-app. Each OneSignal app maintains its own suppression list. An email address suppressed in one app is not automatically suppressed in another.What if I am using SendGrid, Mailchimp, or Mailgun directly?
The OneSignal suppression list only applies when OneSignal is your email service provider. If you are sending email through a third-party ESP like SendGrid, Mailchimp, or Mailgun, your suppression list must be managed directly through that provider’s platform. OneSignal does not sync suppression data with external ESPs.Can I manage suppressions via the API?
You can add or remove suppressions in bulk using the CSV Import tool. For individual suppression management via API, use the Create User or Update Subscription endpoints.Related pages
Email deliverability
Key concepts like reputation, bounces, spam traps, and inbox placement.
Email reputation best practices
Warm-up schedules, opt-in strategies, sunset policies, and more.
CSV import
Import and manage user data including suppressions in bulk.