Overview
Email remains one of the most effective channels for direct and personalized communication, helping you build long-term customer relationships at scale. This guide walks you through every step required to configure and send emails with OneSignal—ensuring optimal deliverability and compliance from day one.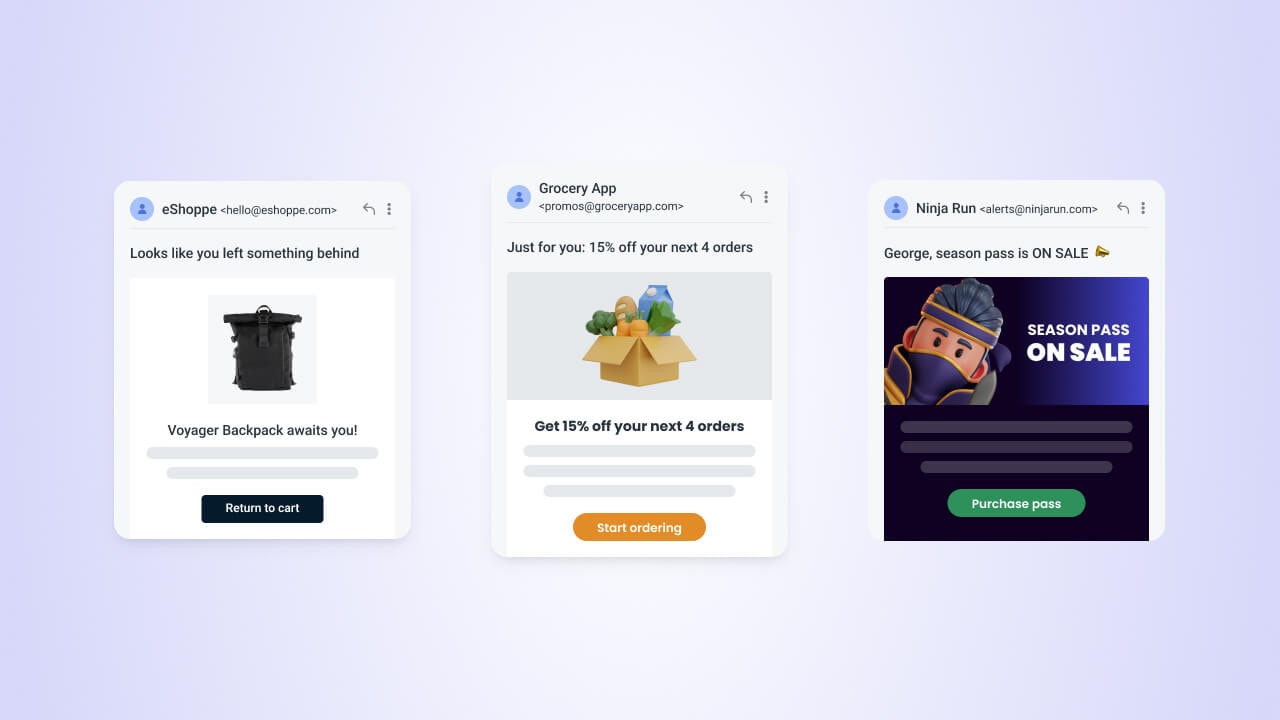
Email setup
In your OneSignal dashboard, navigate to Settings > Email > Set up Email.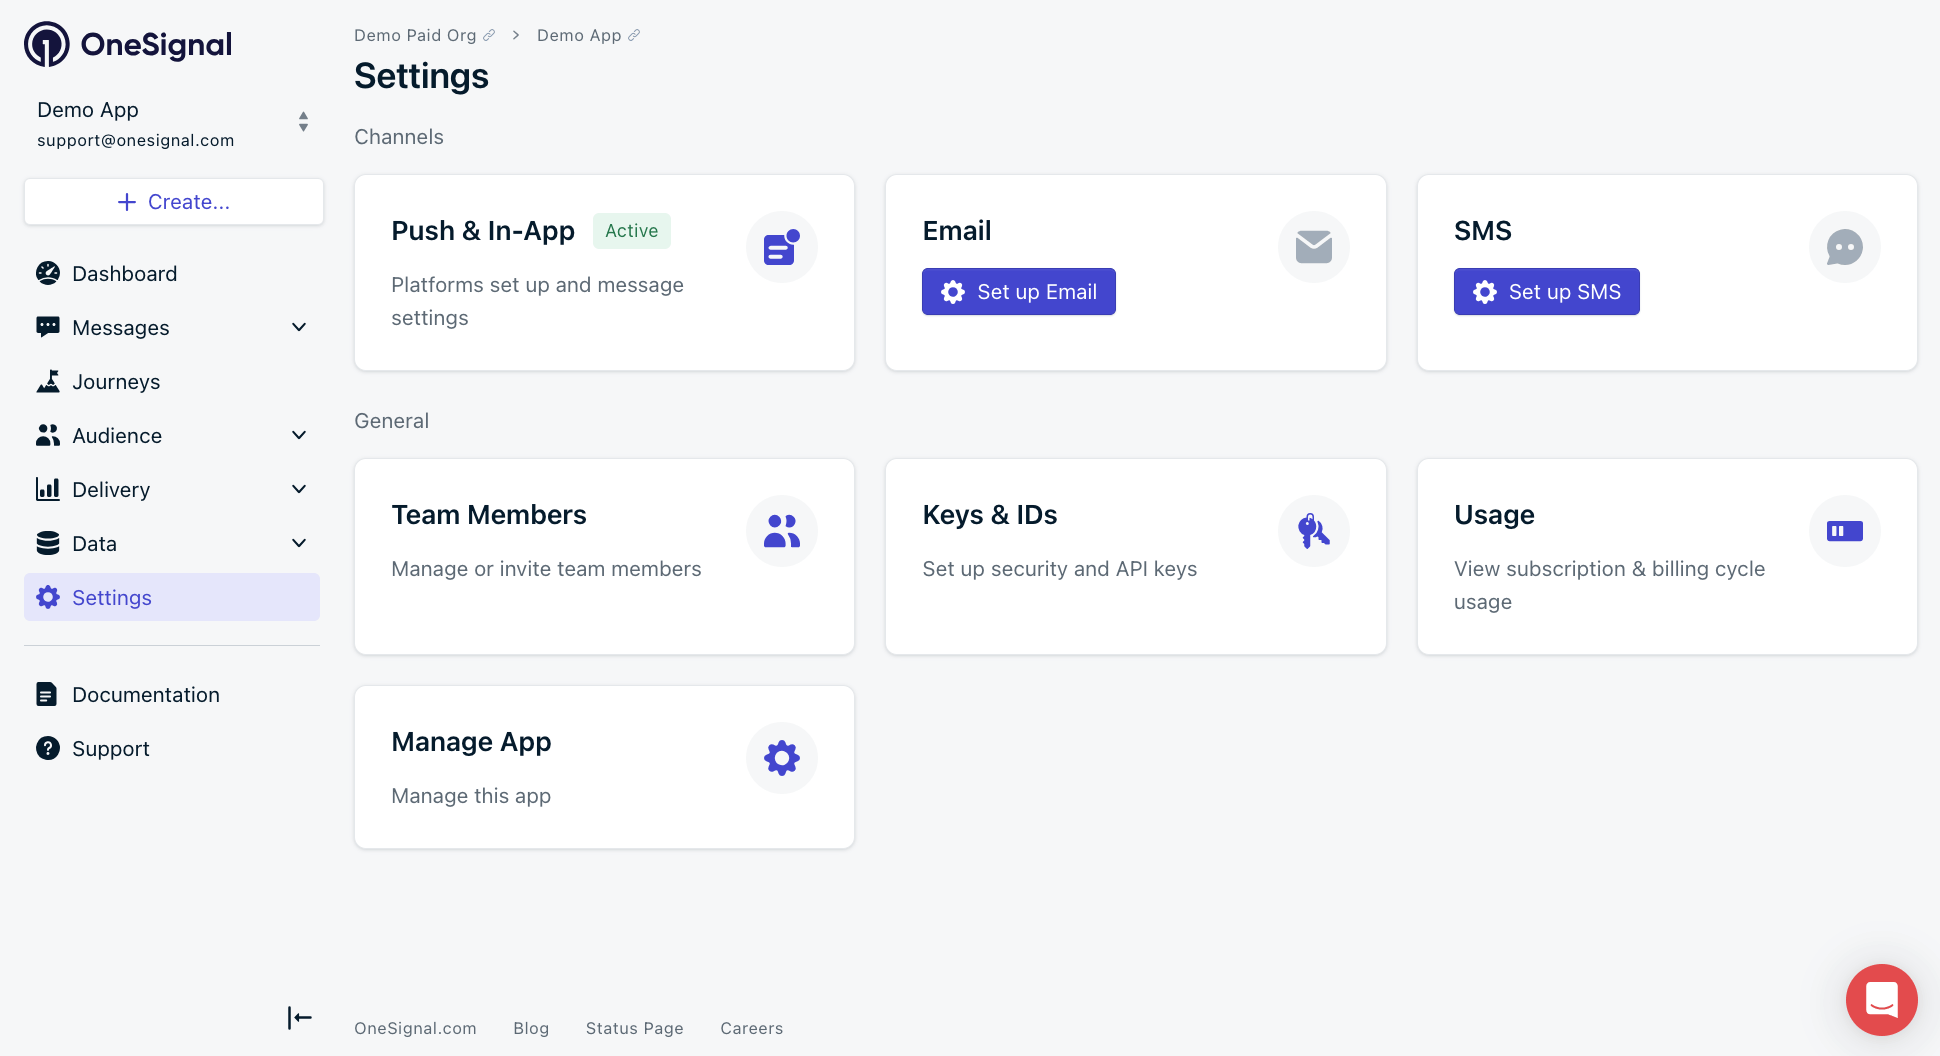
Select provider
Click Continue Setup to continue with OneSignal Email. We also support external providers: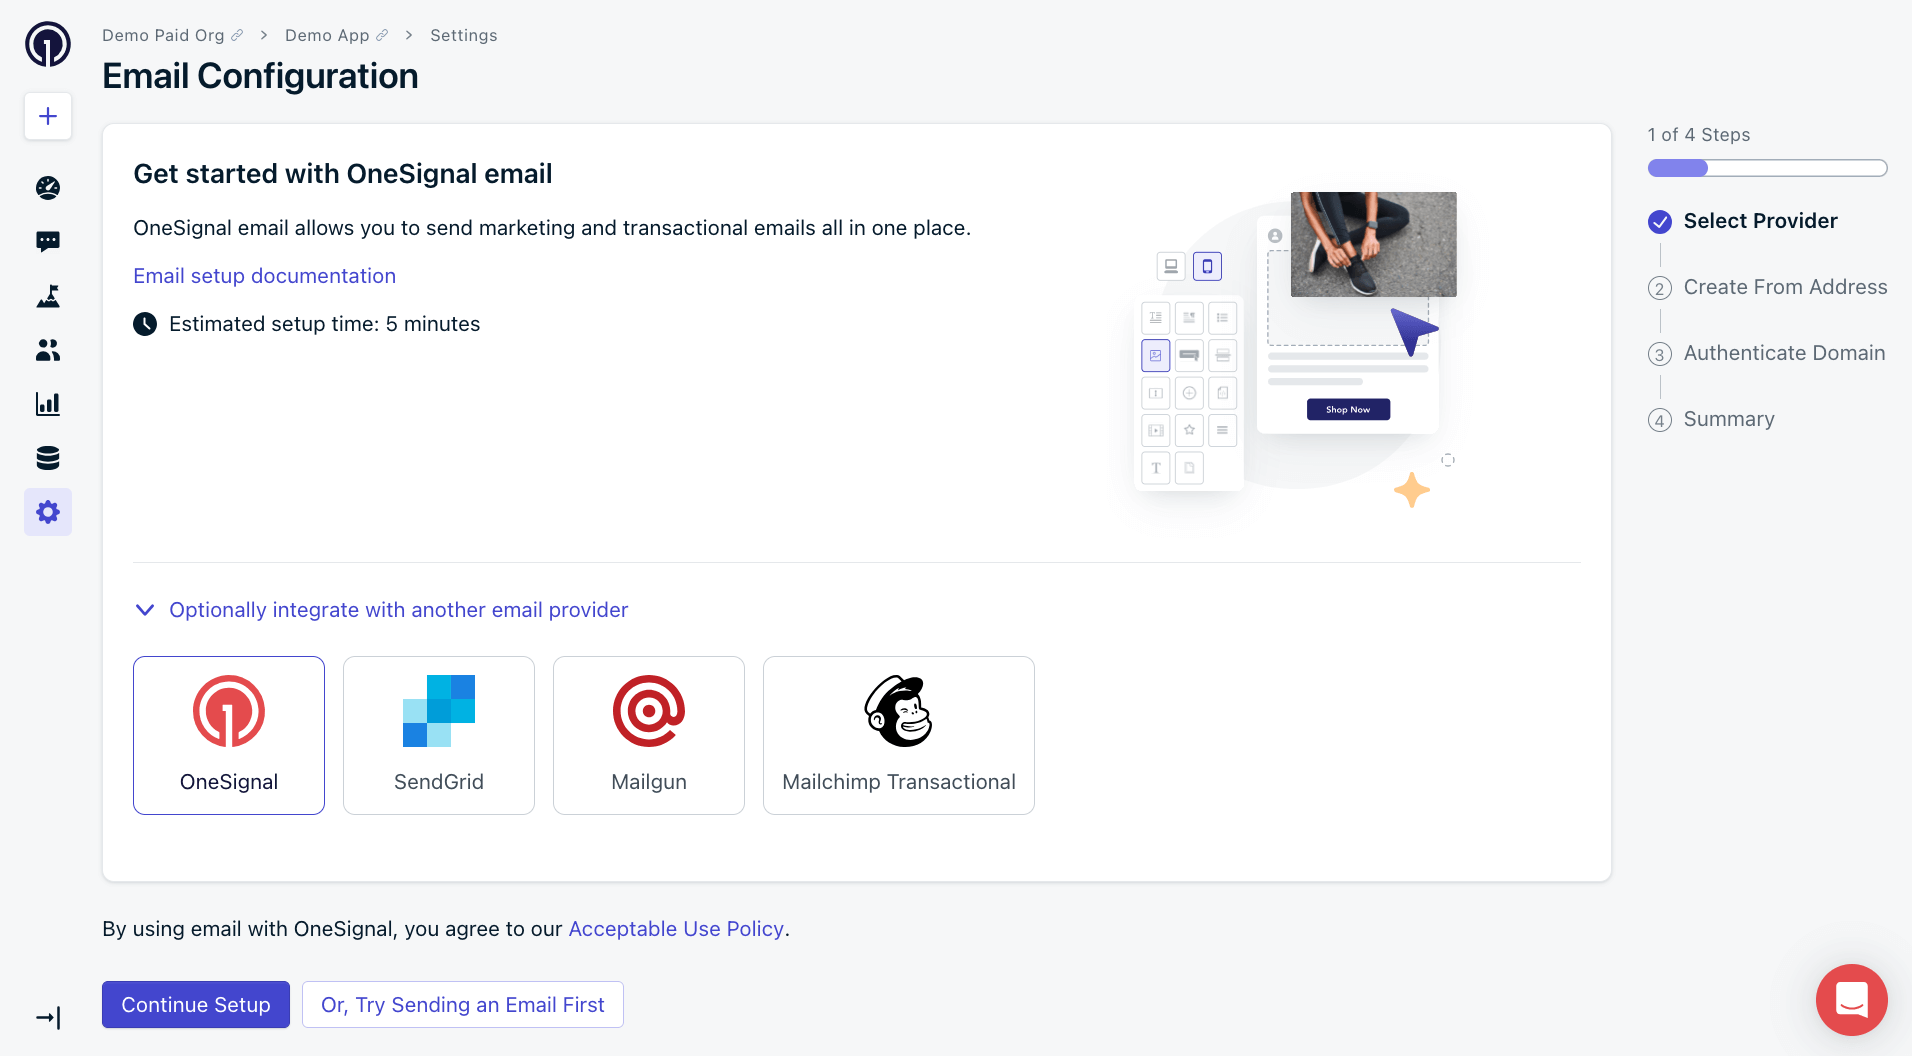
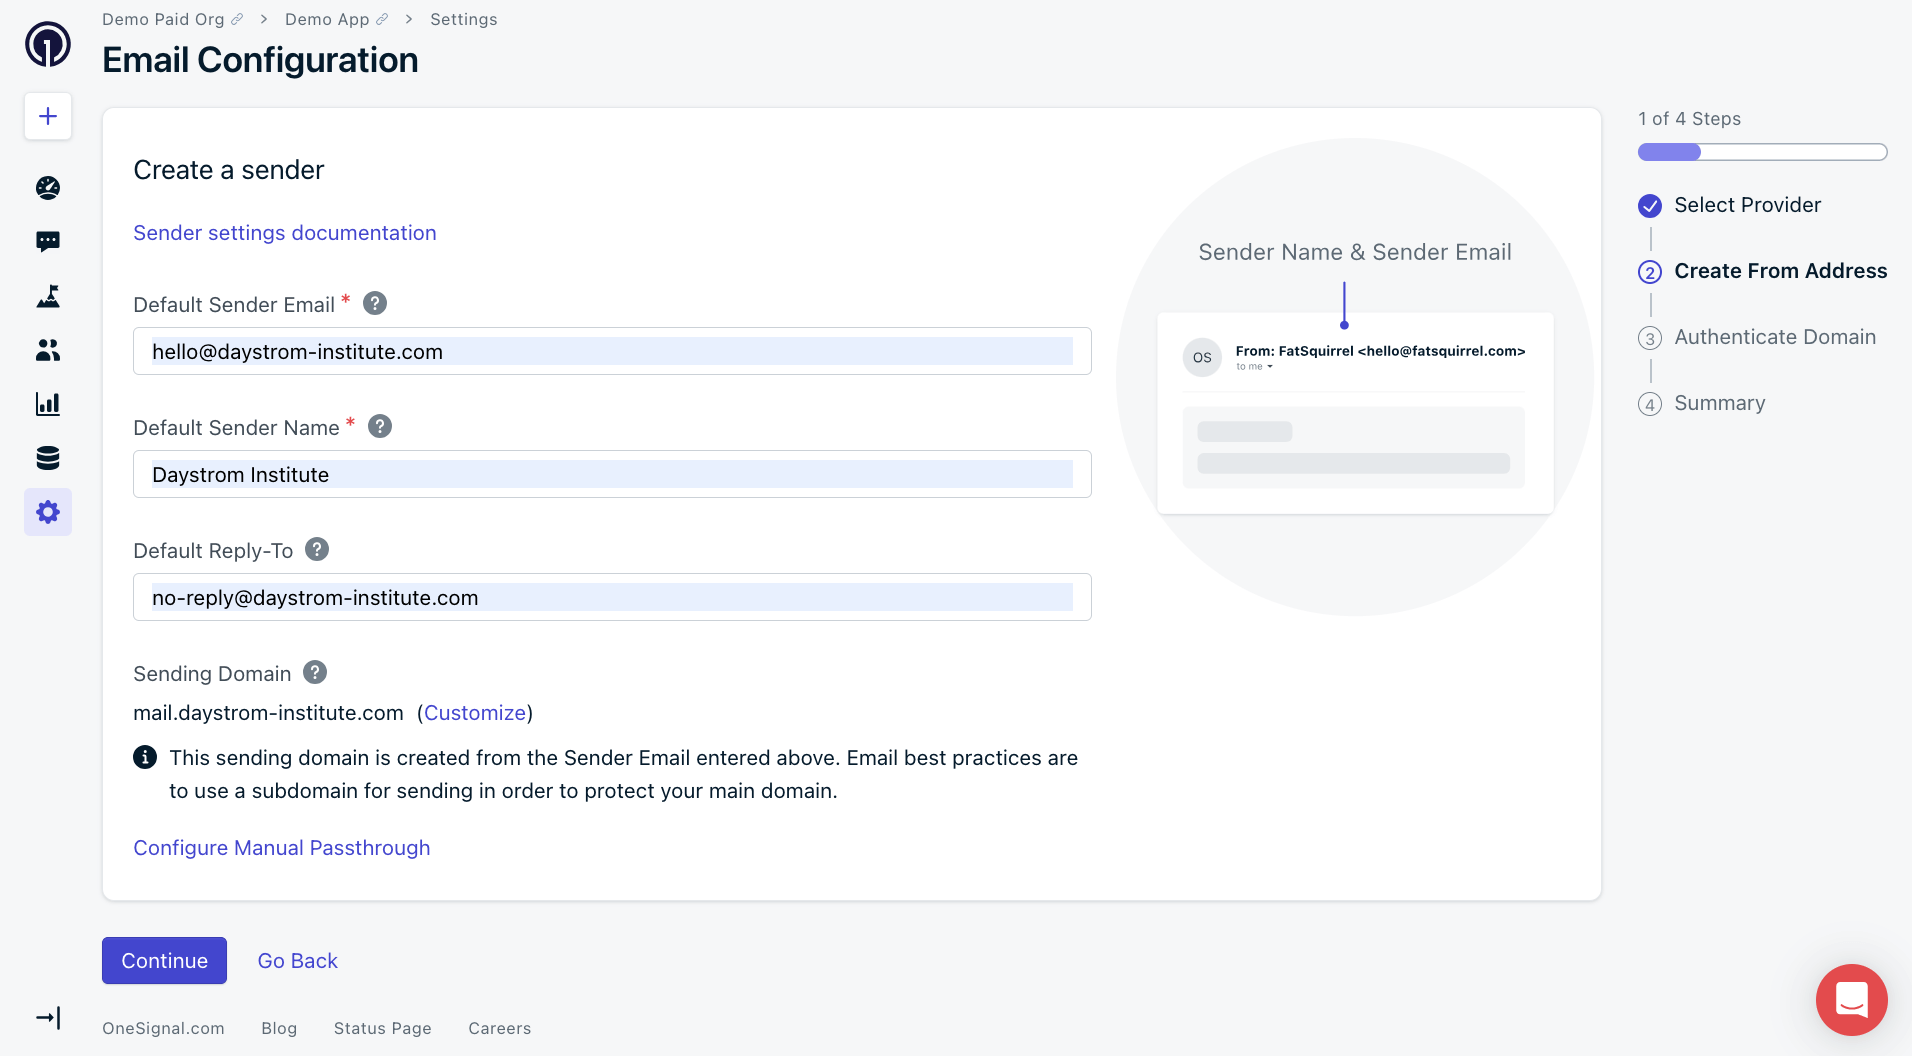
Create a sender
This step lets OneSignal send authenticated mail from your domain. Set your:- Default Sender Email: The default email address used to send messages when no other sender is specified.
- Default Sender Name: The display name that appears in the recipient’s inbox (e.g.
Acme Team,Maggie’s Newsletter). - Default Reply-To: The email address users will reply to. You can override this per email if needed.
- Sending Domain: OneSignal will auto-generate a subdomain based on your Default Sender Email, which you can customize.
For optimal deliverability, use a subdomain (e.g.,
mail.yourdomain.com) rather than your root domain.You can add more senders later in Senders Settings.What is a subdomain?
What is a subdomain?
A subdomain is a prefix added to your domain name.For example: 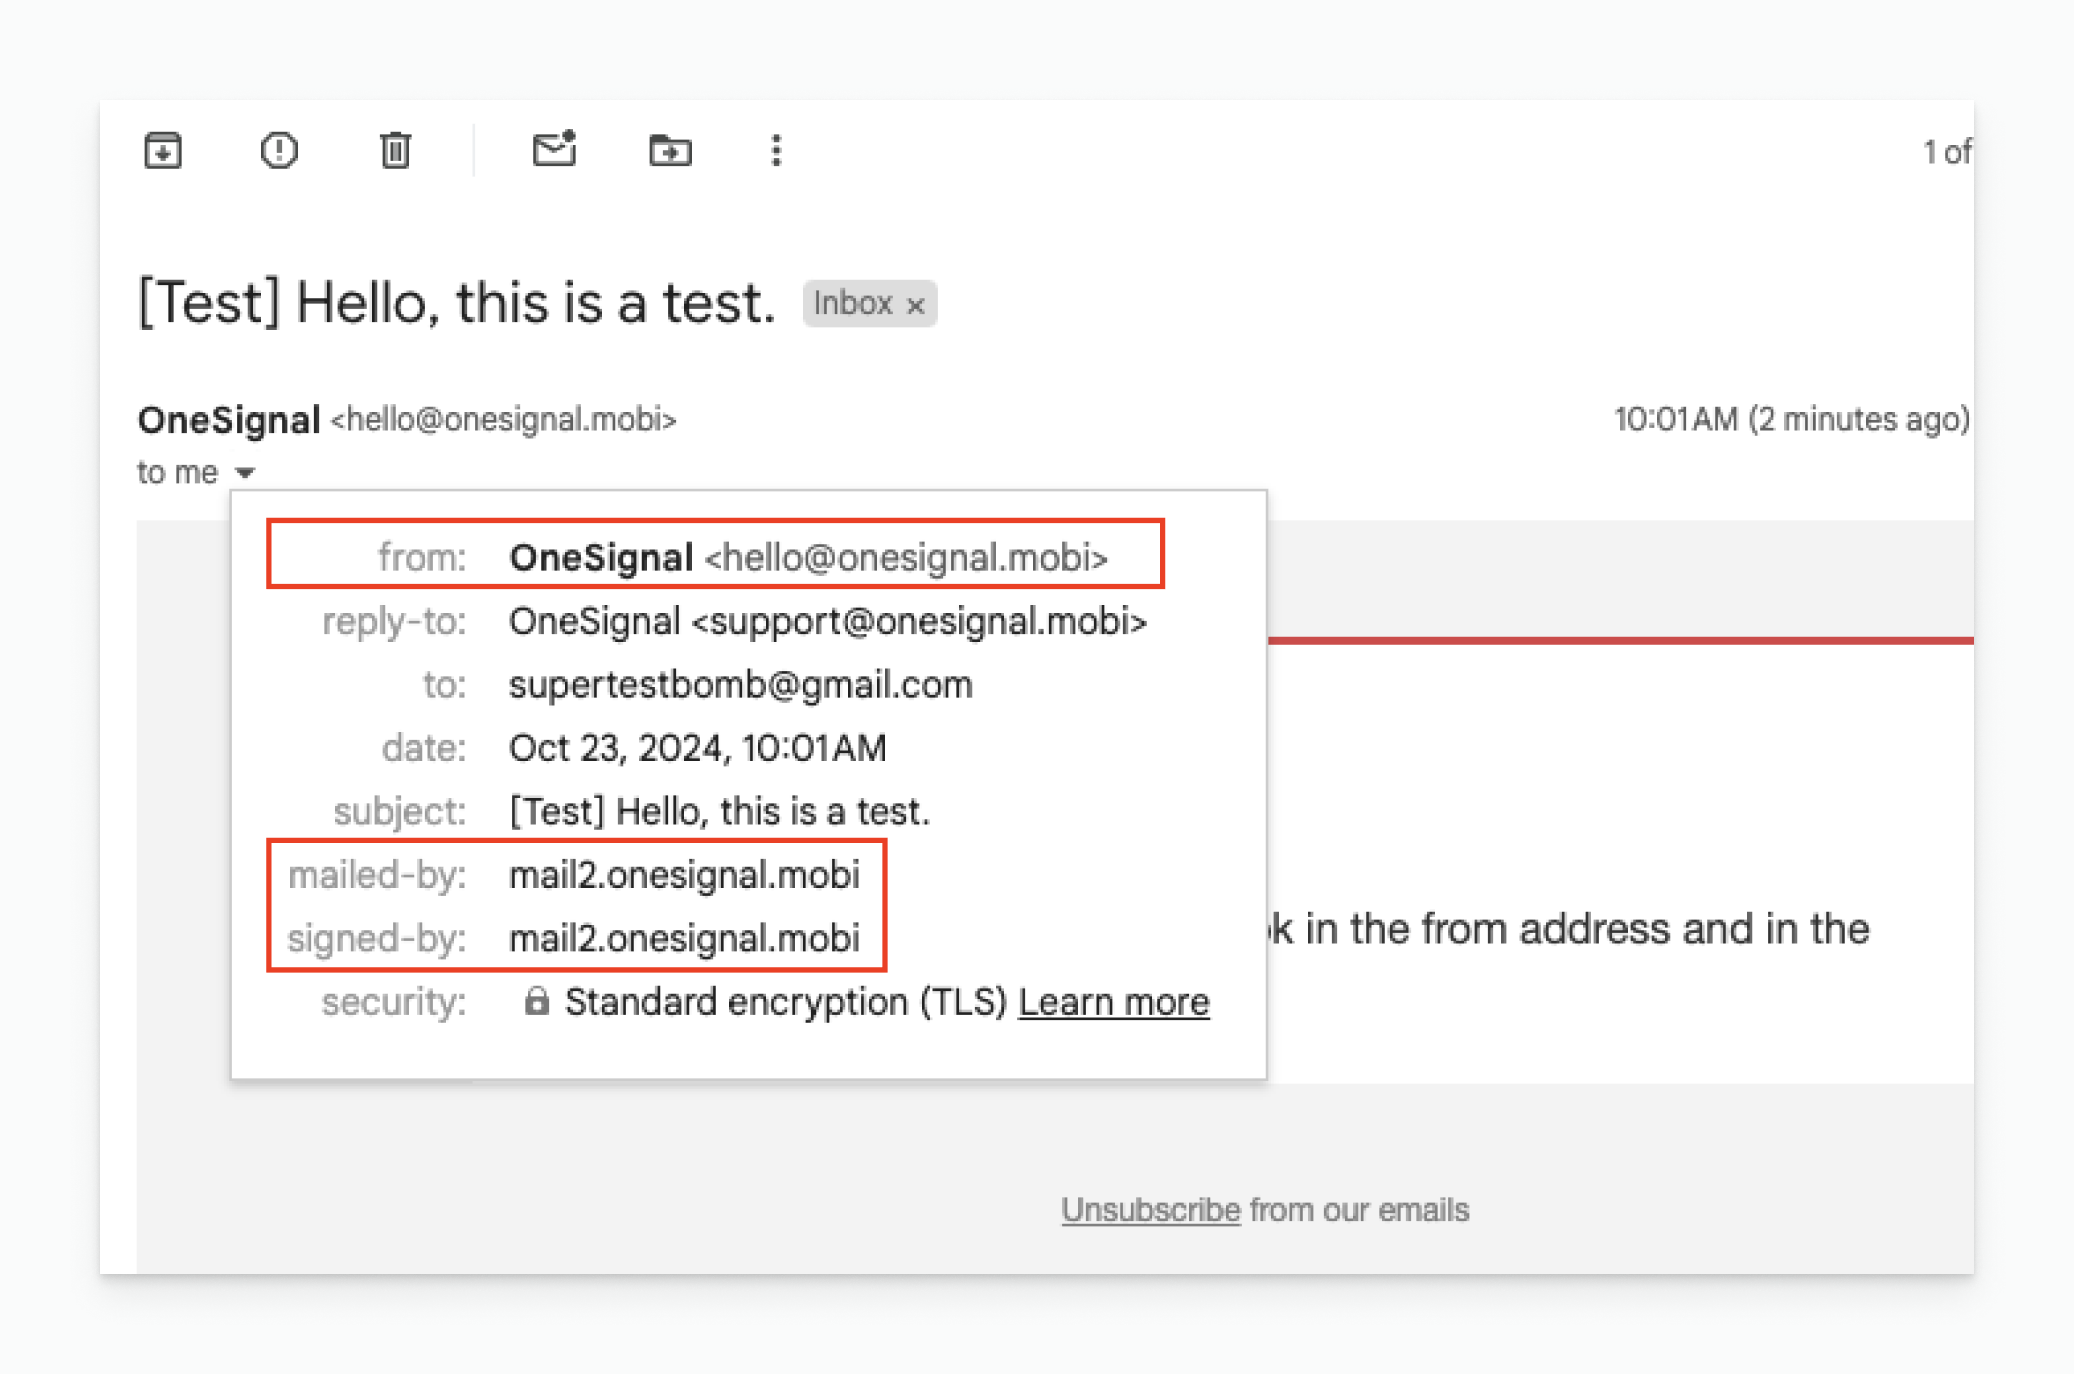
mail.yourdomain.com is a subdomain of yourdomain.com.While your “From Address” can still appear as anything@yourdomain.com, a subdomain like mail.yourdomain.com is used for email authentication and delivery.
mail.yourdomain.comfor marketingreceipts.yourdomain.comfor transactional
DNS configuration
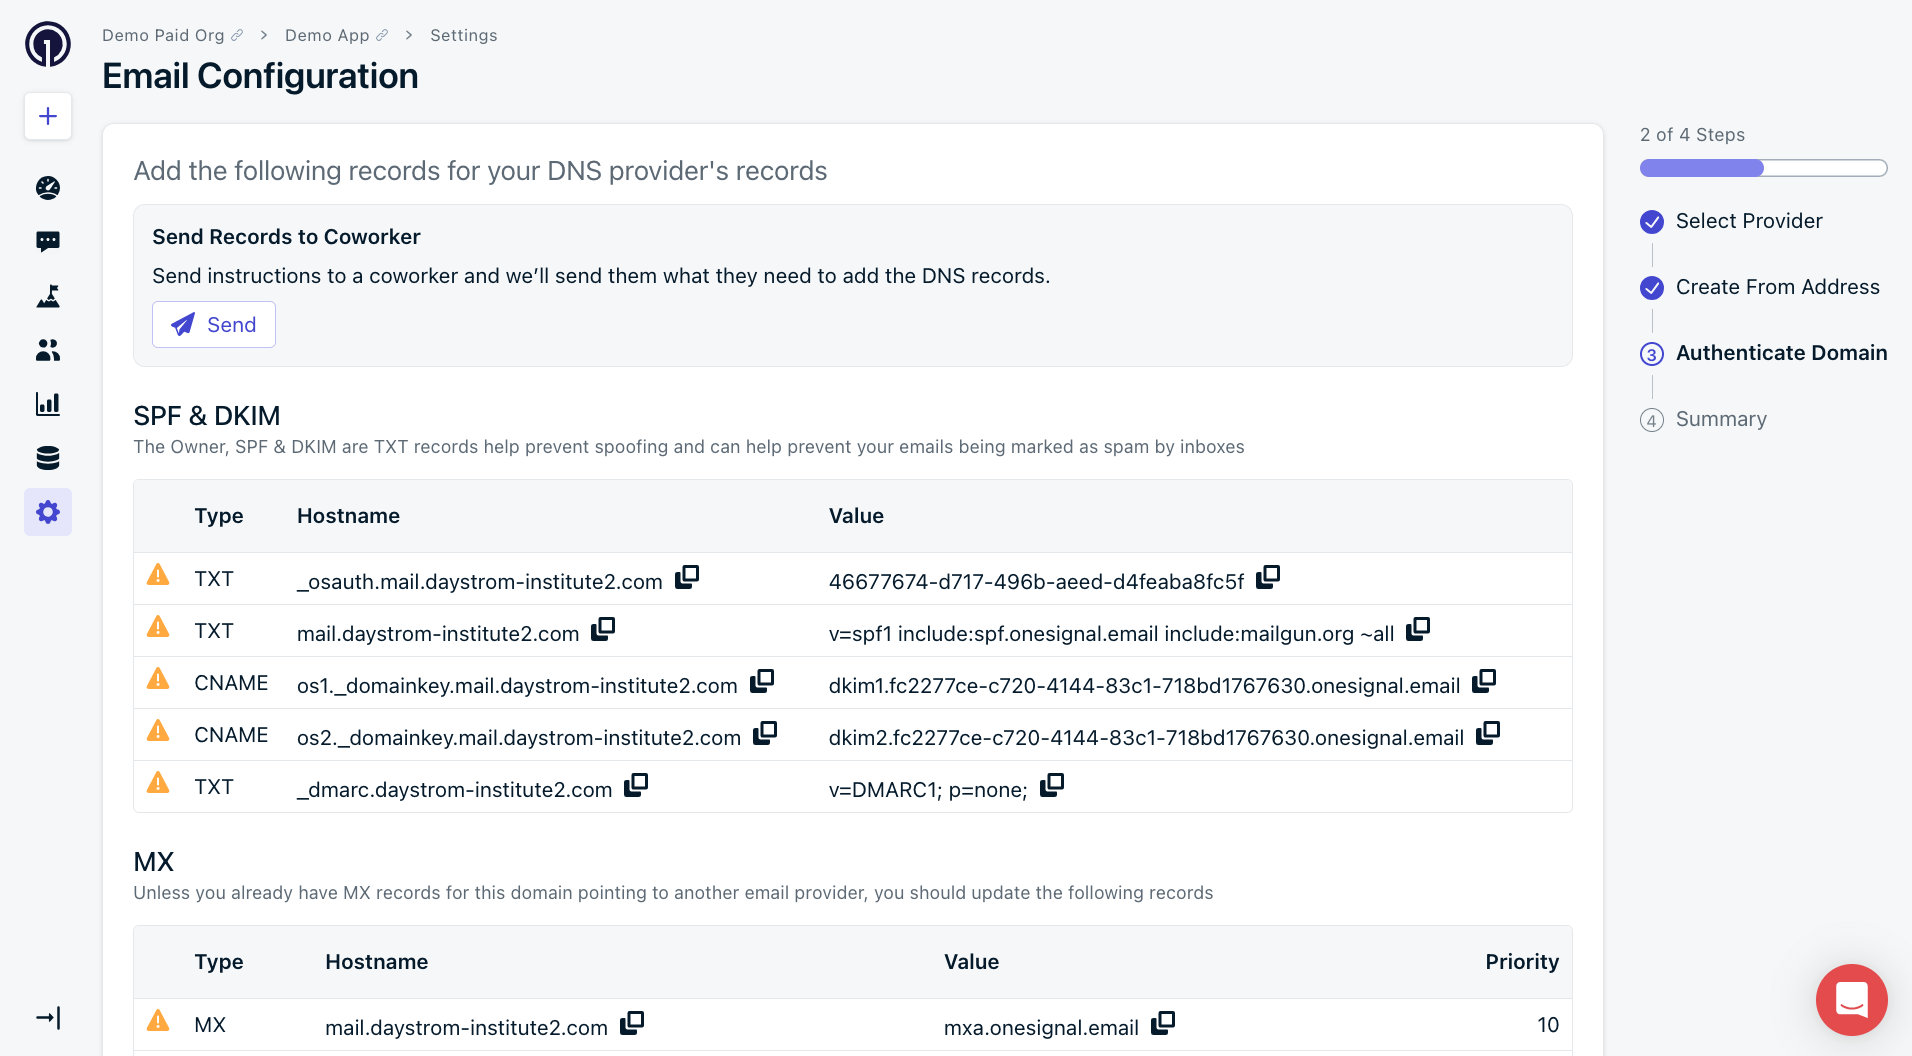
You must configure DNS records to authenticate your sending domain. There are two options:- Auto-configure your domain (recommended)
- Manually configure your domain
- ⚠️ means the current DNS record does not match
- ✅ means the current DNS record matches
- Auto-configure your domain
- Manually configure your domain
Use your domain registrar login to configure DNS automatically.This method eliminates manual copying and ensures all required records are added correctly.

Verify your account
Once DNS is set, click the “Verify” button to open a support ticket. You’ll be asked about your company and intended use cases.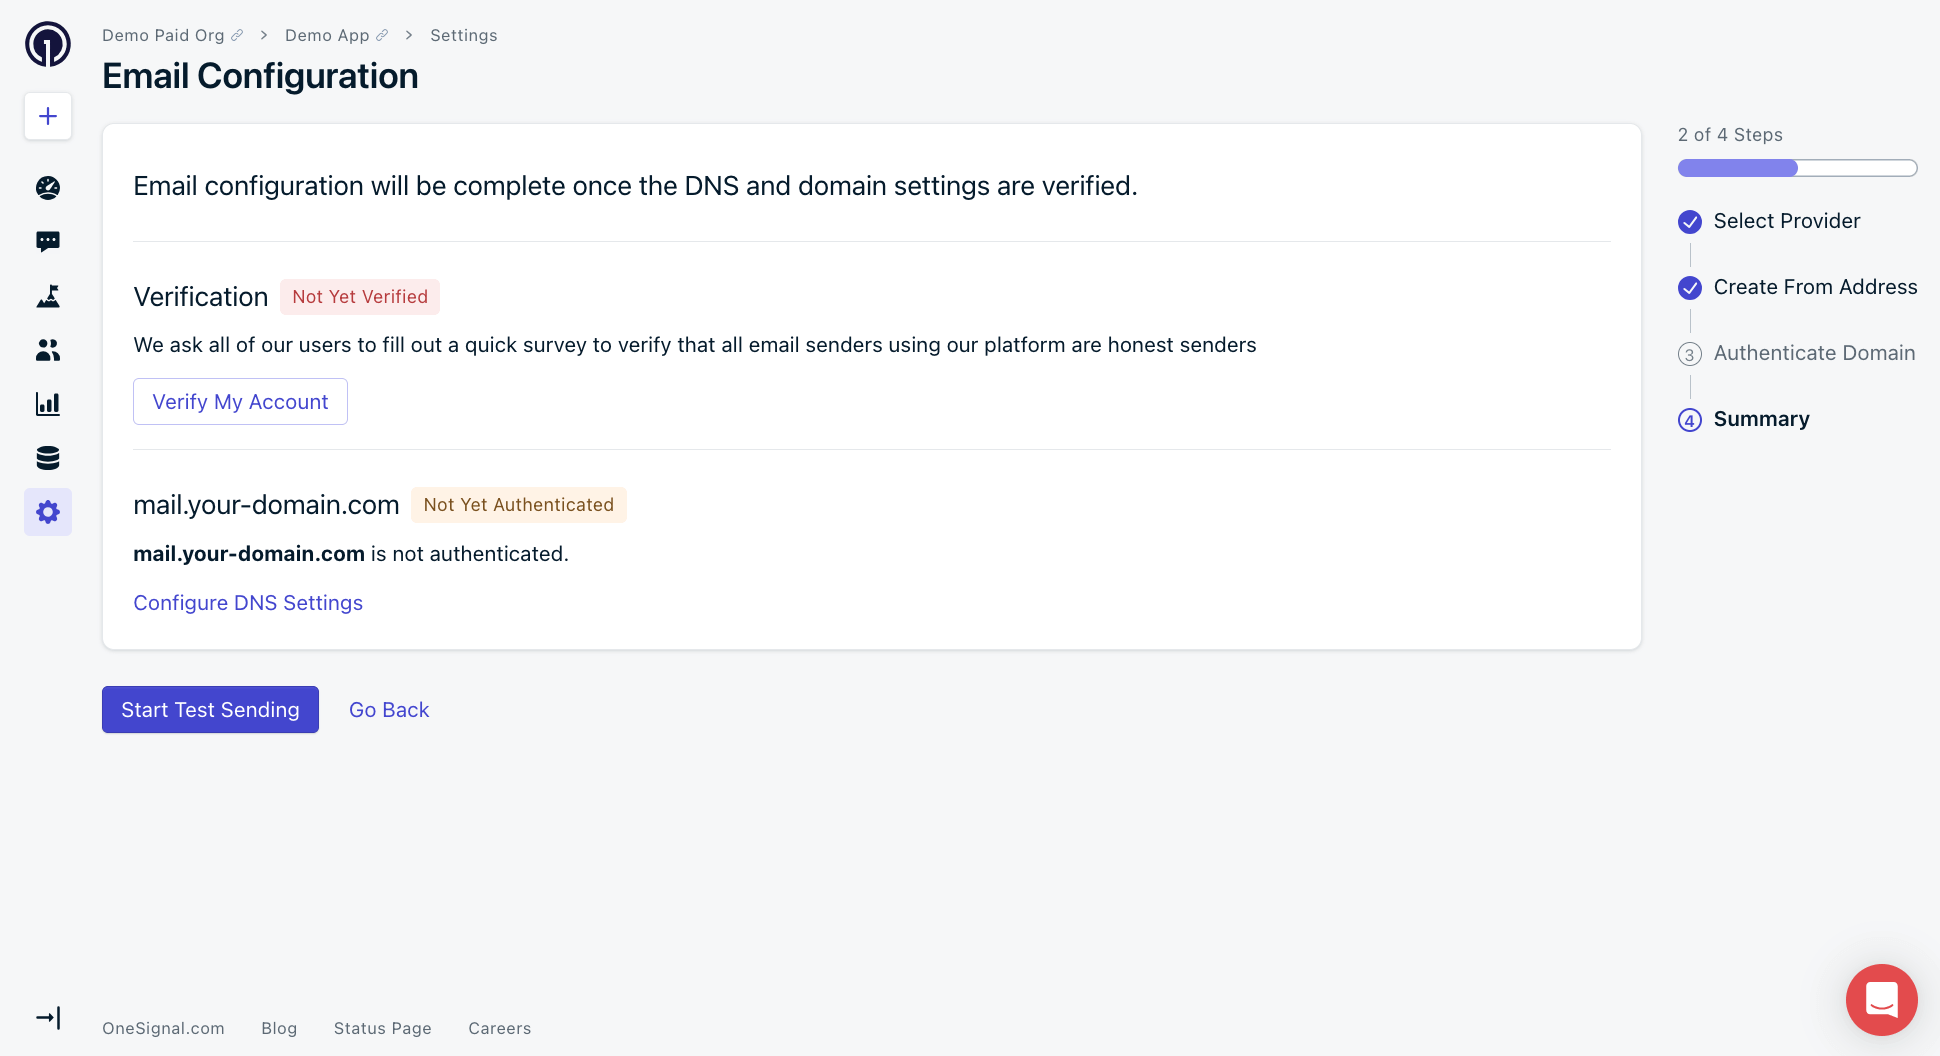
- Provide complete answers to speed up approval.
- Our Support Team typically responds within 24 business hours.
- You’ll receive an email when verification is complete.
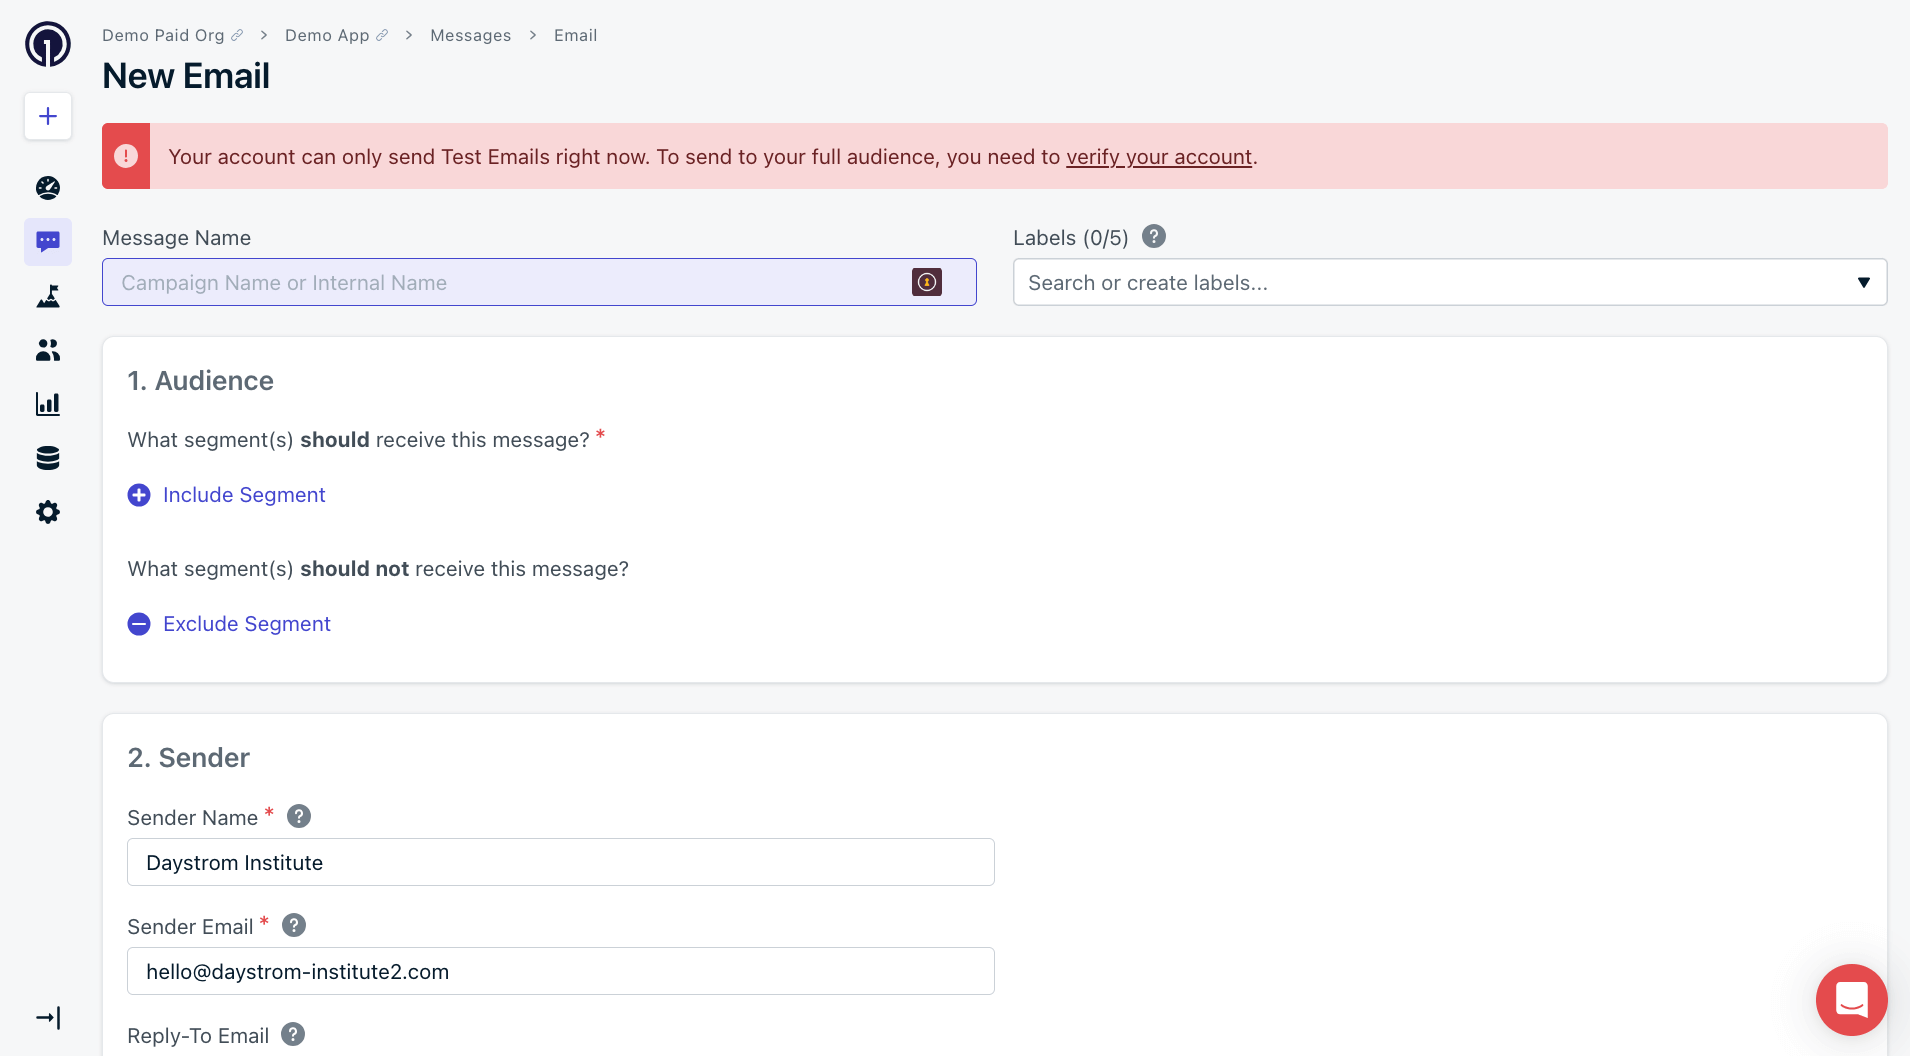
Email sending reputation
Maintaining a healthy email reputation is critical for deliverability. Reputation is assigned by inbox providers and behaves like a credit score. Factors that influence it include:- Positive signals: opens, clicks, replies
- Negative signals: bounces, spam complaints, spam traps
Email Deliverability
Learn more about email deliverability and how to improve your sending reputation.
Email Reputation Best Practices
Learn how to build and maintain a healthy sending reputation.
Email Auto Warm Up
Gradually warm up your sender to build a healthy reputation.
Suppressions
Automatically suppress problematic recipients.
Understanding users and subscriptions
Each unique email address is treated as a separate email Subscription in OneSignal. Subscriptions can be created by:- Uploading email addresses via CSV
- Using the API
- Capturing email addresses with a web prompt
- Using the SDK’s
addEmailmethod
Email addresses are unique per app and considered anonymous until you assign them an External ID.
Users
Manage users, assign External IDs, and track activity.
Subscriptions
Learn how subscriptions work across devices.
Segments
Target users based on behavior and traits.
Upload CSV
Bulk upload email addresses to create subscribers.
Create User/Subscription APIs
Use APIs to manage email users.
Web Prompt
Prompt users to input their email address.
Email SDK Methods
Programmatically add or remove email subscribers.
Design emails
Design and personalize responsive emails using OneSignal’s editor or HTML.Design Emails with Drag and Drop
Use the drag-and-drop editor for fast visual design.
Design Emails with HTML
Use custom HTML to design your own templates.
Email Template Forwarding
Forward email templates to a specific address.
Create Template
Create and manage templates via API.
AB Test
Test variants to improve email performance.
Message personalization and localization
Customize messages using user data and language preferences.Message Personalization
Use dynamic variables like name or location.
Multi-Language Messaging
Send messages in users’ preferred language.
Dynamic Content
Personalize content in real time using user data.
Configure email behavior
Before launching campaigns, configure behavior settings:URLs, Links, and Deep Linking
Set up links and support deep linking.
Email unsubscribe links
Customize unsubscribe behavior.
Custom unsubscribe page
Brand and extend your unsubscribe page.
Analytics and troubleshooting
Measure and optimize your email performance.Email message reports
View delivery, open, and click metrics.
Analytics overview
Explore analytics across all channels.
Email Troubleshooting
Find solutions to common setup issues.
