Email A/B Testing
A/B Testing for Emails
Email A/B testing is a tool to help you test up to 10 different versions of an email. It enables you to understand email effectiveness, provide insights to improve engagement and help you achieve your objectives. With A/B testing, you will get insights on what language or design results in a higher open and clickthrough rate. This is particularly useful for marketers, especially for Lifecycle and Growth.
Insights from A/B testing can be used across the company to reach broader business goals. You can also more confidently improve email performance.
OneSignal allows you to experiment with up to ten variants on Pro or Enterprise plans. All other plans include testing two variants only.
Create Your Email A/B Test
Navigate to Messages > Email > New Email.
Name your message something to remind you this is an AB test and select your segments.
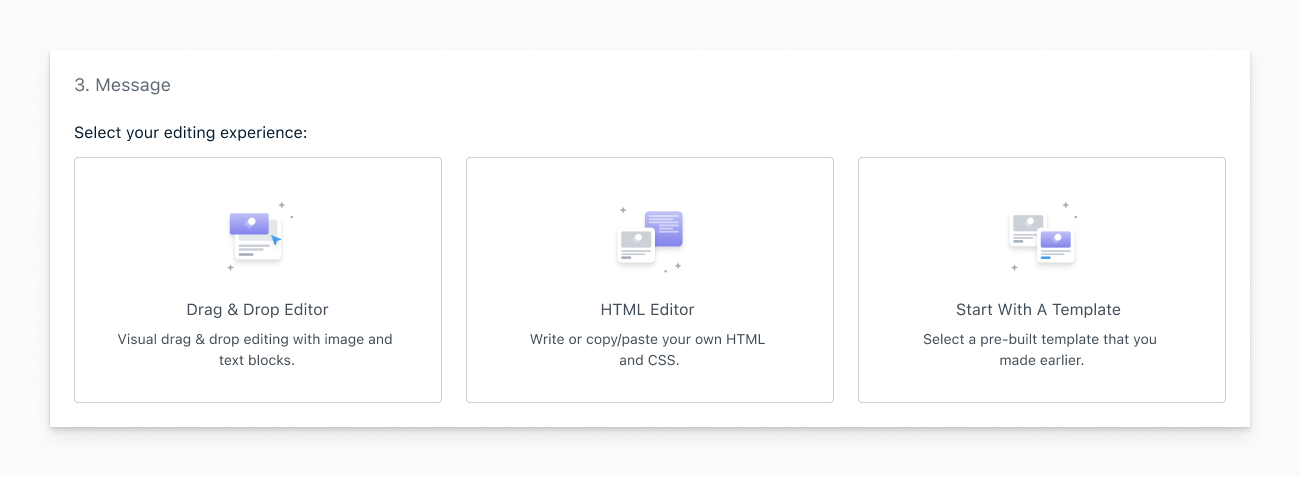
A/B Testing works across all email editors. Select your editor experience.

Image showing email editor selections

Image showing A/B Test Button
Add Variants
Click the A/B Test button to create another variant. A tab above the Subject in the Message section will appear and a duplicate of the previous variant will be in the editor.
Click Add Variant to continue creating variants, which will duplicate the preceding version. If you need to duplicate the first or different variant, make sure you’re on that tab before clicking Add Variant.

Image showing how to add more variants
A/B Test Settings
Select the percentage of your audience that should receive the A/B test messages i.e. 25% means 25% of the segment(s) selected will randomly receive one of the variants. A message with 2 variants (A & B) targeting 25% will have 12.5% of the segment get variant A and another 12.5% get variant B. A message with 10 variants (A-J) targeting 25% will have 2.5% of the users get each variant.

Image showing percentage scaler for variants.
Best Practices: Selecting Target Audience Percentage
By default, the percentage of the target audience to receive the message is set to 25%, however, you may want to change this number depending on the size of the total audience.
For an A/B test to be effective, you must ensure that the percentage of the target audience selected contains enough users that the results cannot be easily skewed. Note also that the more variants you use, the larger your target audience percentage will need to be to ensure that a suitable number of users receive each variant.
While you may be tempted to set the audience percentage to 100%, be aware that this will mean that there will be no users from this segment who have not received a variant who can then receive the "winning" variant.
After some time has passed, you can send the "winner" to the remaining audience
Review Results
Messages that are sent as A/B tests will be marked as such under Messages > Email > A/B Tests Tab. Click into the report for each test to see the full report or view the variant-specific reports.
Select a Winner
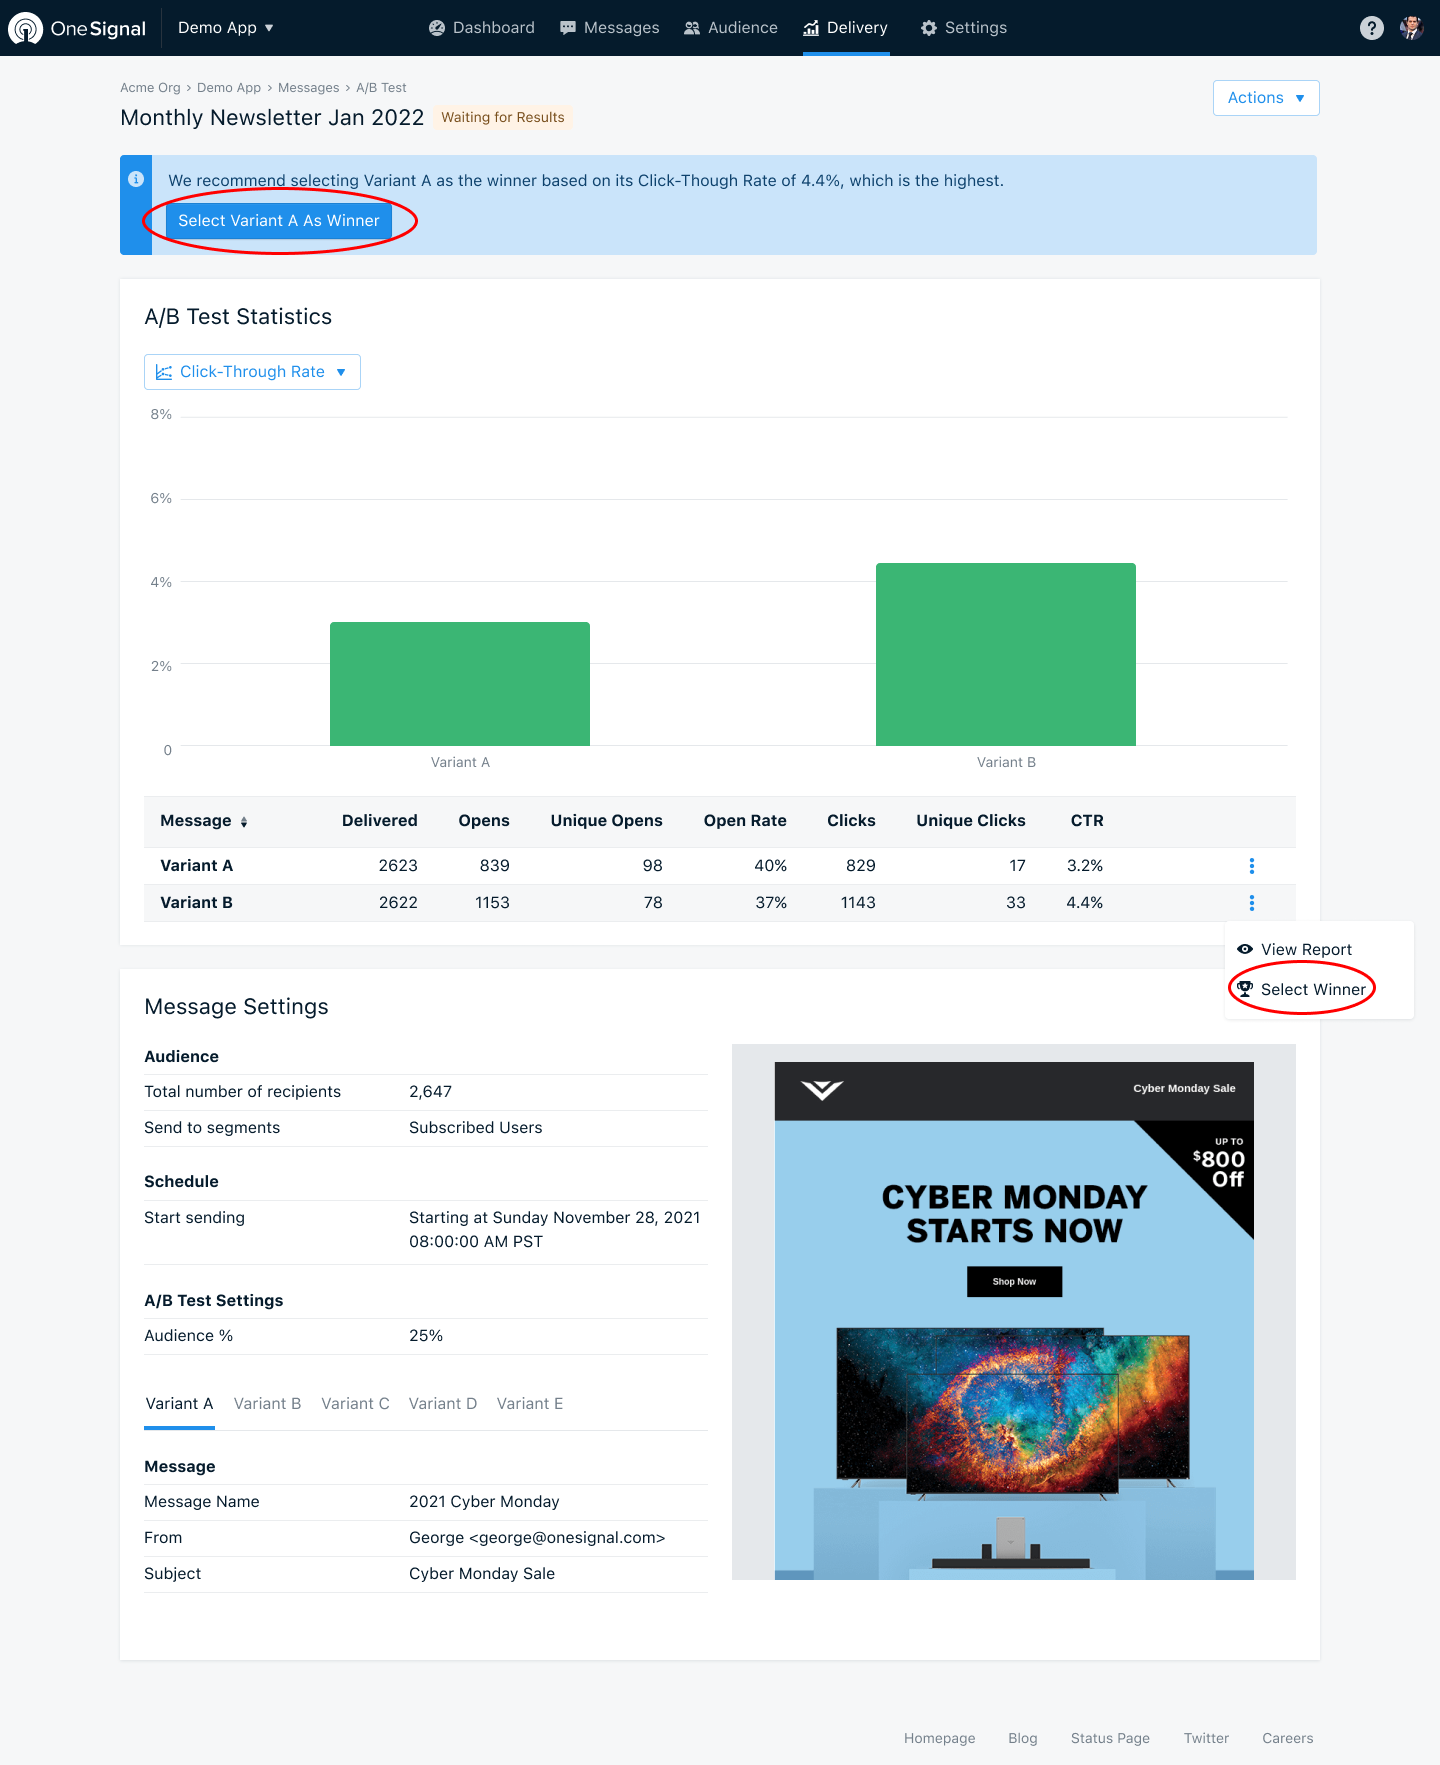
We provide some statistics for you to view the performance and choose a winner. The below screenshot describes how to view different stats and select a winning variant. We will then send the winner variant to all the remaining members of your target audience.

Image showing the ability to select a winner from the A/B Test Report
FAQ
Can I A/B test with different segments as the variable?
You can AB Test different segments using Journeys. Select the segments you want to use in the Journey and add Yes/No Branches and Split Branches to test within an Journey.
You cannot AB Test different segments, delivery, and scheduling options from the message create form. These limitations exist because A/B testing requires random samples of subscriptions in target segments delivered at the same time.
How do I auto-select a winner?
This is not currently available. You must manually select the winner.
How do I add a control segment?
A control segment is a group of subscriptions who don't get the message. Automatic creation of a control group is currently not available, but it is possible to set one up utilizing data tags and excluding the segment of subscriptions with this data tag from your messages.
Want a new feature? Leave us a note in the chat!
Updated over 1 year ago
