How to send email with OneSignal.
Follow these steps to send emails from your OneSignal dashboard. Ensure you have completed the Email Setup process before proceeding.
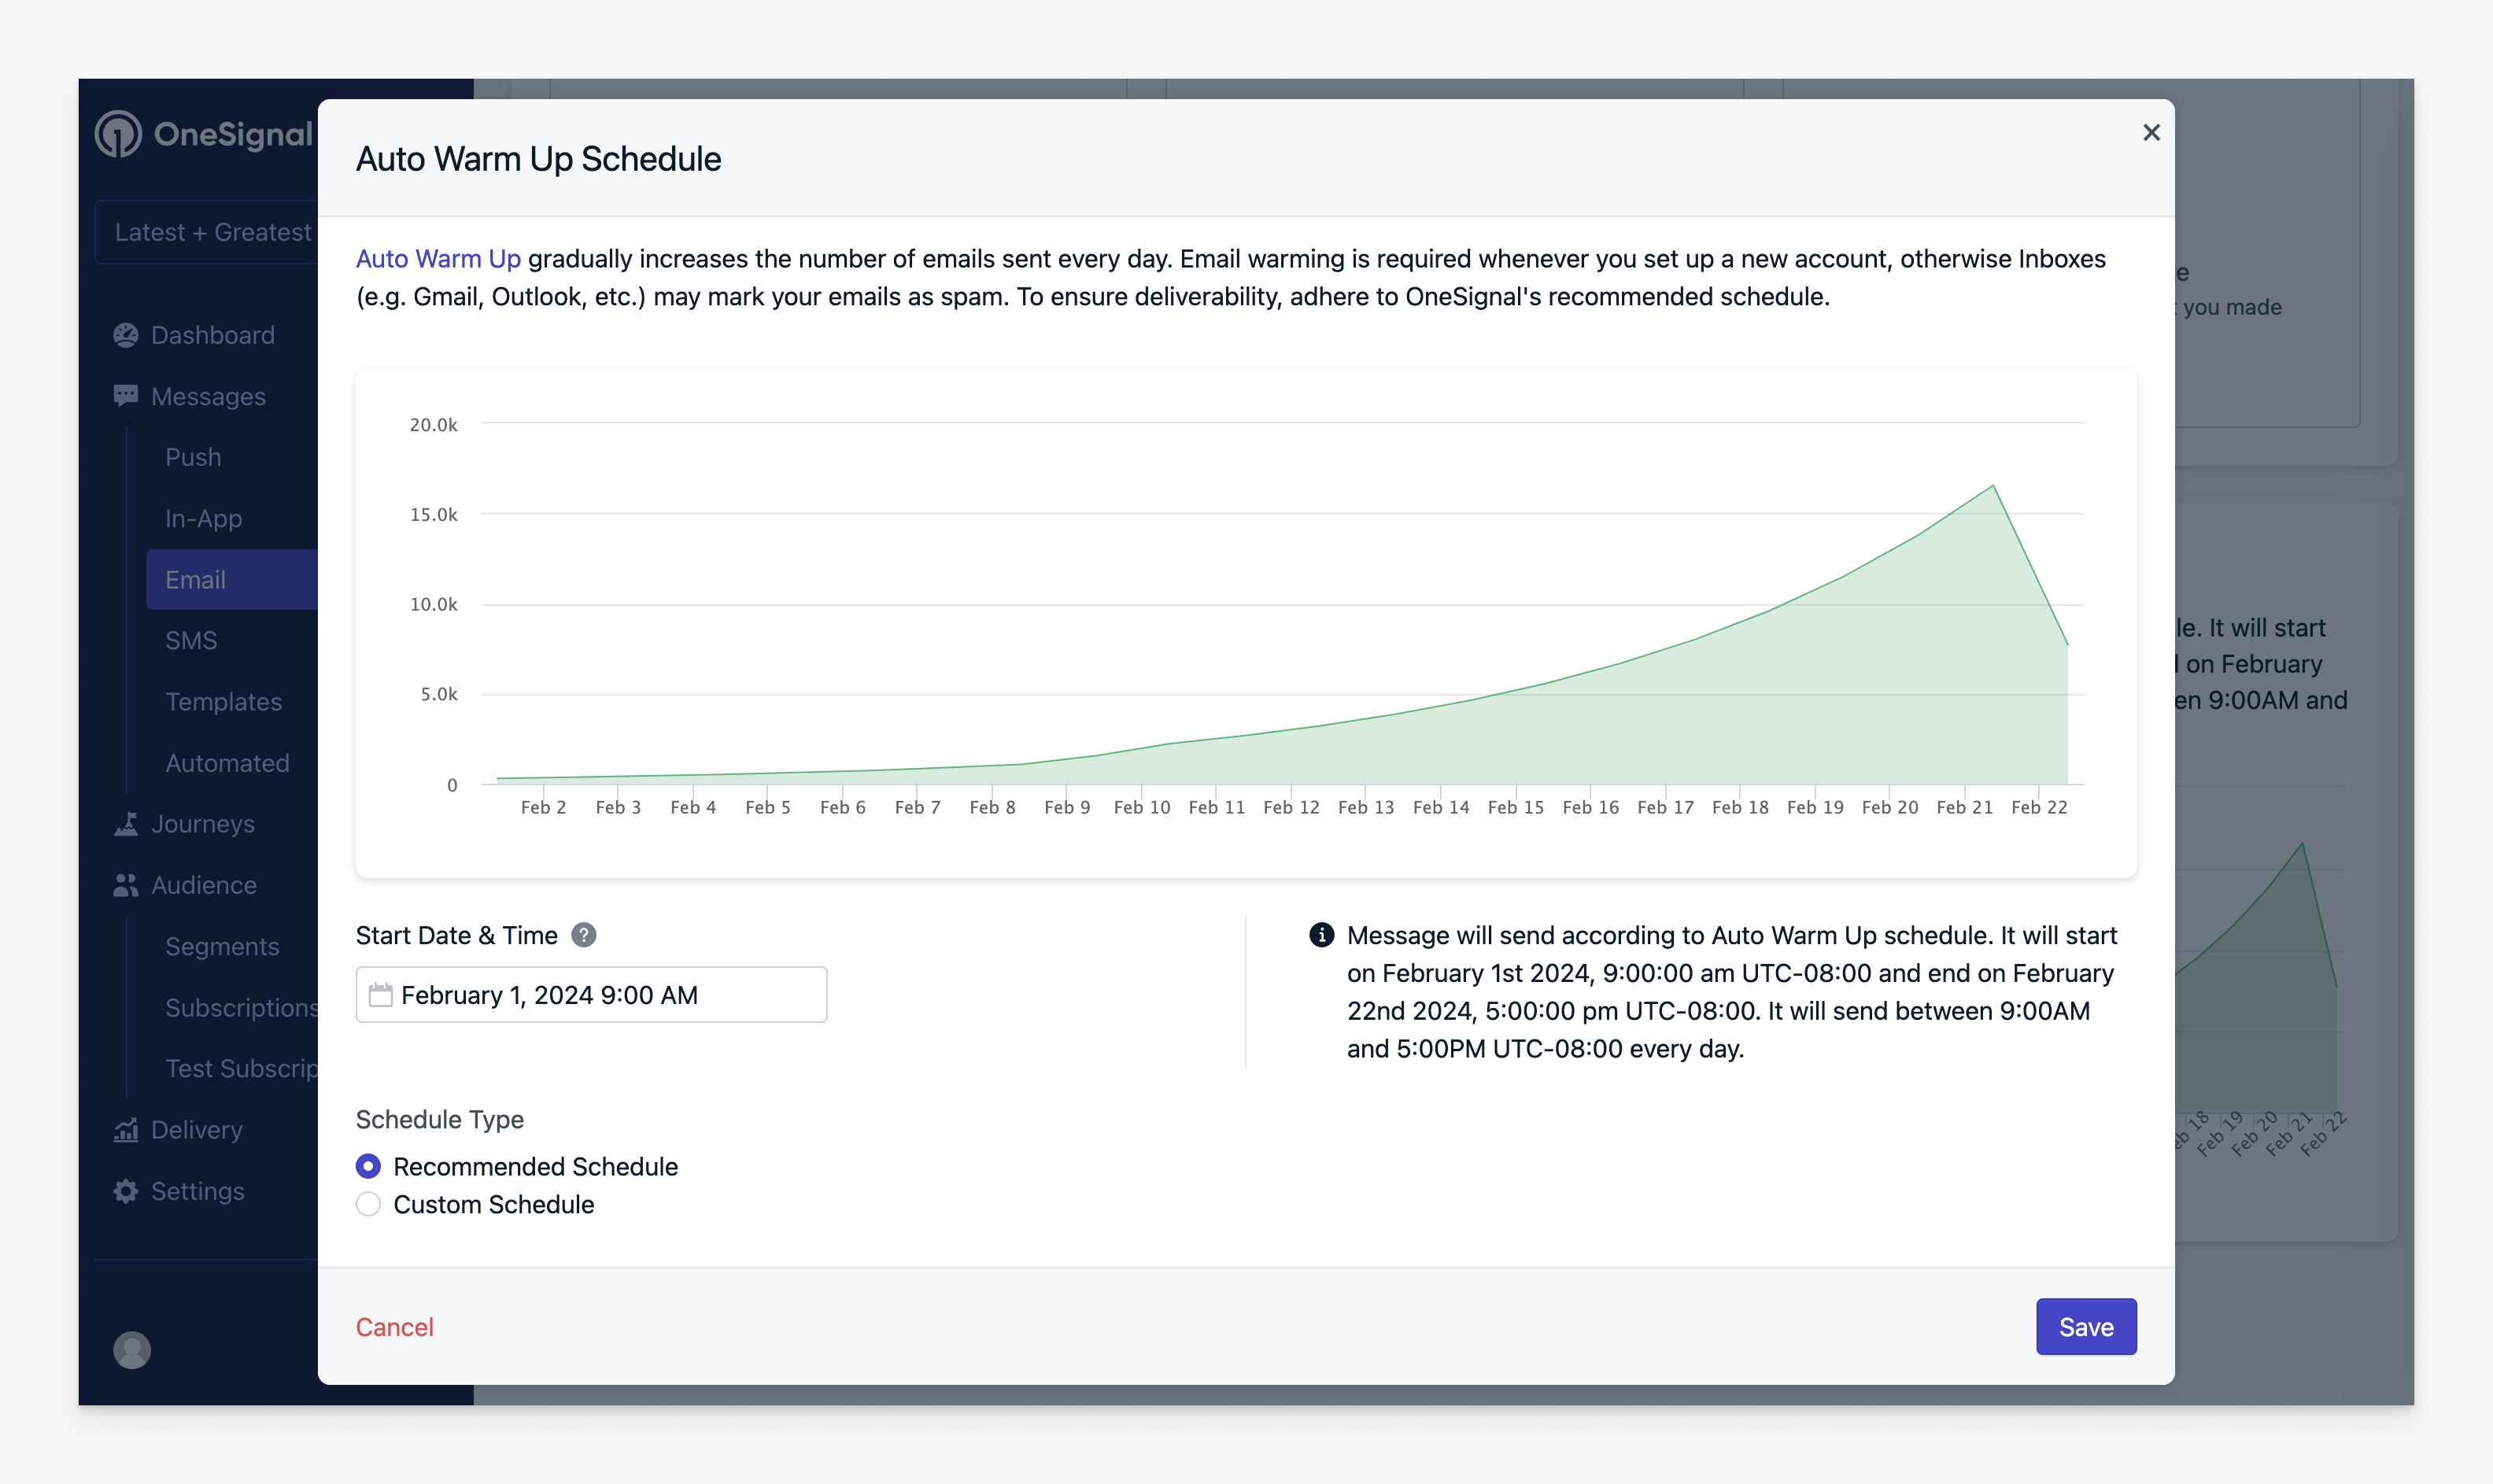
For first-time users, we recommend using Email Auto Warm-Up and reviewing Email Deliverability best practices.
You can send Email with OneSignal using several options:
- OneSignal Dashboard: Demonstrated in this guide.
- Create message API Send email, push, and SMS via our server-side API.
- Journeys: Create emails, in-app messages, push notifications and SMS with a no-code visual builder.
- Integrations (e.g., HubSpot)
Requirements
Before sending emails, ensure you have:
- Completed the Email Setup.
- Understand Email deliverability including Email Acceptable Use Policy & Code of Conduct.
- Learn more about email Subscriptions.
- For new senders: Use Email Auto Warm Up.
Send email from the OneSignal dashboard
Navigate to Messages > Email > New Email
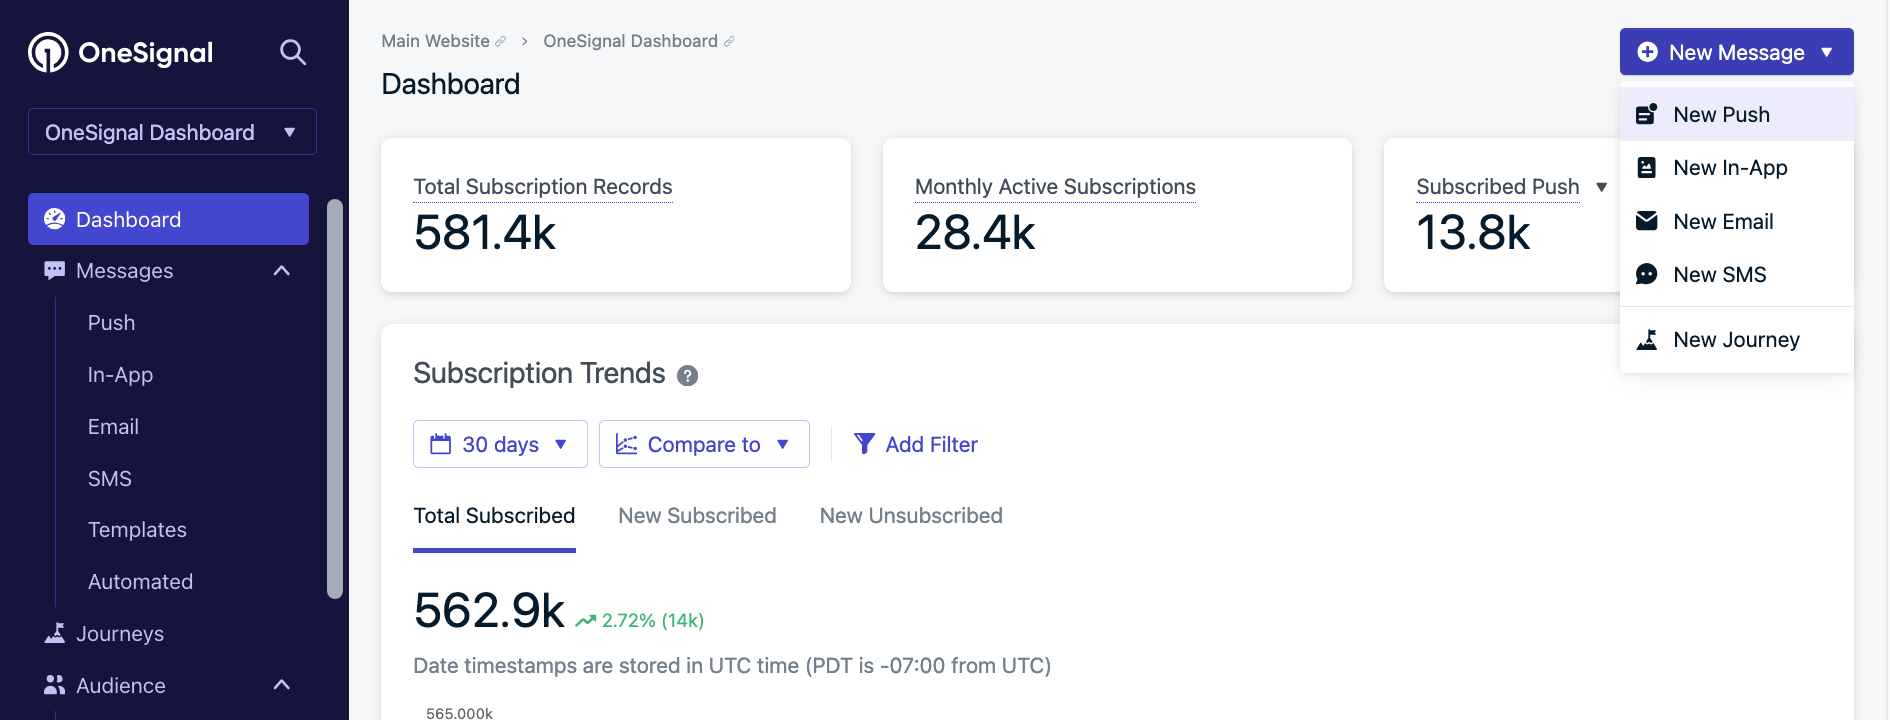
How to send email from the OneSignal dashboard.
Dashboard-only features:
- Test & Preview – Check formatting before sending.
- Dynamic Content: Personalize notifications dynamically for individual users (Dynamic Content).
- A/B Testing: Test up to 10 notification variants (A/B Testing).
- Test Devices: Send notifications to specific test users (Set Test Subscriptions).
- Auto Warm Up: Make sure to follow best practices for Email deliverability.
Select your target audience
You can target users via:
| Targeting Method | Available in Dashboard | Available via API |
|---|---|---|
| Segments | ✅ Yes | ✅ Yes |
| Filters (see Create message for details) | ❌ No | ✅ Yes |
| Aliases (see Create message for details) | ❌ No | ✅ Yes |
Segments
Select Segments to target or exclude specific users:
- Send to default segment: Uses your default segment; defaults to all "Subscribed Users" if none set.
- Send to specific segments: Include and exclude segments explicitly.
Multiple segments have an "OR" relationship; duplicate subscription are automatically removed.
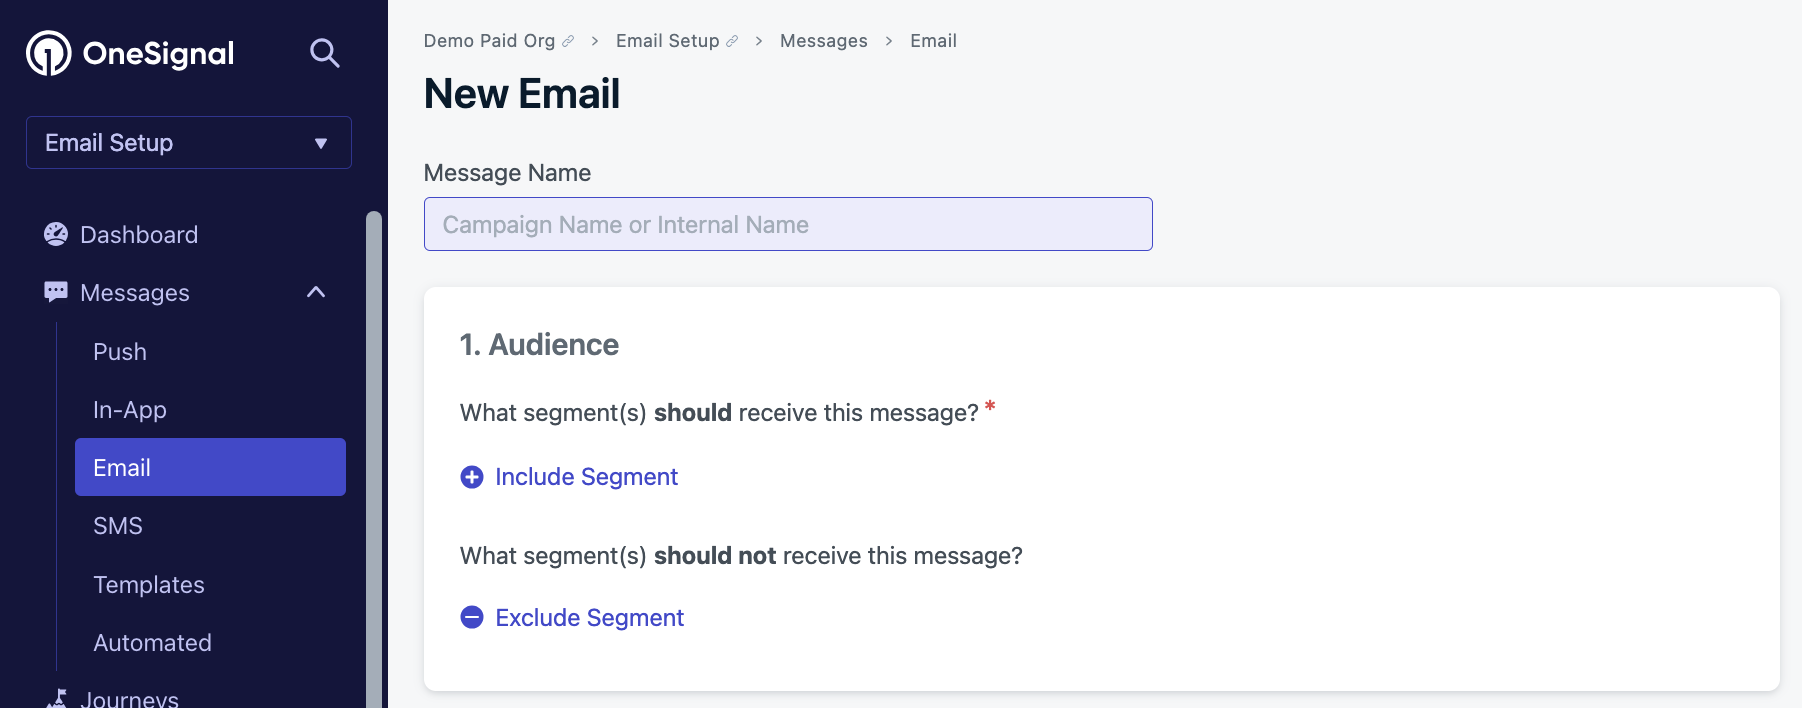
Sending from the dashboard uses Segments.
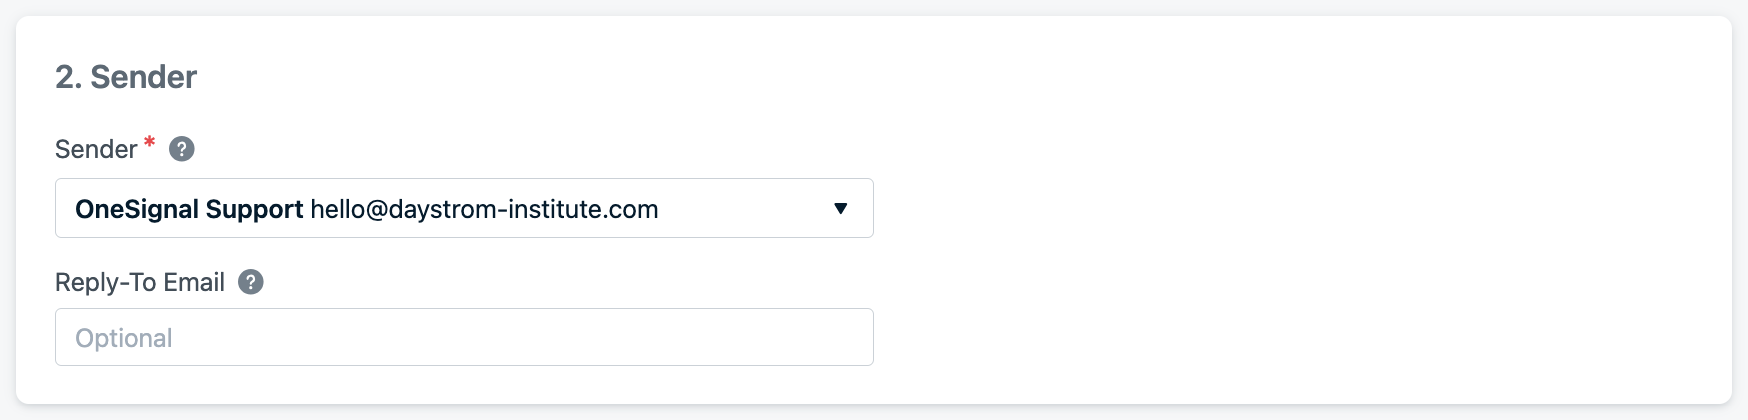
Sender
Set your sender name, email & reply-to email address. Multi-domain sending available. Manage Senders in Settings > Email > Sender.
API fields:
email_from_addressemail_sender_domainemail_reply_to_address
The email in which I am sending from. Multi-domain sending available.
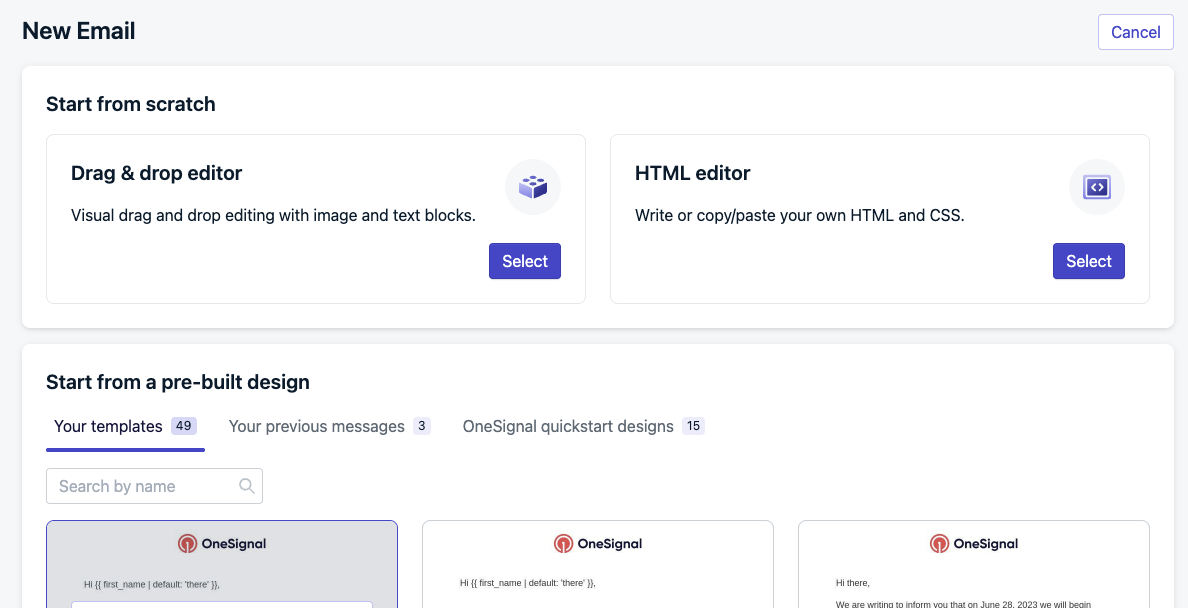
Create your message
- Optional: Provide internal Message Name
- API parameter:
name
- API parameter:
- Choose composition method:
- Start from scratch with our Drag & Drop Editor or HTML Editor.
- Use pre-built designs: Templates, Previous messages.
- API parameters:
email_bodyaccepts HTML or usetemplate_id
Subject and preheader text
Set your Subject (required) and preheader text (optional). Not all inboxes display the Preheader text.
- API parameters:
email_subjectandemail_preheader. - Supports: Emojis 👍 (may be limited by inbox provider), Message Personalization, Multi-language messaging
Advanced settings
Common advanced features.
Track link clicks
OneSignal automatically tracks user clicks of links within your emails. This tracking is performed at two levels:
- Per email, where any click of any link is counted per email or email template. This is used to calculate message-level click-through rate and click-to-open rate. This is reported as both:
- Total clicks, where the same user clicking the same link in the same delivered email multiple times is counted multiple times
- Unique clicks, where the same user licking the same link in the same delivered email multiple times is counted once
- Per link per email, where any click of any link is counted for that specific link within an email or email template. This is also reported as total and unique counts. OneSignal will calculate link-level click stats for the first 30 links found in each email.
Tracking email link clicks requires changing the URL to capture the event, then redirecting the user back to the original URL you set. This happens almost instantly but may cause unexpected behavior, particularly with deep links. To disable this behavior see, Disabling Link Click Tracking below.
Enabling Link Click Tracking
This feature is on by default and in most cases does not require further configuration. As long as Track link clicks is checked for your email or email template, OneSignal will track link clicks.
In some cases, especially if you are constructing links with Liquid syntax we may not detect a link and track it automatically. You can explicitly tell us to track a link using Liquid like so:
{{ '<https://onesignal.com'> | track_link }}
Disabling Link Click Tracking
To disable click tracking for an entire email, uncheck the Track link clicks checkbox. This prevents all links in an email from being tracked, period.
To disable an individual link from being tracked while Track link clicks is checked, you can explicitly opt out using Liquid like so:
EXAMPLE LIQUID HERE
View Click Tracking Statistics
Email-level click tracking statistics are displayed at the top of the page for each email and email template in the Click-Through Rate card.
Link-level click tracking statistics are displayed in the Click Activity panel for each email and email template. The first 30 links will be tracked, with the remainder summarized as “All other links.”
Send to unsubscribed users
You can enable Include sending to unsubscribed users for compliance emails or non-marketing emails. This means any unsubscribed email Subscriptions that fit the segments will be sent the email.
- API parameter:
include_unsubscribed
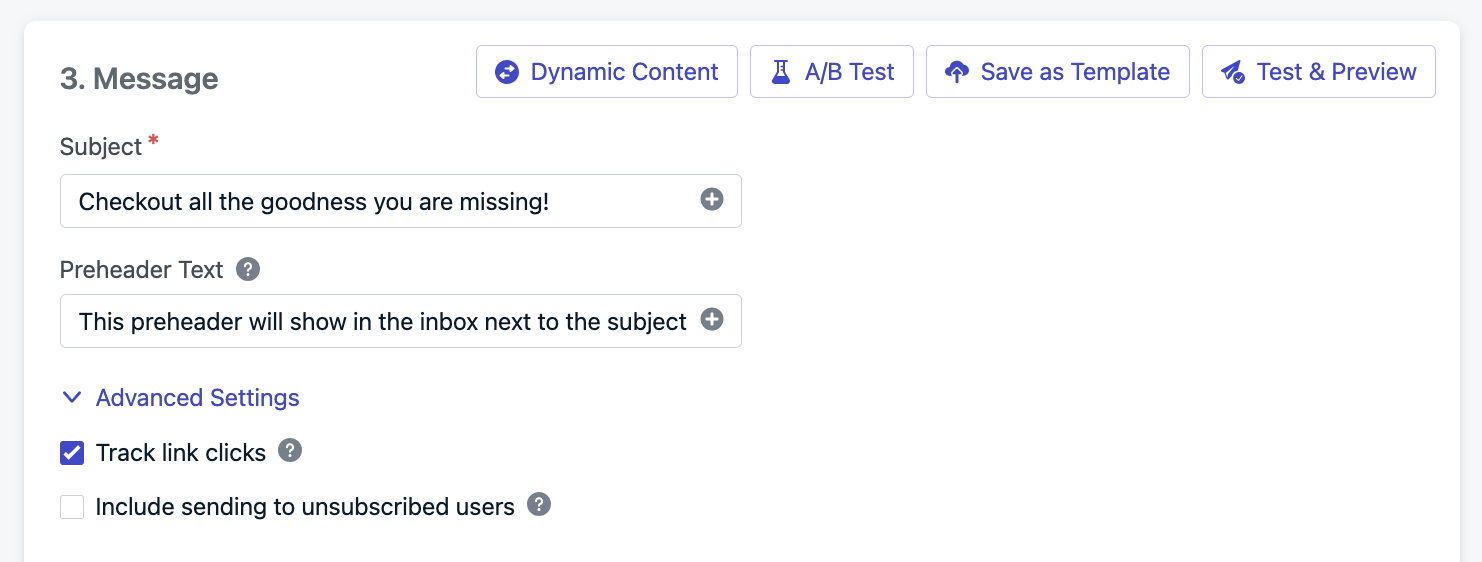
Options available when creating your message. These are the same on both Drag-and-Drop or HTML editors.
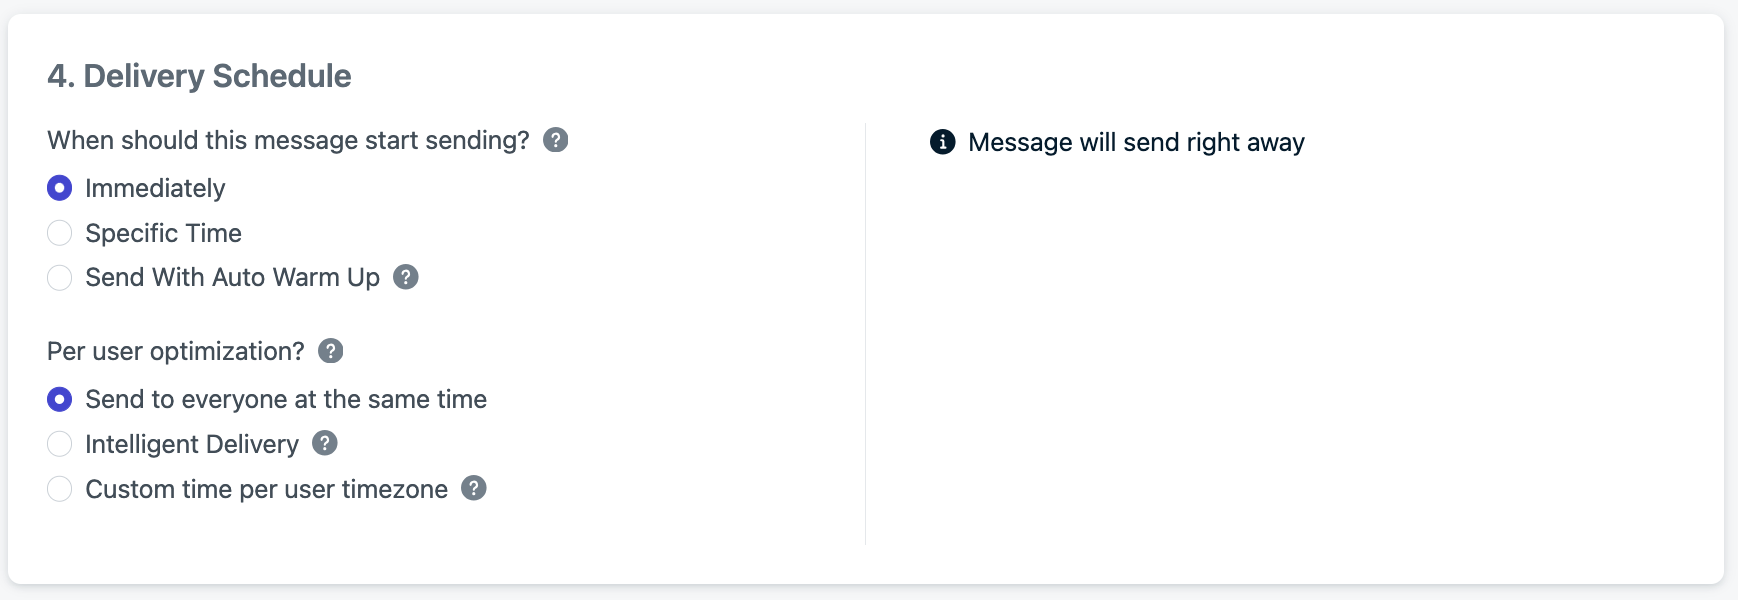
Delivery schedule
- Send Now or schedule up to 30 days in advance.
- API parameter:
send_after
- API parameter:
- First-time senders should use Email Auto Warm-Up.
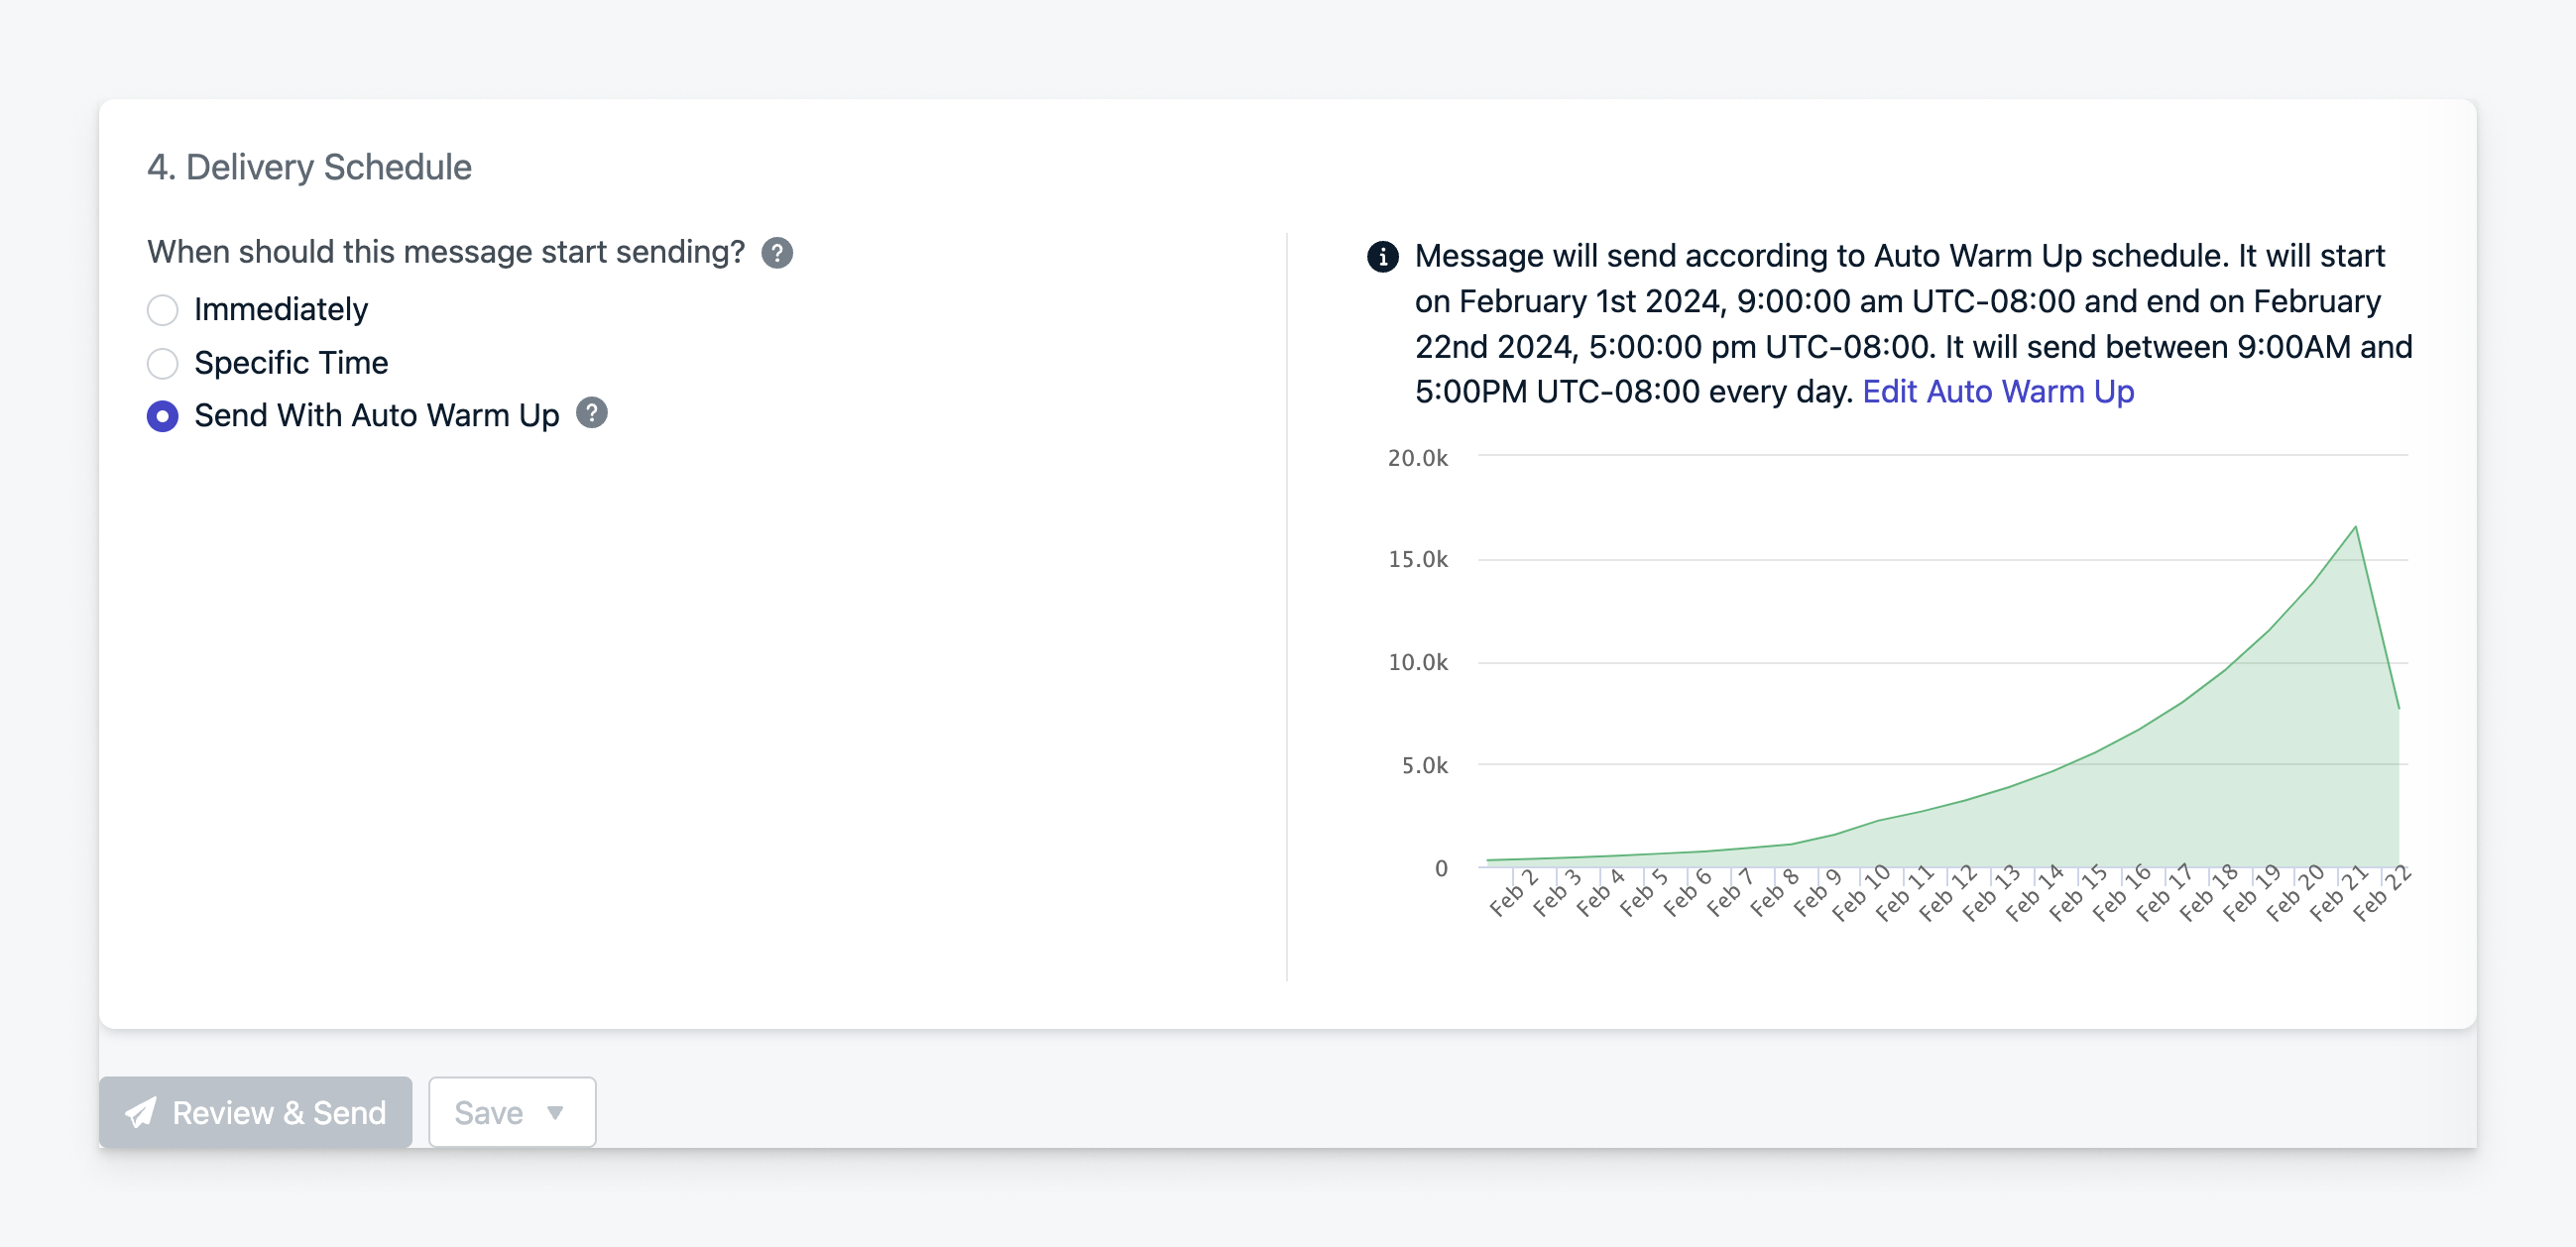
Per-user optimization
- Send to everyone at the same time: Best for urgent messages.
- Intelligent Delivery: Messages are sent at the optimal time for each user based on their individual engagement patterns—like open times, click behavior, and real human interactions. The system continuously learns and improves as users interact.
API Parameter:delayed_option: last-active - Custom Time per User Timezone: Sends at a set time in each user's timezone (fallback available).
- API parameter:
delayed_option: timezone&delivery_time_of_day
- API parameter:
Example shows the email will start sending Jan 22nd at 10AM your time, and will be delivered to each user at 10AM in their timezones with a fallback time to UTC-8 (Pacific Time) f the email address doesn't have a timezone set.
Finalize your email
- The "start sending" time is the cutoff point for users to enter/exit the audience segments. Anyone in the audience at this time will be sent the message and it does not depend on the "per user optimization" options.
- Click Review & Send or Save as Draft to edit later.
You're ready to send your first email!
You are all set to start sending emails! Next steps include:
- Explore Email Design Options & Drag and Drop Editor.
- Learn about Message Personalization.
- Manage Unsubscribe Links & Email Subscriptions or create a Custom Unsubscribe Page.
Updated about 17 hours ago