Email setup
How to set up email messaging with OneSignal.
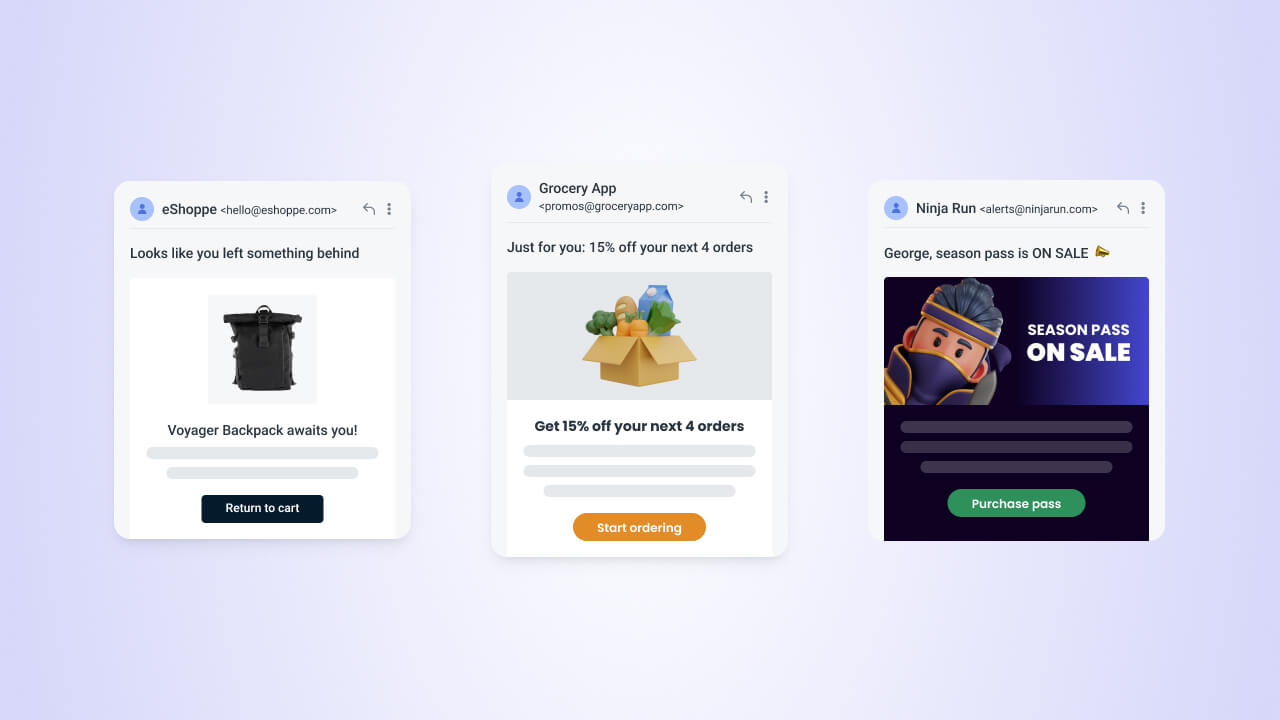
Email remains the best channel for direct and personalized communication, allowing you to build lasting relationships with your customers at scale. This guide will walk you through all the things you should know before sending your first email; ensuring your messages reach your users' inboxes without a hitch.
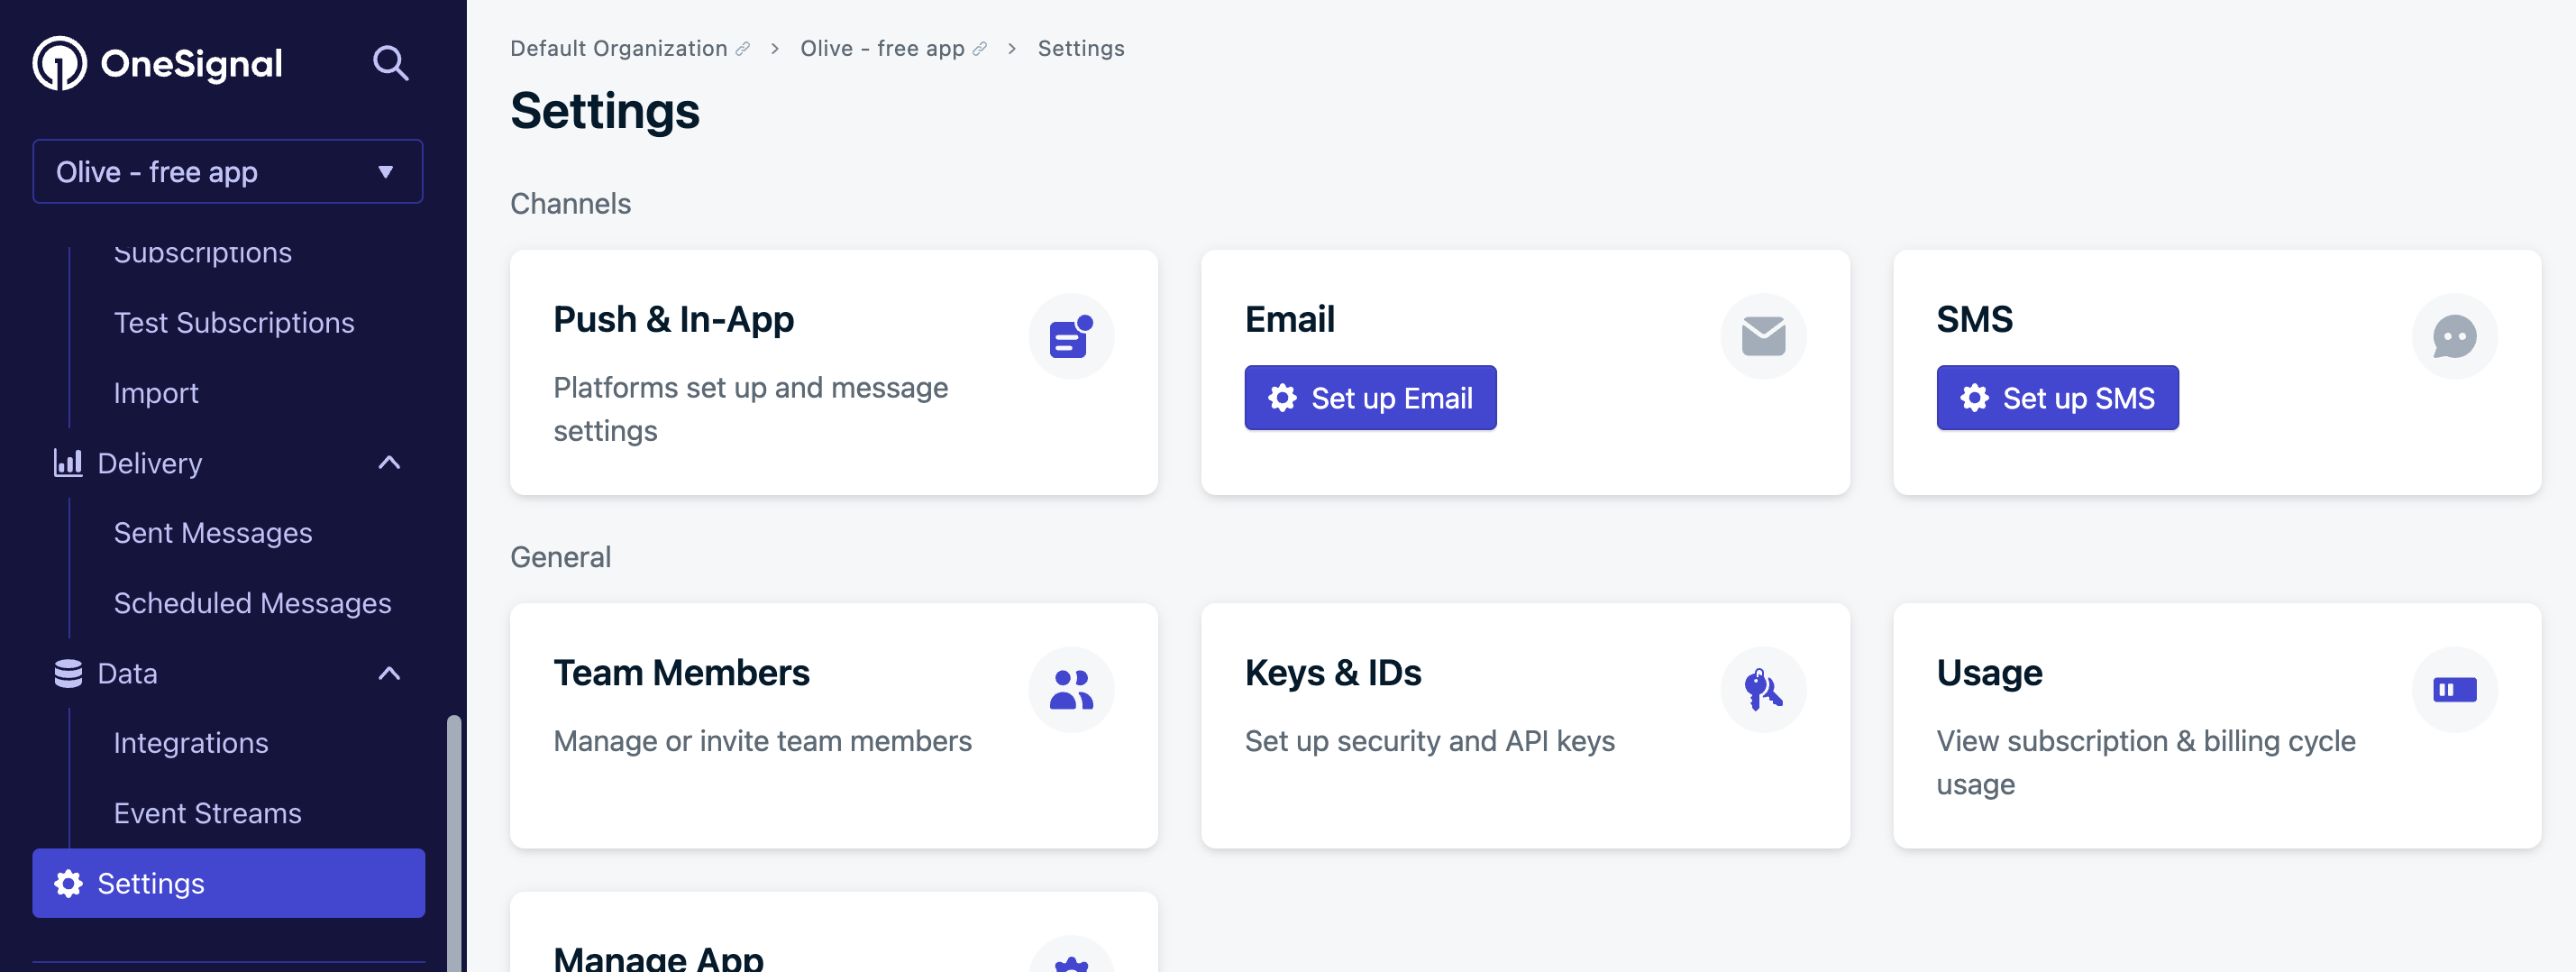
If you haven't already, navigate to Settings and Set up Email.
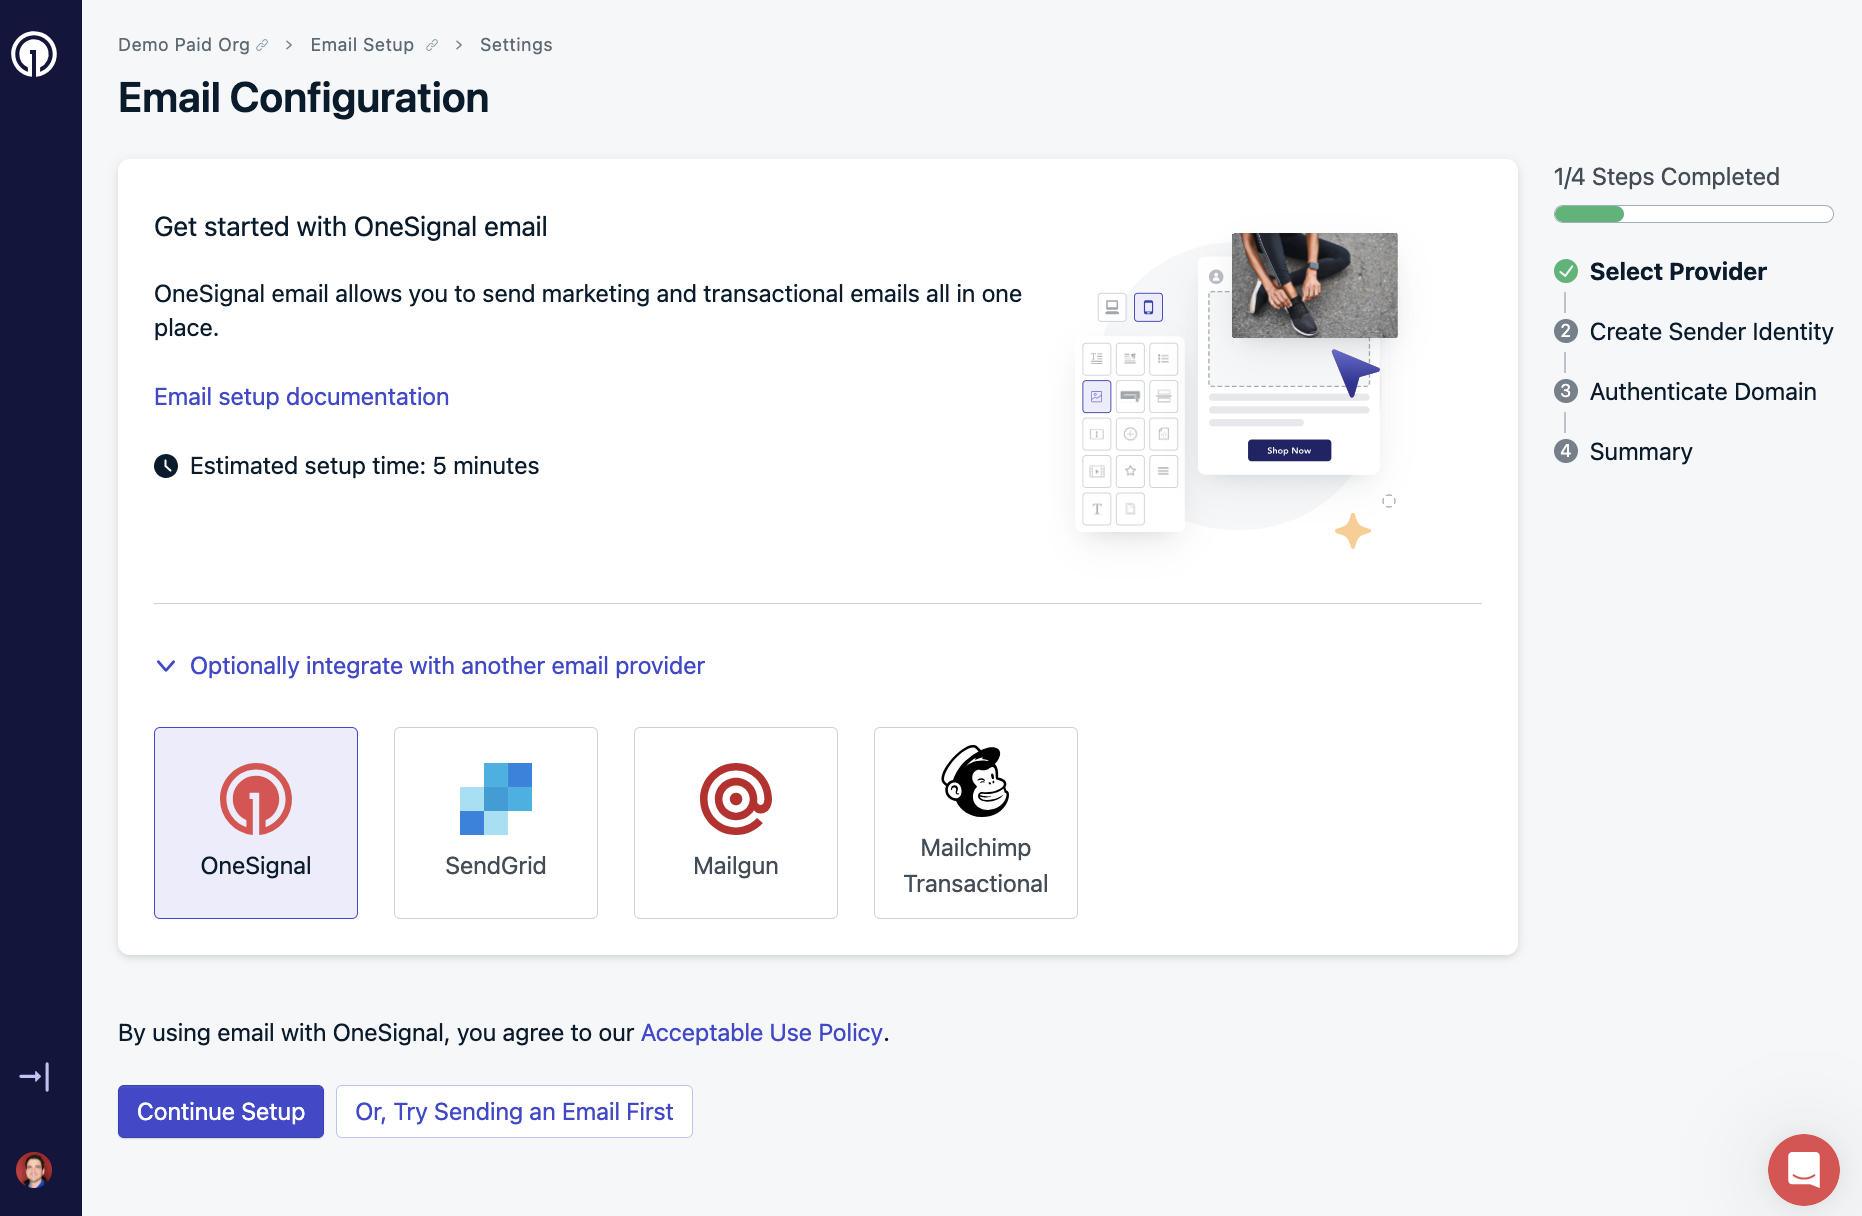
This guide is for setting up OneSignal Email, but if you already have another email platform, OneSignal integrates with SendGrid, Mailgun, and Mailchimp. If you use one of these, you can optionally integrate with them by following the links.
Otherwise, let's continue setup with OneSignal Email.
Setup your first sender
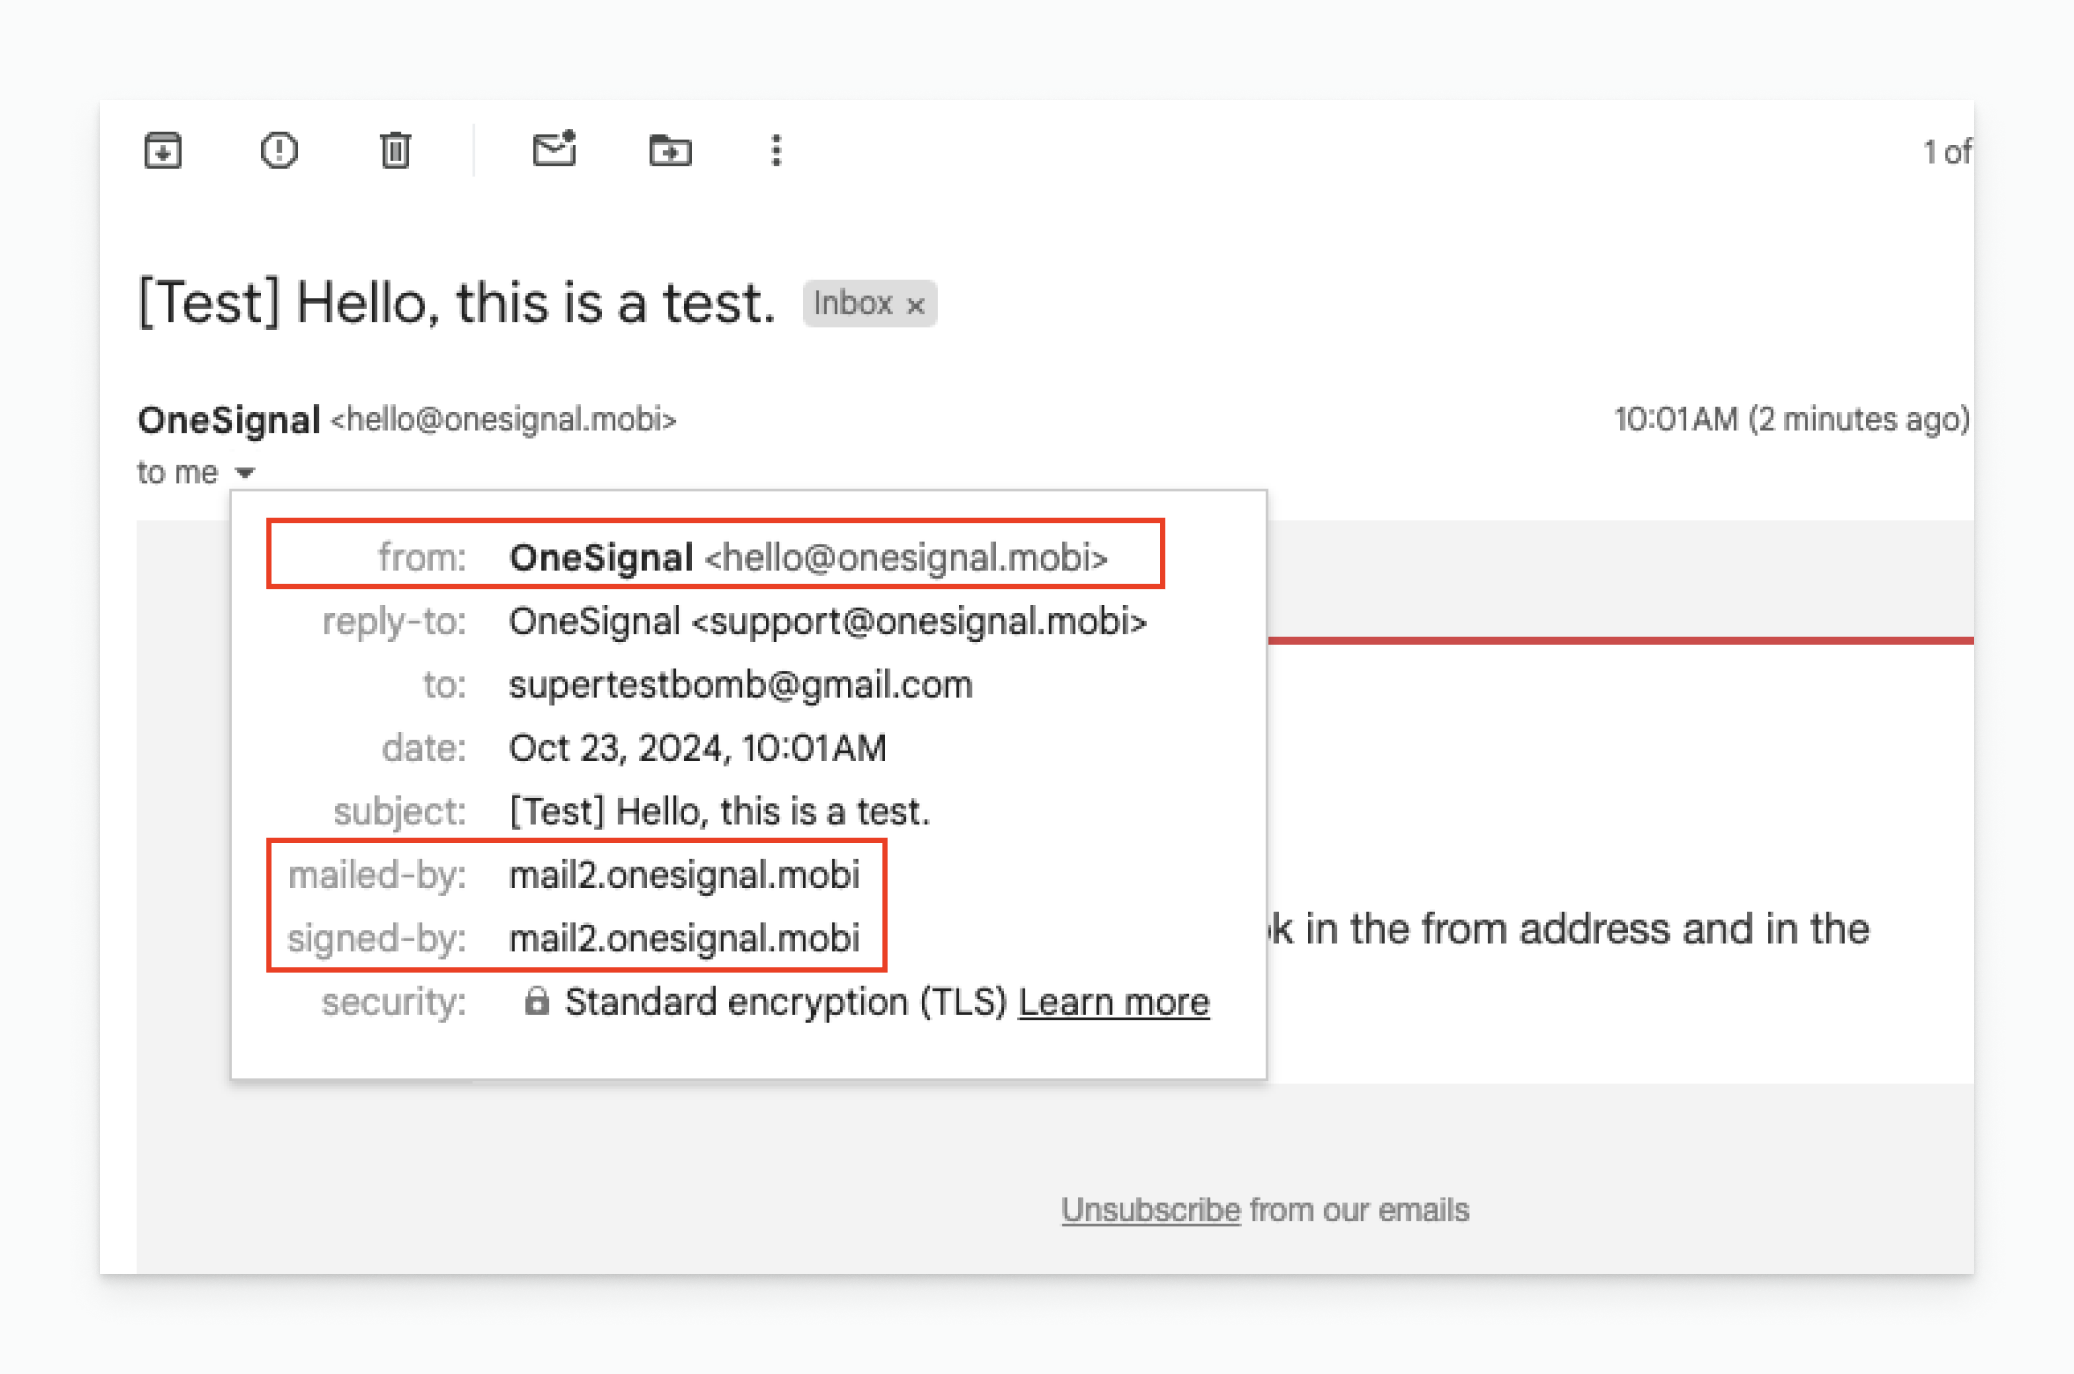
This configuration will allow OneSignal to send authenticated mail from your domain.
For best deliverability, you should consider using a sub domain instead of your root domain.
What is a subdomain? (click to expand)
A subdomain is a prefix added to a domain name.
mail.yourdomain.com is a subdomain of yourdomain.com
You can still use just the root domain in the from address, ieanything**@**yourdomain.com, but the subdomain is used to actually send, sign and authenticate the emails.
Using a subdomain allows you to separate the Sending Reputation of your Marketing emails and Transactional emails. You can setup additional senders later in settings Senders
ie mail.yourdomain.com (marketing) vs receipts.yourdomain.com (transactional). The prefix you use doesn't really matter, so most senders pick something simple like "mail.".
Separating your mail streams by subdomains allows Inbox Providers to identify and prioritize the delivery of your transactional mail, such as password resets or other important notifications.
Fill in the Default Sender Email field with the email address that you would like your emails to be sent from and we will auto generate a default subdomain. You can change the subdomain prefix by clicking "customize".
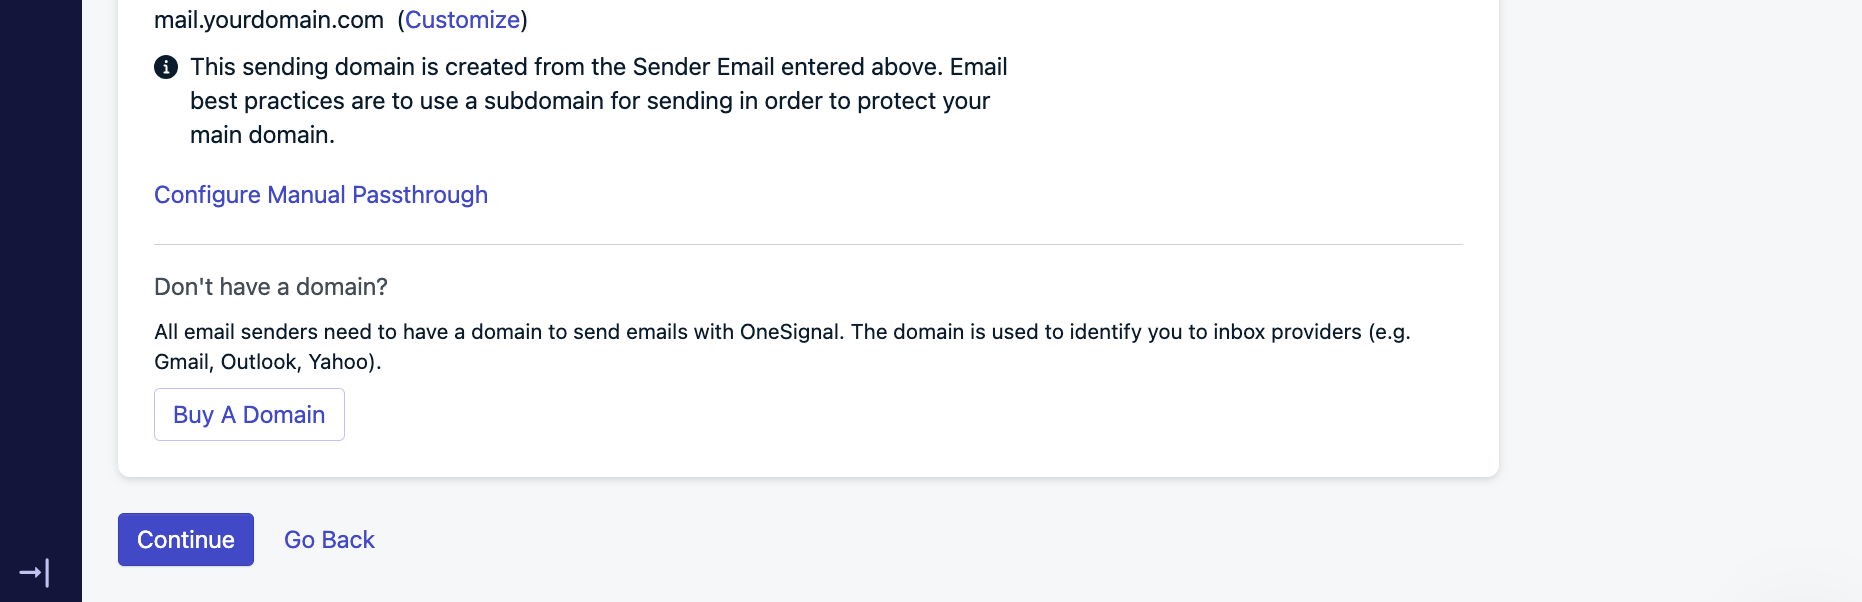
If you do not own a domain, you can click "Buy A Domain" and purchase one through IONOS. Otherwise, let's continue.
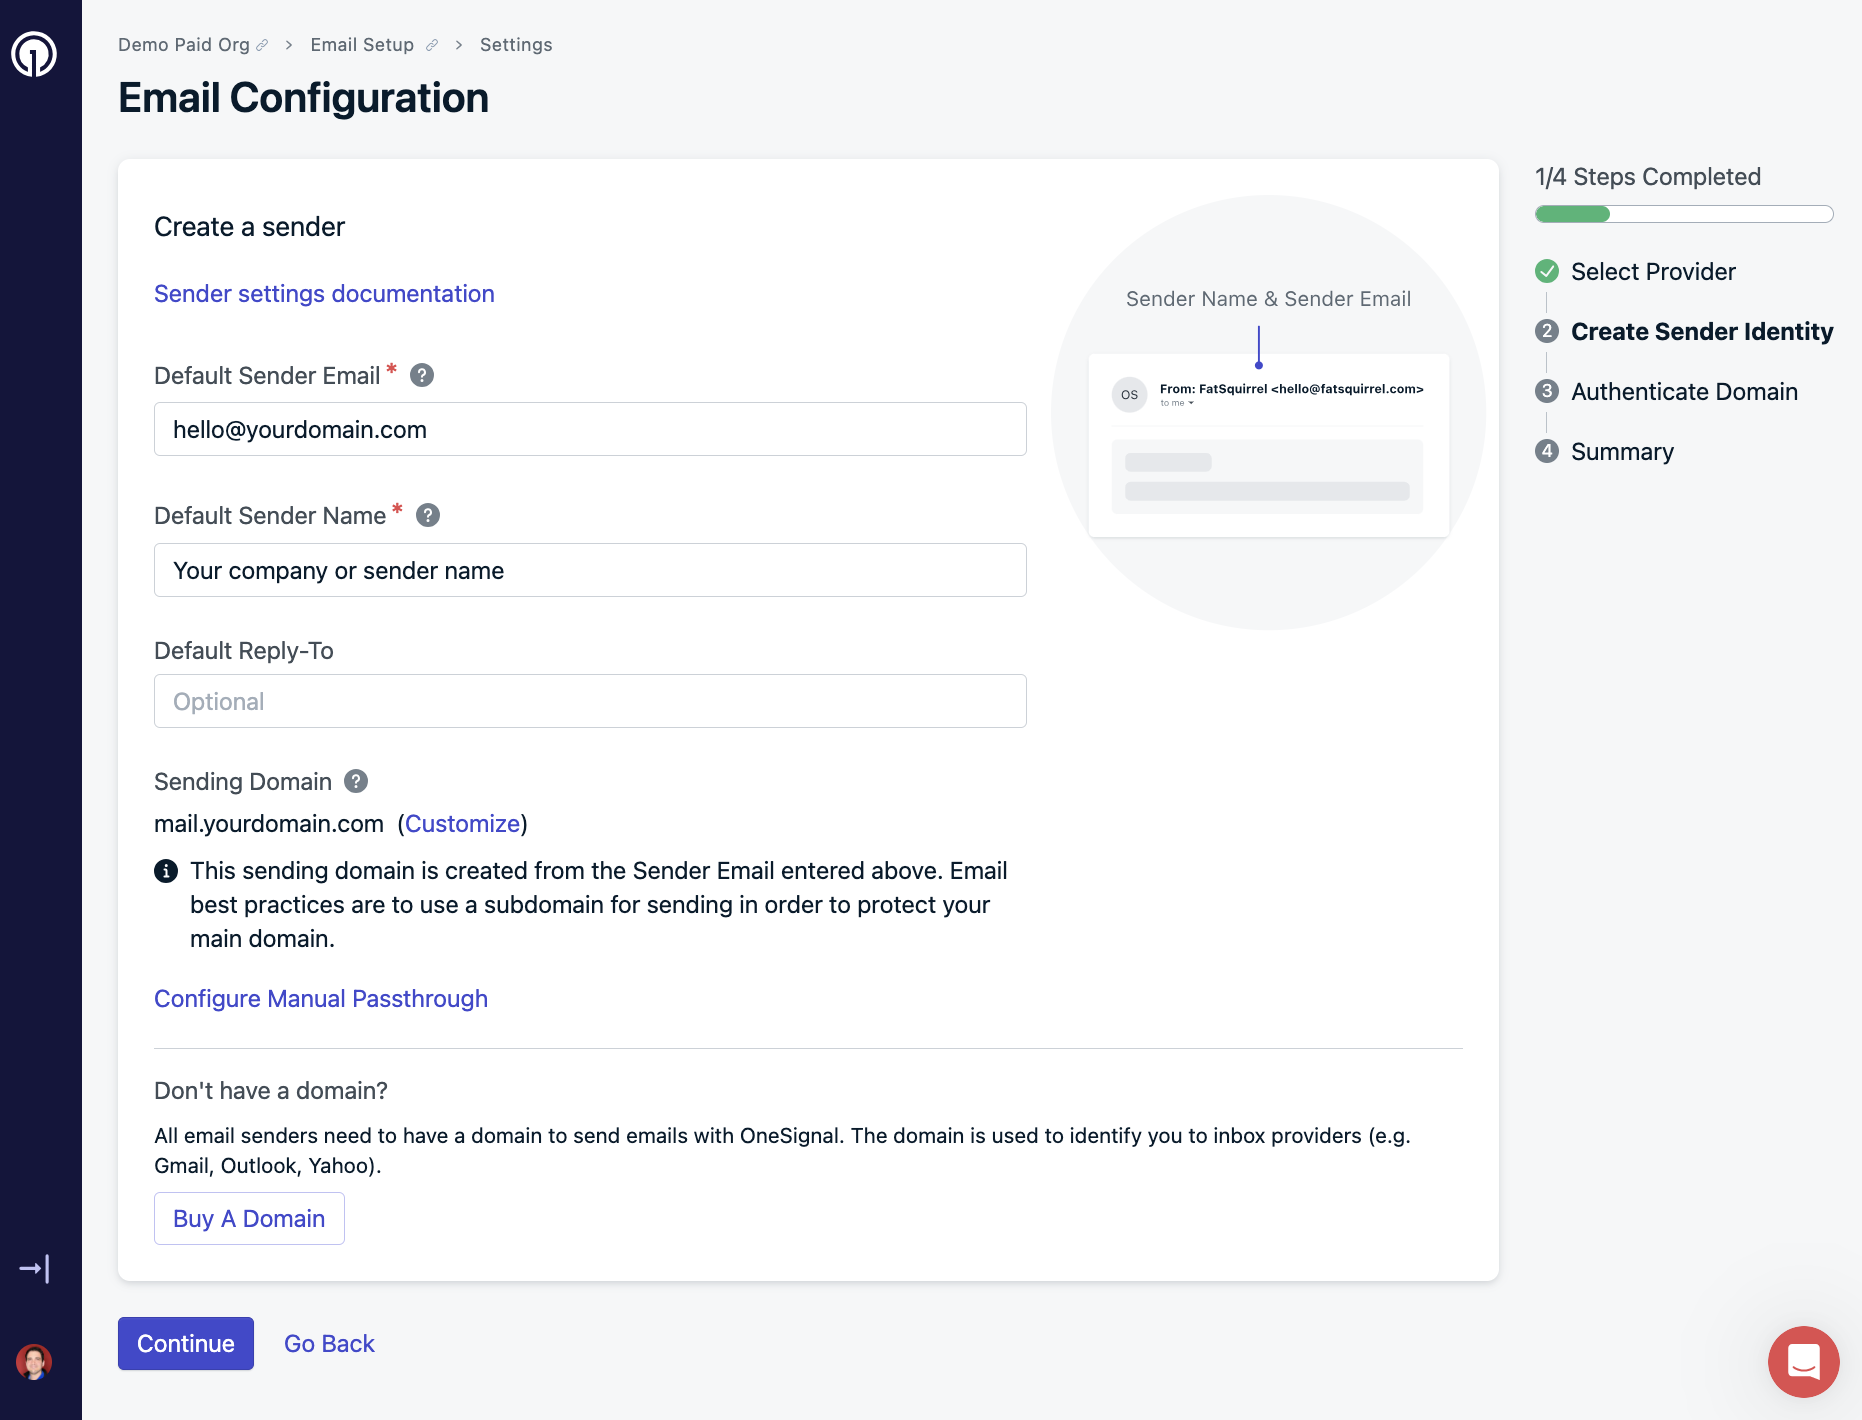
Default Sender Email
Next, we need to configure DNS records so that OneSignal can send from your domain.
There are multiple ways to configure your DNS settings:
Option 1: Purchase a sending domain through OneSignal
Simplify the process by buying and auto-configuring a domain directly within OneSignal.
Details on purchasing a domain through OneSignal (click to expand)
If sending on OneSignal mail you have the option to purchase a domain without ever leaving the setup flow.
We partner with a 3rd party domain registry IONOS. All domains purchased in OneSignal will be auto-configured and will require no additional work on your part one you purchase a domain.
This is the quickest way to start sending, particularly if you dont already own a domain or have access to DNS management for the domain.
Purchase a Sending Domain
Option 2: Auto-configure your domain
Automatically set DNS records through your domain registrar with login details.
Details on auto-configuring a domain (click to expand)
To configure the sending domain you can use the Auto Configure option which will add all of the necessary DNS records to your DNS management service to authenticate the sender.
You'll need access to your log in details for the domain registrar you used to register your sending domain. And can use the Auto-configure option so you dont have to manually copy and paste DNS records.
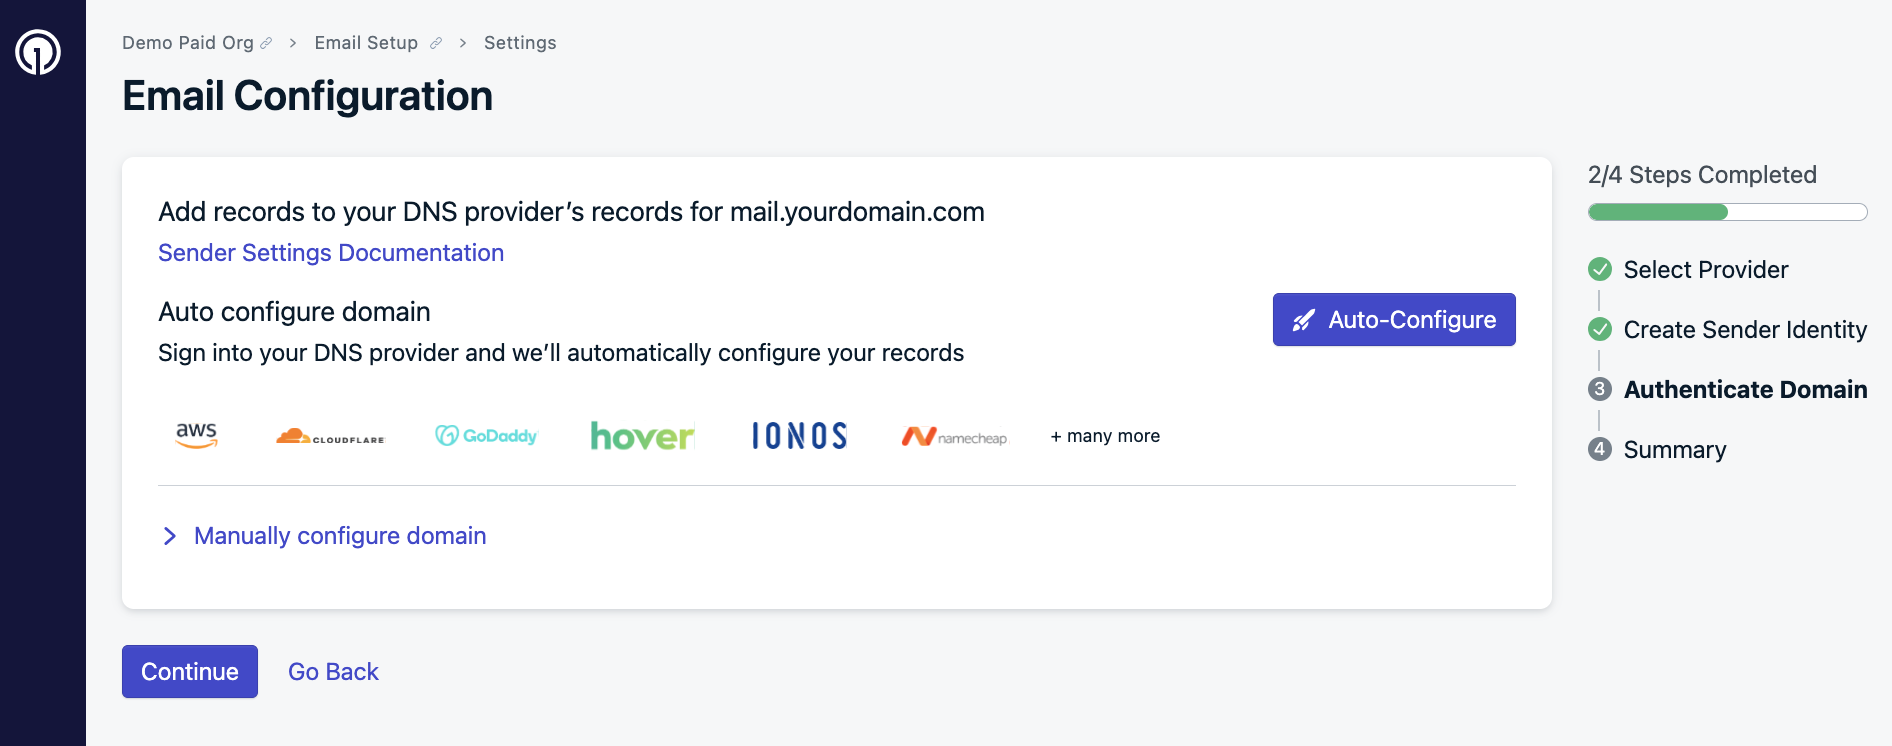
DNS Auto-Configure
Option 3: Manually configure your domain
Set DNS records yourself for full control. Instructions and support are available on our setup page.
Details on configuring through your DNS provider (click to expand)
Additionally, we provide the option to set up DNS records manually. For a walkthrough and video guide on how to set up DNS records or create a subdomain, visit our Email DNS configuration guide.
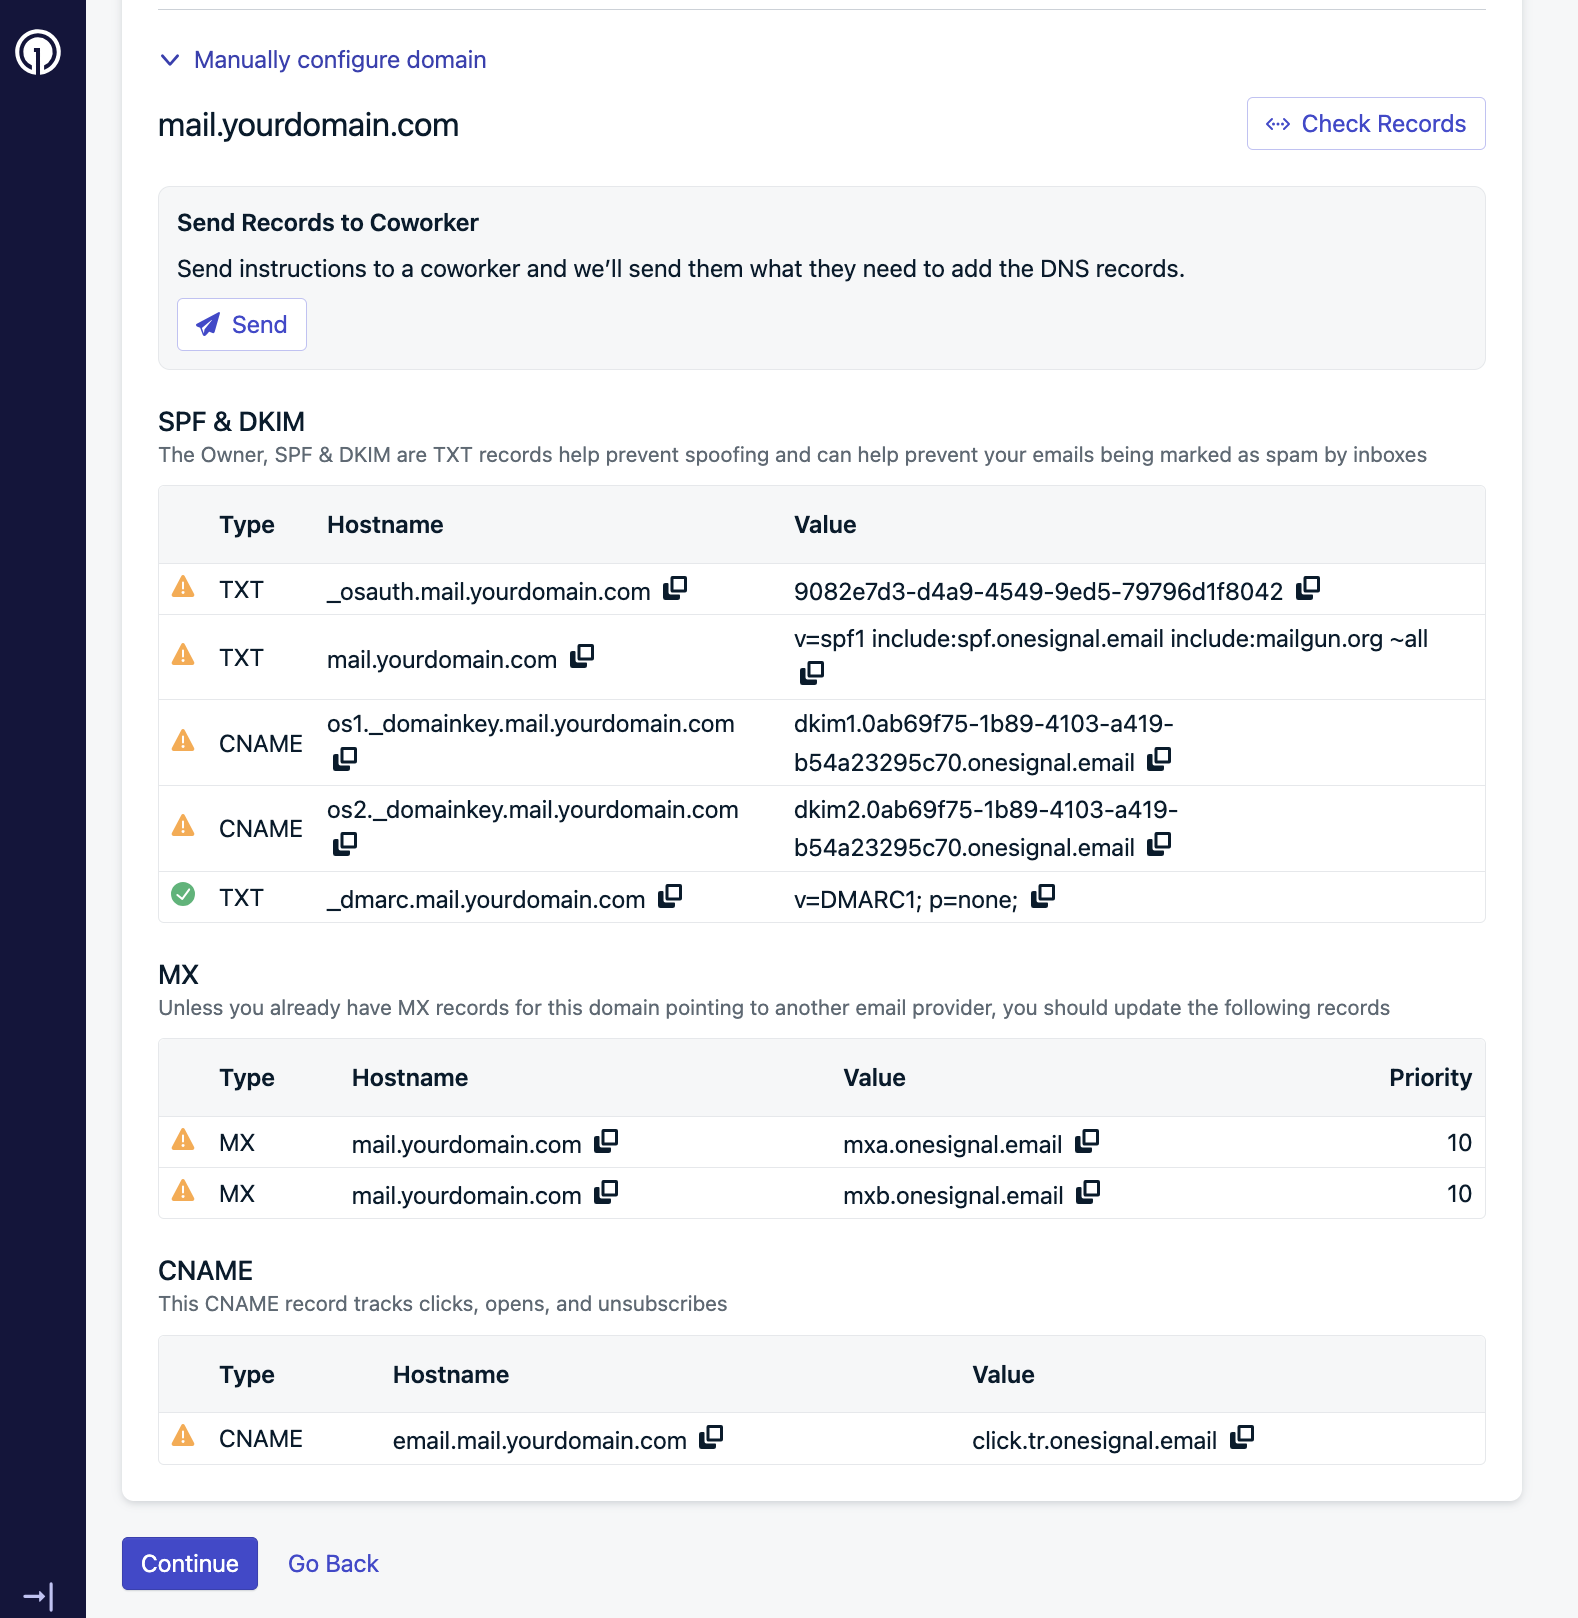
DNS Manual Configuration
DNS configuration help
If you plan to add the DNS records directly to your DNS provider, see our Email DNS configuration guide for an in-depth walkthrough.
Verify your account
You are almost done! You just need to click the Verify My Account button or verify your account link to start the verification process. This will open a support ticket and ask you some questions about your company and use cases.
Be as detailed as possible with your answers. Our Support Team will review and follow up ASAP!
You can leave the chat and you get an email from us when ready. It may take up to 24 business hours.
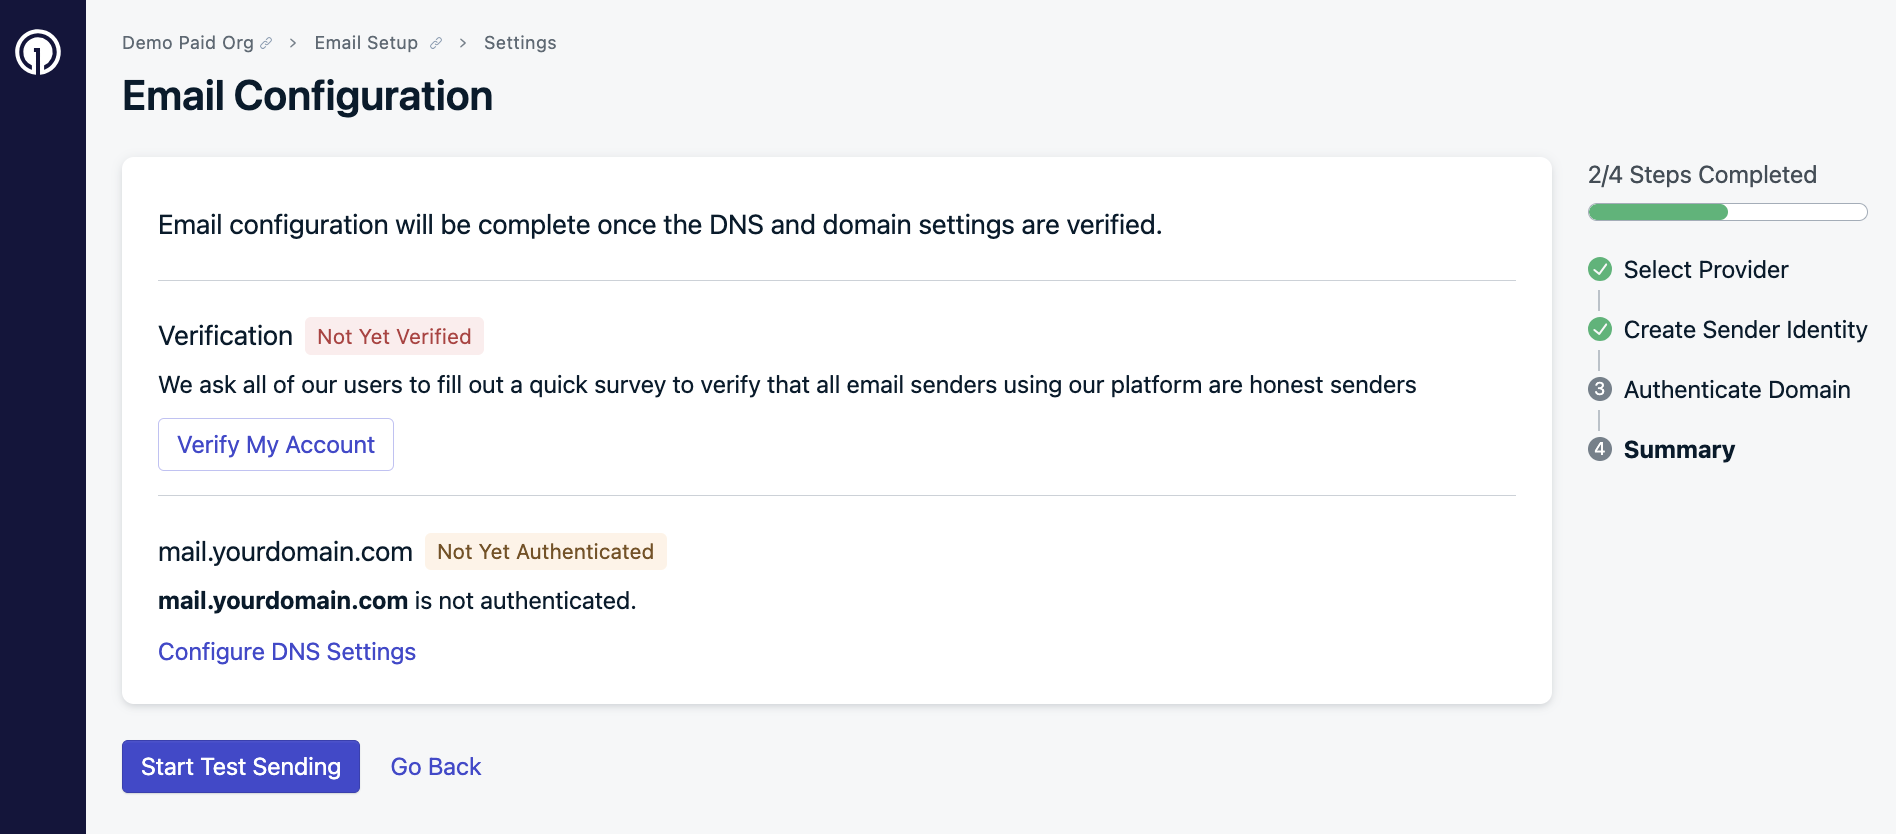
Account Verification
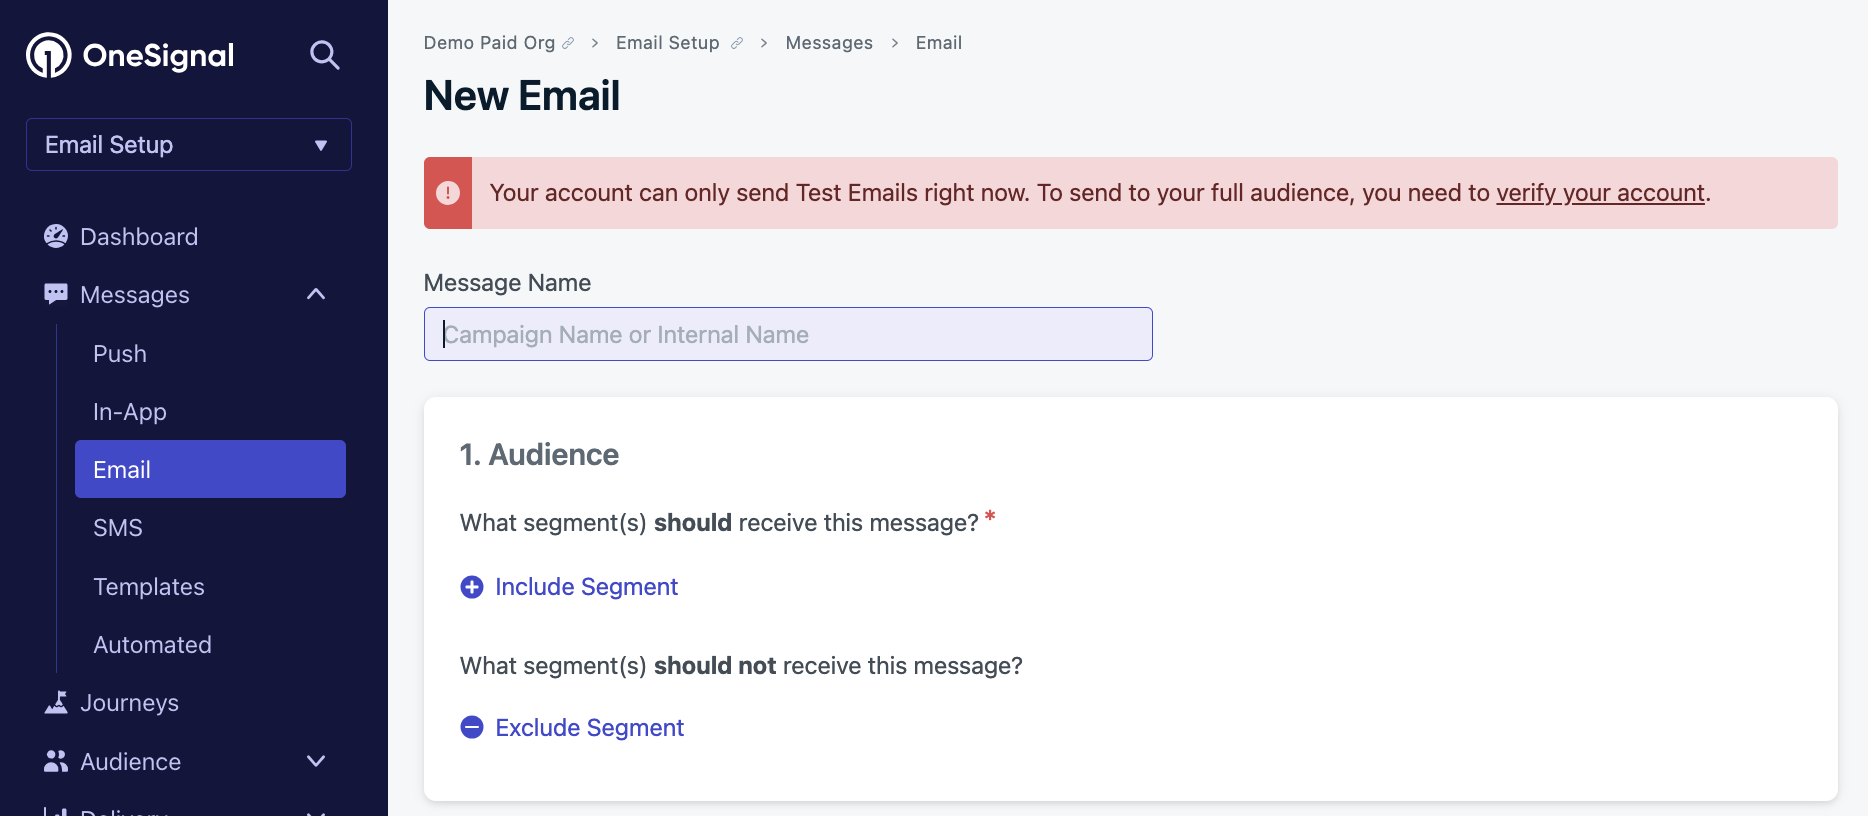
You can send test emails while you wait!
While you wait, continue with email setup!
Email sending reputation
Email sending reputation is assigned to you by Inbox Service Providers and is at the core of Email Deliverability. Your reputation will determine where and if your emails get accepted by these Inboxes.
Your Sending Reputation works like a credit score that can go up or down based on the historical performance of your mail. Your reputation may be positively affected if you have a high engagement with your emails like opens, clicks, or replies. Your reputation may be negatively affected if you receive Spam Complaints from recipients, you have a high bounce rate, or if you send to spam traps.
If your bounce and spam report rates are too high, it will affect your domain and IP reputation which reduces deliverability and potentially violates our Acceptable Use Policy & Code of Conduct. You should aim for as little bounces or complaints as possible. A bounce rate of 5% and/or a complaint rate of 0.5% is considered high and would hurt the reputation of a domain, likely to be flagged by the Inbox service provider.
Email deliverability & reputation
The best way to keep email deliverability rates high is to remove email addresses from your lists if unengaged, invalid, or obtained without consent.
More details about email deliverability:
Users & email subscriptions
Each email address stored in your OneSignal app will be a unique Subscription. If the email address does not have an accompanying External ID, then it will be considered a new User .
Email subscriptions can be added to your OneSignal app using a CSV list upload, our APIs, our SDK addEmail method and more! See our Import Email Addresses for details and don't forget to follow best practices outlined above in Email deliverability.
Users, subscriptions, & segments.
Please review our Users and Subscriptions docs for more details.
Once you start accumulating users, you can group them into Segments.
Design emails
There are several ways to create or import your email message Templates into your OneSignal app. If you have email templates stored somewhere else, you can import them via:
- Email Template Forwarding allows you to send the template to a specific email address to access the HTML now.
- Use our Create template API to pass the HTML to us as a template.
We also provide both a "drag-and-drop" editor and HTML editor you can use to start creating now! Our emails support Message Personalization so you can accomplish advanced personalization and use cases. Examples can be found in our Send Transactional Emails guide.
Email design options
Your OneSignal dashboard has options to create email using:
Configure email behavior
Depending on your use cases, there are a couple more features you should configure before you start sending:
Email unsubscribe & deep links
We provide a custom unsubscribe link you can use "out of the box". When clicked, it will direct users to a generic unsubscribe page to be marked as unsubscribed in our system. See Unsubscribe Links & Email Subscriptions for details. You can also Create a custom unsubscribe page if you want to setup your own custom unsubscribe page with additional features and branding.
Deep Linking
When your email links get clicked, they will default to opening in a browser. If you have deep links setup, you can direct users into your app following the steps in Deep linking > Send email with deep links.
Apple private relay
In iOS 13, the Apple single sign-on (SSO) feature allows people with an Apple User Account to share their email address ([email protected]) or to hide their email address, in which case an alias email address (like [email protected]) will be provided.
You can send emails to these users after you register your sending domain with Apple. See Apple's docs to Configure private email relay service to get started.
Email warm up
Your sending reputation also dictates the volume that Inbox Providers are willing to accept from you. If you attempt to send high volumes of email from a subdomain that has never sent or has not sent high volumes recently, then it is likely to get rejected and treated poorly.
When starting to send email on a new platform for the first time, from a new subdomain or suddenly increasing your volumes, you will likely need to go through a "Warm Up" process to ensure the best email deliverability.
We recommend warming up your email sending if you are planning to send more than 3,000 emails a day.
Send emails with auto-warm up!
You should now be setup and ready to send emails to your email subscribers.
See our Email Auto Warm Up guide to get started!
Updated 4 months ago